Let’s Make Magic in a Jar, Friend!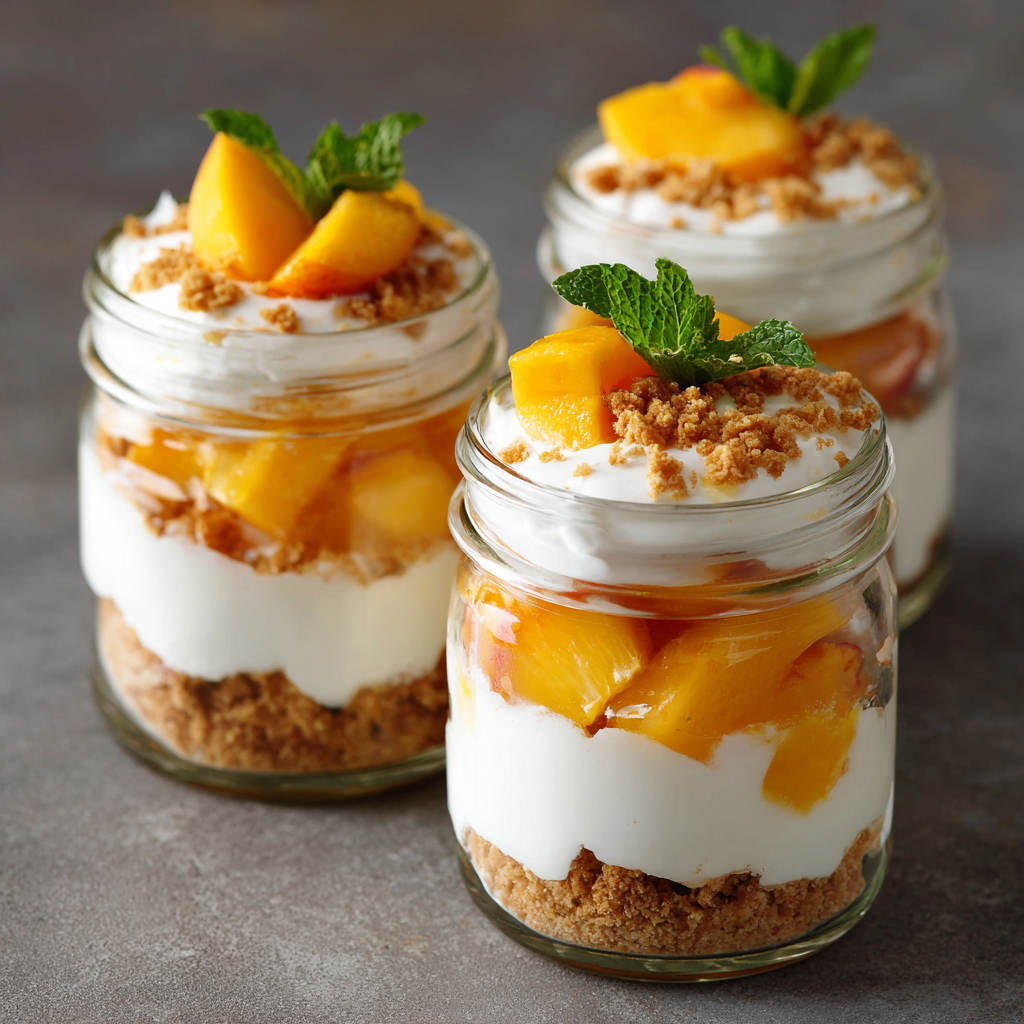
Hey there, kitchen adventurer! Anna here, your fellow food-lover and cheerleader in all things delicious. Can we just take a moment to appreciate desserts that don’t require turning on the oven? Especially when the sun’s blazing and the last thing you want is more heat wafting from your kitchen. That’s where this little jar of sunshine comes in—my No-Bake Mason Jar Peach Cheesecake! Imagine: creamy, dreamy cheesecake-flavored goodness, sweet juicy peaches, and a buttery graham cracker crunch, all layered up in a cute mason jar. It’s like summer captured in a glass! And the best part? It’s incredibly simple, surprisingly light thanks to protein-packed Greek yogurt, and totally portable for picnics, potlucks, or just treating yourself on the couch. No fancy skills needed, just a spoon and a smile. Ready to whip up some effortless joy? Let’s dive in!
Sunshine, Picnics & Grandma’s Porch
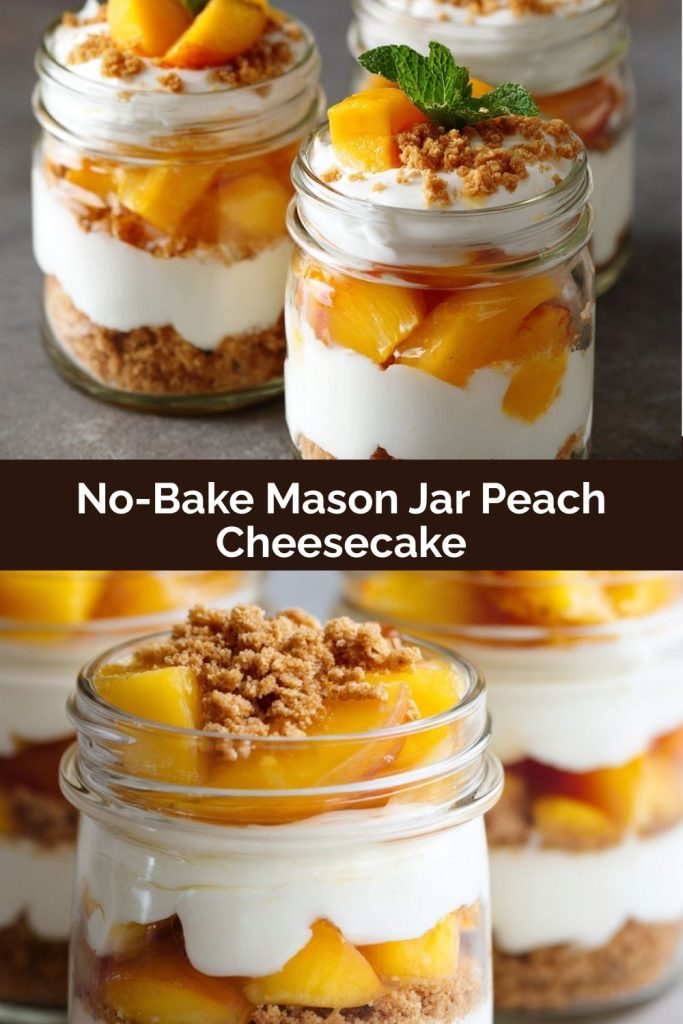
PrintNo-Bake Mason Jar Peach Cheesecake

Creamy, fruity, and perfectly portioned—this No-Bake Peach Cheesecake is made right in mason jars for a fun and fuss-free treat. With layers of crunchy graham, luscious cheesecake-flavored yogurt, and juicy peaches, it’s a guilt-free indulgence you’ll look forward to!
- Prep Time: 15 minutes
- chill time: 1–2 hours
- Total Time: 2 minute
- Yield: 6 mason jar servings 1x
Ingredients
32 oz Chobani Plain Greek Non-Fat Yogurt (zero points)
3 sheets Great Value Honey Grahams, crushed (8 points)
1 package Jello Reduced Calorie Cheesecake Instant Pudding Mix (3 points)
1½ cups Del Monte No Sugar Added California Sliced Peaches, chopped (0 points)
Instructions
In a bowl, mix yogurt with the cheesecake pudding mix until smooth and thick. Chill for 10–15 minutes to allow it to firm up.
Crush the graham crackers into crumbs.
In each mason jar, layer:
1 tablespoon of graham crumbs
A few spoonfuls of cheesecake yogurt mix
A layer of chopped peaches
Repeat layers if desired
Seal and chill for 1–2 hours before serving for the best flavor and texture.
Notes
WW Points: Approx. 2 per serving (check app to confirm)
Nutrition
- Calories: 110
- Sugar: 7g
- Fat: 1g
- Carbohydrates: 14g
- Protein: 12g
This recipe always takes me back to sticky-sweet summers at my grandma’s farmhouse in Georgia. Her backyard was practically a peach orchard, and I’d spend afternoons perched on her porch swing, legs swinging, devouring slices of sun-warmed peaches she’d sprinkle with a little brown sugar. The juice would run down our chins, and we’d laugh like it was the funniest thing ever. She wasn’t big on complicated baking, but she knew how to turn simple, fresh things into pure magic. Years later, trying to recreate that feeling of easy summer bliss, I started playing with yogurt and pudding mix for a quick “cheesecake” fix. Throwing it into mason jars with graham crumbs and those juicy peaches? It felt like bottling up a piece of that porch-swing happiness – effortless, joyful, and bursting with flavor. Every spoonful is a little taste of nostalgia for me.
Your Jar of Joy: What You’ll Need
Gather these simple stars! Don’t stress about brands – use what you love or have on hand.
- 32 oz Chobani Plain Greek Non-Fat Yogurt: This is our creamy, protein-packed hero! Its thickness gives that decadent cheesecake feel without the heaviness. Chef’s Insight: Strained Greek yogurt is key for thickness. If you only have regular plain yogurt, strain it through cheesecloth for an hour first! Sub: Any plain non-fat Greek yogurt works great. For dairy-free, try a thick coconut milk yogurt (points/calories will change).
- 1 package Jello Reduced Calorie Cheesecake Instant Pudding Mix: Our flavor wizard! This little packet transforms the yogurt into instant cheesecake bliss. Chef’s Tip: Ensure it’s instant pudding mix, not cook-and-serve. Sub: Regular cheesecake pudding mix works but adds more points/sugar. Vanilla or white chocolate pudding mix can sub in a pinch, but the flavor profile shifts.
- 3 sheets Great Value Honey Grahams, crushed (about ¾ cup crumbs): Our crunchy, buttery foundation! Honey grahams add the perfect sweetness. Chef’s Hack: Crush them in a zip-top bag with a rolling pin for easy cleanup (and stress relief!). Sub: Any graham cracker (cinnamon, chocolate), digestive biscuits, gluten-free grahams, or even crushed pretzels for a salty twist!
- 1½ cups Del Monte No Sugar Added California Sliced Peaches, chopped: Our juicy, sunny burst! Using no-sugar-added canned peaches keeps it light and WW-friendly. Chef’s Insight: Pat them slightly dry with a paper towel to prevent excess liquid in your layers. Sub: Fresh peaches are AMAZING in season (peel, pit, chop)! Frozen/thawed peaches work too (thaw and drain well). Regular canned peaches are fine, drain the syrup well.
Building Your Edible Masterpiece: Step-by-Step
Ready? This is the fun part – assembling your little jars of happiness!
- Whip Up the Cheesecake Magic: Grab a large bowl. Plop in the entire container of Greek yogurt. Sprinkle the cheesecake pudding mix over the top. Now, whisk it like you mean it! Get in there with a sturdy whisk or a spatula and mix, mix, mix until it’s completely smooth, thick, and luscious. No dry pudding pockets allowed! Chef’s Tip: Whisking vigorously for a full minute or two really incorporates air, making it extra light and fluffy. Hack Alert: Let this mixture chill in the fridge for 10-15 minutes. This isn’t just busywork! It lets the pudding fully hydrate and thicken up beautifully, making your layers neater and more decadent. Trust me, it makes a difference!
- Create Your Graham Cracker Gold: While the cheesecake mix chills, tackle those graham crackers. Place them in a sturdy zip-top bag, seal it tightly (squeeze out excess air!), and unleash your inner caveman (or cavewoman!) with a rolling pin, meat mallet, or even the bottom of a heavy glass. Crush them until you have mostly fine crumbs with maybe a few slightly larger pieces for texture. Pour them into a small bowl. Chef’s Secret: For extra flavor, you can toast the crumbs lightly in a dry skillet over medium heat for 2-3 minutes until fragrant. Let them cool completely before layering!
- The Art of the Layer: Get out 6 clean half-pint (1 cup) mason jars. Now, channel your inner artist! Start with a base layer: spoon 1 tablespoon of your beautiful graham cracker crumbs into the bottom of each jar. Gently tap the jar on the counter to settle the crumbs evenly. Next, grab your chilled cheesecake mixture. Spoon or scoop a generous layer (about 2-3 tablespoons, depending on jar size) over the crumbs. Pro Tip: For super clean layers, use a small spoon or even pipe the mixture in using a piping bag or a zip-top bag with the corner snipped off! Now, spoon a layer of your chopped peaches over the cheesecake layer. Aim for about 1-2 tablespoons per jar in this first fruit layer.
- Repeat the Rainbow (Optional but Awesome!): Feel free to stop here, OR, for extra decadence and visual appeal, repeat the layers! Another tablespoon of crumbs, another layer of cheesecake magic, and finish it all off with a final glorious layer of peaches on top. Chef’s Encouragement: Don’t stress about perfection! Rustic layers are charming. Just try to keep the crumbs mostly contained to their layer.
- Chill Out & Dream of Peaches: Pop the lids on your gorgeous jars (or cover tightly with plastic wrap if using jars without lids). Refrigerate them for at least 1-2 hours, but honestly? Overnight is even better! Why the Wait? This crucial chilling time allows the flavors to meld beautifully, the cheesecake layer to firm up perfectly, and the graham crumbs to soften just enough into that delightful “crust” texture. It transforms it from good to “OH WOW!”
Presenting Your Peach Perfection!
Okay, the hardest part (waiting!) is over. Time to serve! Simply grab a jar, hand it to a happy friend (or keep it all for yourself, no judgment!), and provide a long spoon. The beauty of the mason jar is the presentation – everyone gets their own adorable, complete dessert. For a little extra flair right before serving, you could top each jar with a tiny sprinkle of leftover graham cracker crumbs, a single perfect peach slice, or a fresh mint leaf. These are fantastic straight from the fridge for a cool treat, making them ideal for BBQs, picnics packed in a cooler, or a delightful make-ahead dessert for a dinner party. Enjoy the creamy, crunchy, peachy symphony!
Shake It Up! Delicious Twists
Love the base recipe? Try these fun spins!
- Berry Burst: Swap the peaches for mixed berries (strawberries, blueberries, raspberries – fresh or frozen/thawed & drained). A classic combo that’s always a winner!
- Tropical Escape: Use diced mango or pineapple (canned in juice, well-drained, or fresh) instead of peaches. Sprinkle with toasted coconut flakes on top!
- Chocolate Dream: Use chocolate graham crackers for the crumbs. You could even add a tablespoon of unsweetened cocoa powder to the graham crumbs or a teaspoon mixed into the cheesecake layer.
- Nutty Crunch: Add 2 tablespoons of finely chopped toasted pecans or almonds to your graham cracker crumbs for extra texture and flavor.
- Lemon Berry Bliss: Use vanilla pudding mix and add 2 tablespoons of fresh lemon juice and 1 teaspoon of lemon zest to the yogurt mixture. Layer with blueberries or raspberries.
Anna’s Extra Pinch of Thoughts
This recipe is my go-to when I need a guaranteed crowd-pleaser that doesn’t keep me chained to the kitchen. It’s evolved from a big, messy trifle bowl version (which was delicious but harder to serve) into these perfectly portioned jars – genius for portion control and so darn cute! I love how forgiving it is. Once, I accidentally grabbed vanilla pudding instead of cheesecake. Panic! But you know what? Mixed it with a splash of vanilla extract and a squeeze of lemon juice, and it was still delicious (though not quite as cheesecake-y). Storage is a breeze: sealed jars last happily in the fridge for up to 3 days. The graham crumbs will soften more over time, but it’s still utterly tasty. Seeing kids (and adults!) light up when they get their own personal jar never gets old. It’s proof that simple ingredients + a little love = pure kitchen magic.
Your Questions, Answered!
Let’s tackle some common hiccups before they happen:
- “Can I definitely use fresh peaches?” Absolutely! Fresh, ripe peaches are divine here. Peel them (or leave the skin on if you prefer!), remove the pit, and chop. If they aren’t super sweet, you might toss them with ½ teaspoon of honey or maple syrup. Key Tip: Pat chopped fresh peaches VERY well with paper towels to remove excess juice and prevent a watery layer.
- “My cheesecake layer seems runny! What happened?” A few possibilities! First, did you chill the yogurt/pudding mix for the full 10-15 minutes before layering? That’s crucial for thickening. Second, ensure you’re using Greek
-
Final Thoughts: A Spoonful of Summer, Anytime You Want
There’s just something about these little jars that feels like joy on demand. Whether you’re channeling porch-swing memories, sharing a sweet moment with friends, or sneaking a treat straight from the fridge at midnight (been there!), this No-Bake Mason Jar Peach Cheesecake is here to bring comfort, flavor, and a whole lotta charm. It’s proof that you don’t need ovens or hours to make something memorable—just a few good ingredients and a heart full of love. So grab your spoon, dig in, and let every bite remind you: simple can be spectacular.