Mini Veggie & Hummus Sandwiches: Your New Favorite Fresh & Crunchy Bite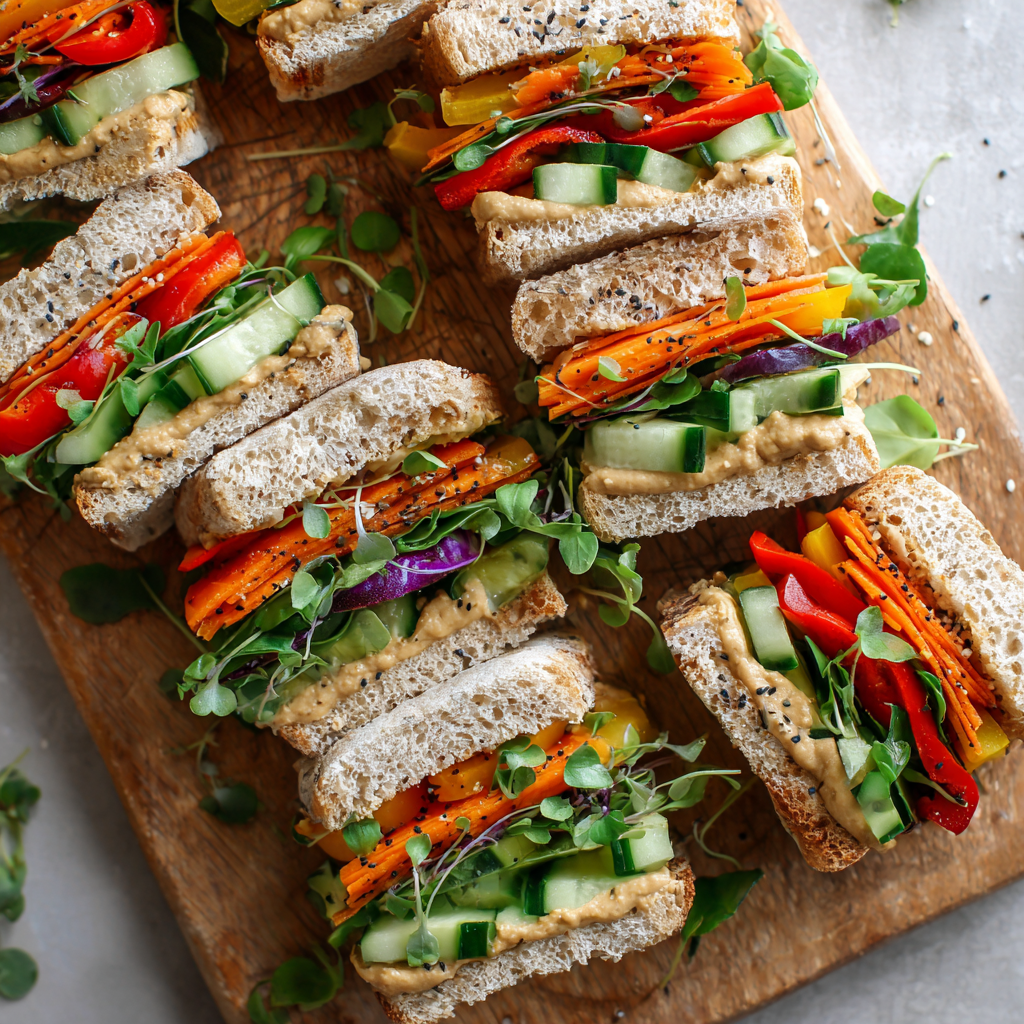
Hey there, friend! Let’s talk about one of my kitchen’s greatest joys: food that is ridiculously easy to make but feels like a total celebration. You know those days when you want something vibrant, fresh, and satisfying, but the thought of turning on the oven or dirtying every pan you own just feels like… a lot? I’m raising my hand right there with you. That’s exactly why these Mini Veggie & Hummus Sandwiches are my secret weapon for winning the day.
Imagine this: pillowy soft mini rolls, slathered with creamy, garlicky hummus, and piled high with a confetti of the crispiest, most colorful vegetables you can find. Each little sandwich is a perfect handful of crunch, creaminess, and garden-fresh flavor. They’re the ultimate proof that plant-based eating can be anything but boring. We’re talking about a snack that’s as happy on a fancy party platter as it is tucked into a lunchbox or enjoyed on your back porch with an iced tea in hand.
Today, I’m not just sharing a recipe; I’m handing you a template for creativity. This is less of a rigid rulebook and more of a playful guide. We’ll build these adorable bites together, and I’ll whisper all my favorite chef hacks along the way. Whether you’re feeding a crowd, prepping lunches for the week, or just treating yourself to something bright and beautiful, these mini sandwiches are here for you. So, let’s ditch the stress, embrace the crunch, and make something magically simple together.
The Little Sandwich That Could: A Kitchen Counter Memory
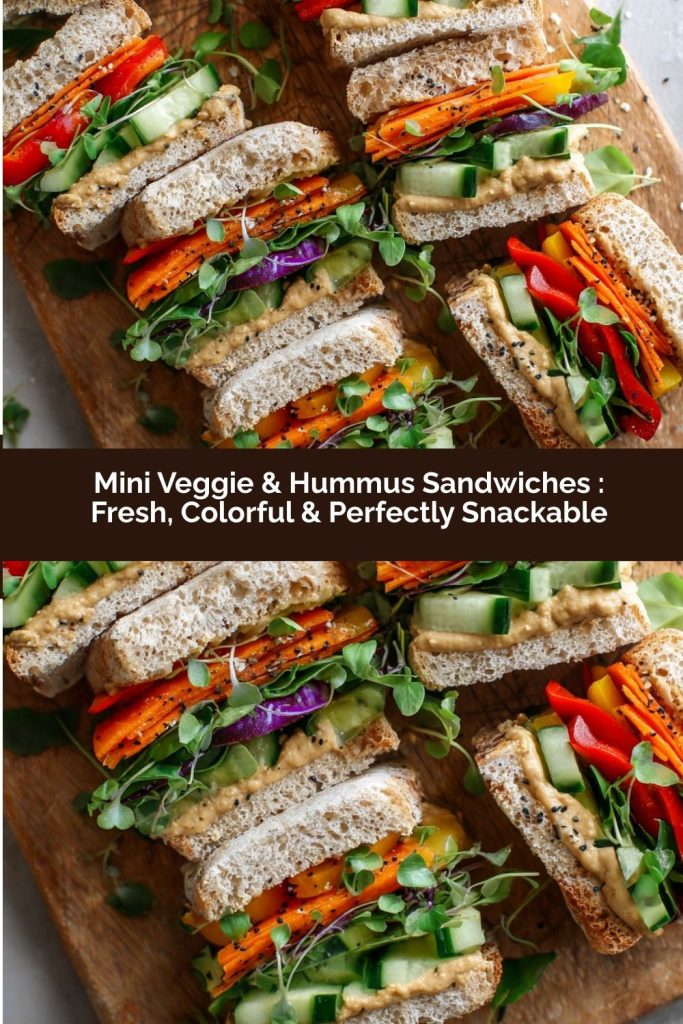
PrintMini Veggie & Hummus Sandwiches : Fresh, Colorful & Perfectly Snackable

These Mini Veggie & Hummus Sandwiches are the perfect fresh fix—vibrant, flavorful, and totally plant-powered. Loaded with crisp veggies and creamy hummus, they’re ideal for lunchboxes, party platters, or healthy snacking. They’re as fun to make as they are to eat, and easy to upgrade with bold extras!
- Prep Time: 10 min
- Cook Time: None
- Total Time: 26 minute
- Yield: 12 mini sandwiches 1x
Ingredients
12 mini whole-wheat rolls or slider buns
½ cup hummus (classic or roasted red pepper)
1 cucumber, thinly sliced
1 red bell pepper, cut into thin strips
1 carrot, shredded
Baby spinach or arugula
Salt & black pepper to taste
Optional upgrades: crumbled feta or a drizzle of balsamic glaze
Instructions
Slice rolls in half and spread hummus generously on both sides.
Layer cucumber, bell pepper, carrot, and greens on the bottom halves.
Season lightly with salt and pepper.
Close sandwiches and press gently. Use toothpicks if needed to hold them together.
Add feta or balsamic glaze for extra flavor if desired.
Nutrition
- Calories: 130
- Fat: 5g
- Carbohydrates: 17g
This recipe will always make me think of my daughter, Lily, and a particularly sunny Saturday afternoon. She was about five, perched on the kitchen counter (my official little sous-chef), her legs swinging as she surveyed a rainbow of veggies I’d just brought home from the farmer’s market. Our mission was to create a “tea party” for her stuffed animals, but mom needed real food, too.
I started spreading hummus on tiny rolls, and her eyes lit up. “Can I make the patterns, Mama?” she asked. What followed was the most delightful mess. She meticulously placed cucumber coins like little green moons, made “confetti” from shredded carrots, and declared that every sandwich needed a “blanket” of spinach. It was slow, it was messy (oh, the carrot shreds everywhere!), but it was pure, unadulterated joy. We weren’t just making lunch; we were building edible art. And you know what? Those were the best-tasting sandwiches I’d ever had. They tasted like laughter and togetherness.
Now, whenever I assemble these, that memory comes rushing back. It’s a reminder that the best recipes aren’t about perfection. They’re about the experience—the colors, the textures, the shared moment. These mini sandwiches carry that spirit of playful, joyful creation, and I hope they spark a little of that magic in your kitchen, too.
Gathering Your Colorful Crew: Ingredients & Insights
Here’s the beautiful part: this is less of a strict shopping list and more of an invitation to play with what you love and have on hand. Let’s break it down.
- 12 mini whole-wheat rolls or slider buns: The foundation! I love the nutty flavor and extra fiber of whole wheat, but any soft mini bun, brioche slider, or even small pita pockets will work beautifully. Chef’s Insight: If you can find them, “ Hawaiian sweet roll” style buns add a delightful touch of sweetness that pairs amazingly with the savory veggies.
- ½ cup hummus (classic or roasted red pepper): This is your flavor anchor and glue. I’m a sucker for roasted red pepper hummus for its smoky sweetness, but classic garlic, lemon-dill, or even a spicy sriracha hummus are all fantastic choices. Pro Tip: Don’t be shy with it! A generous spread on both halves of the bun acts as a moisture barrier against the veggies, keeping your bread perfectly soft.
- 1 cucumber, thinly sliced: I prefer Persian or English cucumbers for their thin skins, minimal seeds, and super crisp texture. No need to peel! Their cool, refreshing crunch is essential.
- 1 red bell pepper, cut into thin strips: The pop of color and sweet, juicy crunch. Yellow or orange bells are great, too, for a sunset effect.
- 1 carrot, shredded: Adds a sweet earthiness and that wonderful confetti-like texture. A box grater works, but for ultra-fine, fluffy shreds, I swear by my microplane.
- Baby spinach or arugula: Our green layer! Baby spinach is mild and tender, while arugula brings a welcome, peppery punch. Either one adds a nutrient boost and beautiful color.
- Salt & black pepper to taste: Never underestimate the power of a simple seasoning. A tiny pinch of flaky salt and a crack of fresh pepper over the veggies makes all the flavors sing.
- Optional upgrades: This is where you shine! Crumbled feta or goat cheese adds creamy saltiness. A drizzle of balsamic glaze or a squeeze of lemon juice brings bright acidity. A sprinkle of everything bagel seasoning or a few fresh dill fronds? Perfection.
Building Your Mini Masterpieces: A Step-by-Step Guide
Ready to assemble? Let’s do this. Clear a little space, put on some good music, and let’s create.
- Slice & Spread. Gently slice your mini rolls in half horizontally. Now, take your hummus and spread a lovely, even layer on both the top and bottom halves. This double-layer technique is my #1 hack! It locks in moisture, adds incredible flavor to every bite, and prevents the bread from getting soggy from the veggies.
- Layer with Love. On the bottom halves, start building your vegetable tower. I like to start with the flattest items first: place a couple of cucumber slices down, then a few strips of bell pepper. Next, take a small pinch of that fluffy shredded carrot and create a little mound. Finally, top with a small handful of your greens. The order isn’t strict, but this method helps everything sit neatly. Chef’s Whisper: Don’t over-stuff! We want a delightful stack, not a veggie avalanche that won’t close.
- Season Simply. Right over your vegetable stack, give a very light sprinkle of salt and a few grinds of fresh black pepper. This small step seasons the vegetables directly and makes a world of difference.
- Close & Secure. Place the top bun (hummus-side-down, of course) gently onto your veggie pile. Press down lightly with the palm of your hand to compact everything just enough so it holds together. If you’re making these ahead for a party or they’re particularly tall, a decorative toothpick poked right through the center is both practical and cute!
- Upgrade & Garnish (The Fun Part!). This is your moment to personalize. Drizzle a tiny zigzag of balsamic glaze over the tops, or sprinkle on some crumbled feta. A final garnish of fresh herbs makes them look straight out of a café.
And that’s it! You’ve just created a platter of pure, edible happiness. See? Joyful, not stressful.
Serving Up the Sunshine
Presentation is part of the fun! For a party, arrange these colorful bites on a large wooden board or a beautiful platter. Tuck in some extra veggie sticks, olives, or grapes around the edges for a gorgeous, abundant look. For lunchboxes, pack 2-3 in a container with a side of fruit or a few whole-grain crackers. They’re perfect for picnics, book club snacks, or a light and refreshing weekday lunch that actually excites you to open the fridge.
Make It Your Own: Endless Twists & Swaps
The true beauty of this recipe is its flexibility. Here are a few of my favorite ways to mix it up:
- Mediterranean Marvel: Swap in a lemon-herb hummus, add sliced Kalamata olives, thin red onion slices, and a sprinkle of dried oregano.
- “Everything Bagel” Style: Use plain hummus and after assembling, roll the outer edge of the sandwich in everything bagel seasoning. So good!
- Spicy Southwest: Opt for a black bean or cilantro-lime hummus. Add sliced jalapeño, avocado slices, and a sprinkle of smoked paprika.
- Gluten-Free/Vegan: It’s naturally vegan! For gluten-free, simply use your favorite GF slider buns or even sturdy lettuce cups as the “bread.”
- Add Protein: For an extra boost, add sliced hard-boiled egg, grilled chicken strips, or smoked turkey.
Anna’s Chef Notes & Kitchen Stories
Over the years, this “recipe” has evolved from a simple cucumber sandwich into a canvas for whatever is seasonal and inspiring. I’ve made them with beet hummus and microgreens in the fall, and with zucchini ribbons and pesto in the summer. The core idea remains: fresh + creamy + crunchy + fun.
A funny lesson learned? I once tried to make “gourmet” mini sandwiches for a large party and decided to individually wrap each one in delicate parchment paper with twine. It took me two hours and my kitchen looked like a craft store exploded. Now? I plop them proudly on a big platter and let people grab them. Easy, approachable, and always a hit. Remember, the goal is delicious food and happy people, not perfection!
Your Questions, Answered!
Q: Can I make these ahead of time? Will the bread get soggy?
A: You absolutely can! My double-hummus-barrier trick is key here. For best results, assemble them no more than 3-4 hours before serving and store them in a single layer in the fridge, covered lightly with plastic wrap. The veggies will stay crisp and the bread perfectly soft.
Q: What’s the best hummus to use? Store-bought or homemade?
A: No judgment here—a high-quality store-bought hummus is a fantastic time-saver! I always have a tub in my fridge for quick meals. If you have the time, homemade is divine and lets you control the garlic and lemon levels. You can’t go wrong either way.
Q: My sandwiches are falling apart! Help!
A: Two tricks: First, don’t overstuff. A neat, moderate pile is better than a mountain. Second, the humble toothpick is your best friend for stability, especially for party food. For lunchboxes, you can also use smaller, sturdier bread like a dense whole-grain dinner roll.
Q: Any other veggie suggestions?
A: So many! Thinly sliced radishes add a peppery bite, shredded purple cabbage brings gorgeous color and crunch, and avocado slices (add right before serving) contribute creamy richness. Let your fridge guide you!
Nutritional Information (Per Mini Sandwich, approximate)
Calories: ~130 | Protein: 4g | Carbohydrates: 17g | Fiber: 3g | Fat: 5g
Note: Nutrition calculated using classic hummus and whole-wheat rolls. Values will vary based on specific ingredients and toppings used.
Final Thoughts
These Mini Veggie & Hummus Sandwiches are proof that fresh, simple ingredients can create something truly special. The combination of creamy hummus, crisp, colorful vegetables, and soft mini rolls makes every bite feel joyful, satisfying, and just a little festive. They’re perfect for parties, lunchboxes, or a light weekday lunch that feels exciting rather than routine.
The real magic is in their versatility. Swap in seasonal veggies, try a new hummus flavor, or add a sprinkle of cheese or fresh herbs to make them your own. They hold up beautifully for a few hours, travel well, and even invite creative plating for entertaining.
Quick, approachable, and endlessly customizable, these mini sandwiches are a go-to recipe when you want something fresh, flavorful, and fun to eat. Every bite is a little reminder that healthy eating can be colorful, crunchy, and utterly delightful.