Cookies and Cream Cookies: A Whimsical Twist on a Classic Treat
Introduction
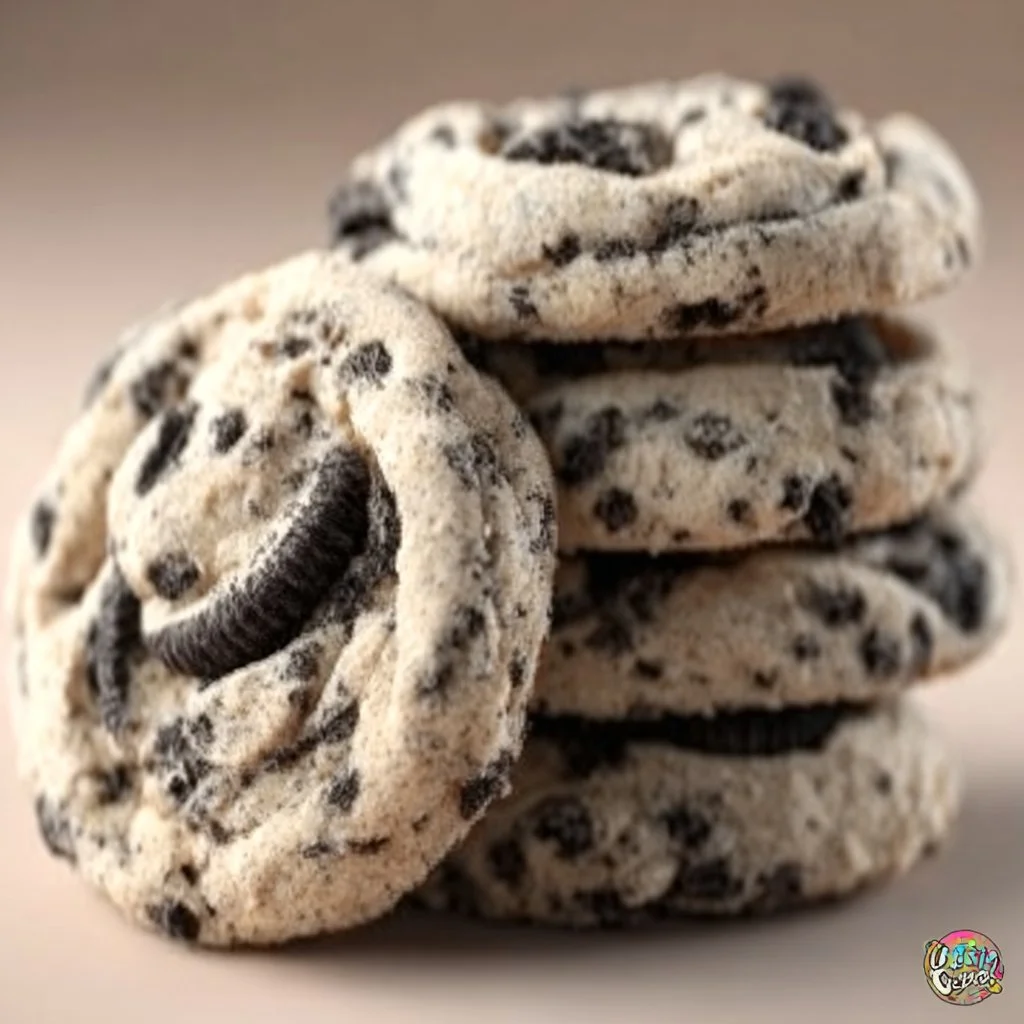
Hey there, my friend! If you’re ready to dive into a world of flavor and nostalgia, you’re in for a treat. Today, we’re whipping up something that’ll make your taste buds do the happy dance: Cookies and Cream Cookies! Who can resist the delightful flavor combo of chocolate cookies and cream? These little beauties are not just cookies; they’re a delightful journey back to our favorite childhood moments where cookies were not just treats, but a celebration.
Picture this: It’s a sun-soaked afternoon, the smell of chocolate wafting through the house, and laughter filling the air. The cookie jar is overflowing, and my family gathers around, each of us expecting to snag the last one. These cookies take me right back to my grandma’s kitchen, where we rolled dough together and made a grand mess that my grandpa would swoop in to help clean. Those memories are the heart of my cooking—the joy of gathering around food, sharing stories, and creating flavors that linger long after the last bite.
So, let’s get that oven preheated and those mixing bowls ready because I can’t wait for you to experience the magic of these Cookies and Cream Cookies! Not only are they scrumptious, but they also allow you to play a little in the kitchen—just like we did as kids.
Personal Story
Now, let me take you back a few years. It was a lazy Sunday afternoon, and I had the urge to bake. As I rummaged through my pantry, I stumbled upon a forgotten package of crushed cookies, remnants of an earlier baking endeavor that never quite saw the light of day. Then it hit me—why not transform those delicious crumbs into something spectacular? The idea for Cookies and Cream Cookies blossomed! Armed with a hefty dose of curiosity and a bit of courage, I whipped up a batch. The first taste was pure magic: rich chocolatey goodness infused with sweet cream. Each bite was a reminder of childhood adventures—those ice-cream-filled summer days and the joy of sharing cookies with my loved ones.
This recipe was born out of spontaneity and a love for flavor, and it’s become a family favorite ever since. I’m sure you’ll find your own little moments of nostalgia while baking and indulging in these delightful cookies!
Ingredients
Here’s what you’ll need to get started on these delightful Cookies and Cream Cookies:
-
1 cup unsalted butter, softened
This is the fat that brings richness and tenderness to your cookies. If you’re in a pinch, use margarine or coconut oil for a dairy-free alternative. -
1 cup granulated sugar
This sweetener helps create that lovely crisp edge. You can swap it with brown sugar for a deeper flavor if you like a chewier texture. -
1 cup brown sugar, packed
Brown sugar adds moisture and delicious caramel notes. For a lower-sugar version, consider using coconut sugar instead! -
2 large eggs
These help bind everything together. Flax eggs (1 tablespoon flaxseed meal + 2.5 tablespoons water = 1 egg) are a great vegan option here! -
2 teaspoons pure vanilla extract
Vanilla amplifies the sweetness and balances flavors. Go for the real stuff! Store-bought vanilla extract has its place, but homemade can elevate your cookies further. -
3 cups all-purpose flour
This is the foundation of your cookie dough. If you want a gluten-free version, you can try a gluten-free 1:1 baking blend. -
1 teaspoon baking soda
This will help your cookies rise beautifully, making them light and fluffy. -
1 teaspoon salt
Don’t skip this! It enhances all the flavors and ensures your cookies aren’t overly sweet. -
2 cups crushed chocolate sandwich cookies
This is where the magic happens! The crushed cookies infuse rich chocolate flavor and delightful creaminess. Any brand will do, but I love using classic Oreos! -
1 cup white chocolate chips
These hidden gems add another sweet layer of flavor. If white chocolate isn’t your thing, feel free to swap with dark chocolate chips or even caramel bits!
Step-by-Step Instructions
Alright, let’s roll up those sleeves and get baking! Follow these steps, and I promise you’ll be the star of your own baking show.
-
Preheat the Oven
Preheat your oven to 350°F (180°C). This step is crucial as it ensures that your cookies bake evenly for that perfect golden texture. -
Cream the Butter and Sugars
In a large mixing bowl, cream together the softened unsalted butter, granulated sugar, and brown sugar until light and fluffy—about 2-3 minutes. The fluffiness comes from incorporating air into your mixture, which gives the cookies that lift we all love. -
Add in the Eggs and Vanilla
Next, add the eggs one at a time, mixing well after each addition. Then include the pure vanilla extract. This helps combine all your wet ingredients smoothly. You want everything to come together without any lumps! -
Whisk Dry Ingredients
In a separate bowl, whisk together the all-purpose flour, baking soda, and salt. This helps combine the dry components evenly, ensuring that every cookie has just the right amount of rise and flavor. -
Combine Wet and Dry
Gradually add the dry mixture into the wet mixture, mixing until just combined. Be careful not to over-mix! We want tender cookies, not tough ones. -
Fold in the Goodies
Now, gently fold in the crushed chocolate sandwich cookies and white chocolate chips. Imagine the deliciousness that’s about to come—those chunks of cookie goodness and creamy bites make the perfect combination! -
Scoop the Dough
Using a cookie scoop or a tablespoon, drop dough onto a greased baking sheet or a parchment-lined one. Leave enough space (about 2 inches) between each mound to avoid cookies merging into one epic cookie! -
Bake to Perfection
Bake in the preheated oven for 10–12 minutes, or until the edges are lightly golden. They will look slightly underbaked in the center, but don’t worry—carryover cooking will take care of that! -
Cool and Enjoy
Allow the cookies to cool on the baking sheet for a few minutes before transferring them to a wire rack. This helps them firm up just enough to retain their chewy texture.
Serving Suggestions
When you’re ready to serve, try stacking these Cookies and Cream Cookies on a lovely plate, and if you’re feeling extra fancy, serve them with a scoop of vanilla ice cream on the side! Dust with a sprinkle of powdered sugar for a touch of elegance, or drizzle a bit of melted chocolate on top for a stunning presentation. Trust me; any way you choose to serve them, your friends and family will be singing your praises!
Recipe Variations
- Minty Fresh: Add a few drops of peppermint extract to give your cookies a festive mint twist!
- Nutty Delight: Toss in some chopped nuts (like walnuts or pecans) for an extra crunch.
- Choco-Chip Switch-Up: Use dark chocolate chips instead of white chocolate for a richer flavor.
- Seasonal Spices: Add a pinch of cinnamon or nutmeg for a warm, cozy flavor—perfect for the fall!
- Nut-Free Option: Simply omit any nuts and ensure that your chocolate sandwich cookies are nut-free to cater to allergies.
Chef’s Notes
These Cookies and Cream Cookies have a special place in my heart, and they’ve evolved over time. Initially born from a moment of spontaneity, they have changed with every batch I’ve whipped up. Each time I bake them, I’m reminded of my grandma and those sunny afternoons in her kitchen. If I’m craving something even creamier, I sometimes add a layer of buttercream frosting between two cookies to create a delightful cookie sandwich.
And trust me, there’s no wrong way to enjoy them—my family loves them straight from the oven, while I sometimes like to make them a little more extravagant with a scoop of ice cream in between!
FAQs and Troubleshooting
Q: Why are my cookies flat?
A: Flat cookies often mean there’s too much melted butter. Make sure your butter is softened and not melted. Also, check your oven temperature—if it’s too low, they’ll spread too much!
Q: How long do these cookies stay fresh?
A: Store them in an airtight container at room temperature, and they should last about a week…if they last that long!
Q: Can I freeze the dough?
A: Absolutely! You can freeze the cookie dough for up to three months. Just scoop it onto a baking sheet, freeze until solid, then transfer to a freezer bag. You can bake straight from the freezer; just add a couple of extra minutes to the baking time!
Q: What if I don’t have all the ingredients?
A: No worries! Baking is forgiving. Substitutions like using vegetable oil instead of butter (although the flavor will change) or trying different types of sugar can yield delightful results. Just remember that consistency might vary!
Nutritional Info
(Provided per cookie, based on 24 servings)
- Calories: 150
- Total Fat: 7g
- Saturated Fat: 4.5g
- Cholesterol: 18mg
- Sodium: 95mg
- Total Carbohydrates: 20g
- Dietary Fiber: 1g
- Sugars: 9g
- Protein: 2g
Final Thoughts
Baking is all about joy, creativity, and connection. These Cookies and Cream Cookies are more than just a sweet treat—they’re a reminder to find joy in the little moments, whether it’s sharing them with friends, enjoying them with coffee, or reliving your favorite memories with family. So what are you waiting for? Grab your ingredients and let’s get baking! May your kitchen be filled with warmth, laughter, and, of course, the delightful aroma of fresh cookies! Happy baking, my friend! 🍪✨
PrintCookies and Cream Cookies
Delightful Cookies and Cream Cookies that combine rich chocolate flavor with sweet cream, perfect for nostalgic moments.
- Prep Time: 15 minutes
- Cook Time: 12 minutes
- Total Time: 27 minutes
- Yield: 24 cookies 1x
- Category: Dessert
- Method: Baking
- Cuisine: American
- Diet: Vegetarian
Ingredients
- 1 cup unsalted butter, softened
- 1 cup granulated sugar
- 1 cup brown sugar, packed
- 2 large eggs
- 2 teaspoons pure vanilla extract
- 3 cups all-purpose flour
- 1 teaspoon baking soda
- 1 teaspoon salt
- 2 cups crushed chocolate sandwich cookies
- 1 cup white chocolate chips
Instructions
- Preheat your oven to 350°F (180°C).
- Cream together the softened unsalted butter, granulated sugar, and brown sugar until light and fluffy, about 2-3 minutes.
- Add the eggs one at a time, mixing well after each addition, then include the pure vanilla extract.
- Whisk together the all-purpose flour, baking soda, and salt in a separate bowl.
- Combine the dry mixture into the wet mixture gradually, mixing until just combined.
- Fold in the crushed chocolate sandwich cookies and white chocolate chips.
- Scoop dough onto a greased baking sheet, leaving enough space between each mound.
- Bake for 10–12 minutes, or until the edges are lightly golden.
- Cool on the baking sheet for a few minutes before transferring to a wire rack.
Notes
Serve these cookies warm or with a scoop of vanilla ice cream for an extra treat!
Nutrition
- Serving Size: 1 cookie
- Calories: 150
- Sugar: 9g
- Sodium: 95mg
- Fat: 7g
- Saturated Fat: 4.5g
- Unsaturated Fat: 2.5g
- Trans Fat: 0g
- Carbohydrates: 20g
- Fiber: 1g
- Protein: 2g
- Cholesterol: 18mg
Keywords: cookies, desserts, baking, chocolate, cream, nostalgic