***
Your New Favorite Cookie Recipe is Just a Cake Mix Away!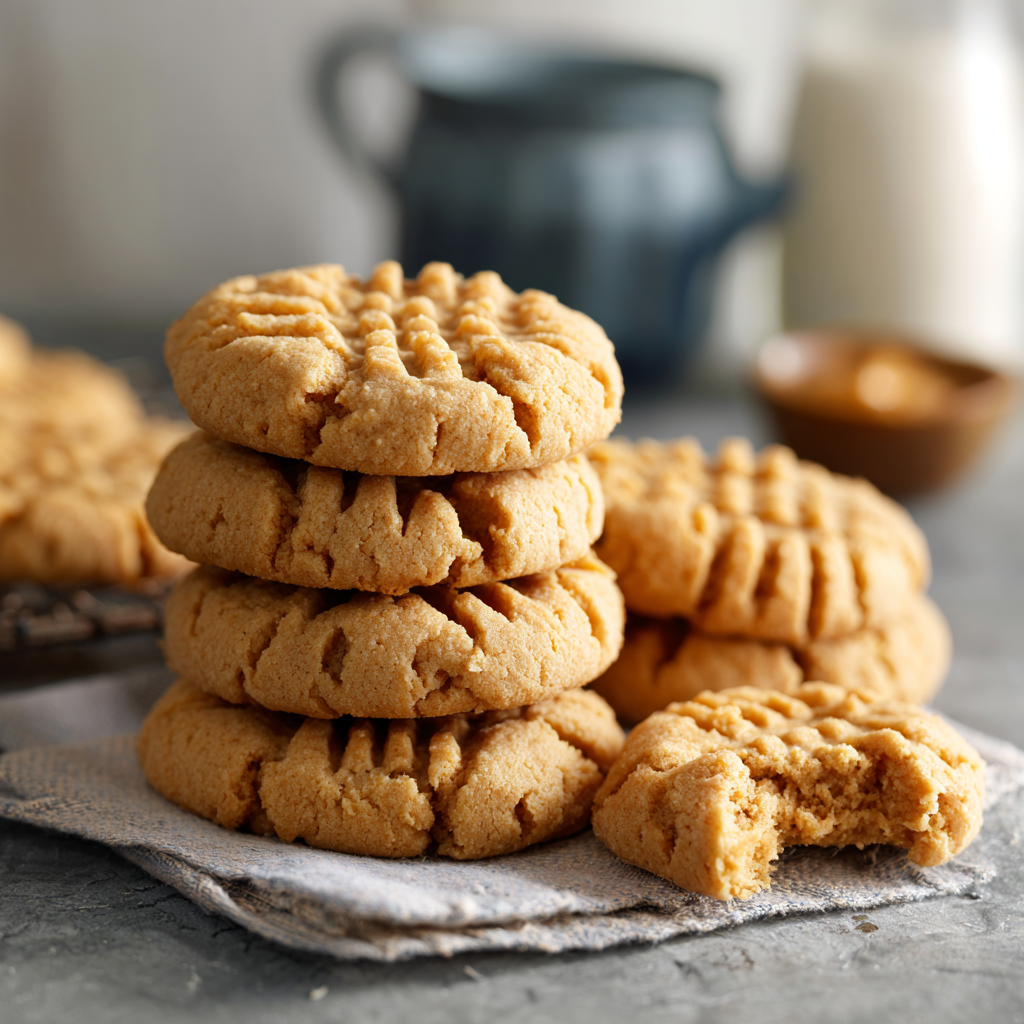
Hey there, friend! Let’s be real for a second. Do you ever have one of those days where a cookie craving hits you like a ton of bricks, but the thought of hauling out the stand mixer, sifting three different types of flour, and meticulously measuring baking soda and powder just feels… like too much? I’ve been there more times than I can count. As much as I adore a from-scratch baking project, life gets busy, and sometimes, magic needs to happen fast.
That’s precisely why I’m head-over-heels for these unbelievably easy Cake Mix Peanut Butter Cookies. This recipe is my not-so-secret weapon for creating soft, chewy, and perfectly nostalgic peanut butter cookies that look and taste like you spent all afternoon in the kitchen. The truth is, you’ll only need about 10 minutes and four simple ingredients you probably already have in your pantry.
Using a box of yellow cake mix as our shortcut hero, we’re skipping all the fuss without sacrificing an ounce of flavor. The result? A cookie that’s soft and tender in the middle, with those delightfully crisp edges we all love, and that classic crisscross pattern that just screams “home.” Whether you’re whipping up a batch for a last-minute bake sale, satisfying a late-night sweet tooth, or baking with little helpers who have zero patience, this recipe is your new best friend. So, let’s ditch the stress and bake up a little joy together!
A Little Cookie Story: My First Bake Sale Triumph
PrintCake Mix Peanut Butter Cookies : Soft, Classic & Foolproof

This easy recipe turns pantry staples into the perfect peanut butter cookie—soft in the middle, lightly crisp on the edges, and full of rich, nutty flavor. Using yellow cake mix as a shortcut, these cookies come together in minutes with no fuss. Great for bake sales, quick treats, or nostalgic afternoon snacks.
- Prep Time: 10 minutes
- Cook Time: 12 minutes
- Total Time: 22 minutes
- Yield: 15 cookies 1x
Ingredients
Easy Cake Mix Peanut Butter Cookies – Just 4 Ingredients
Ingredients
1 cup creamy peanut butter
2 large eggs
½ cup vegetable oil (or melted butter for extra richness)
1 box yellow cake mix (15.25 oz)
Instructions
Preheat oven to 350°F (175°C). Line a baking sheet with parchment paper.
In a large mixing bowl, combine peanut butter, eggs, and oil. Mix until smooth.
Slowly add in the dry cake mix, stirring until a thick dough forms.
Roll dough into 15 evenly sized balls and place on prepared baking sheet.
Using a fork, press down on each ball in a crisscross pattern to create the classic peanut butter cookie look.
Bake for 10–15 minutes, or until the edges are lightly golden. Let cool on the sheet for 5 minutes before transferring to a wire rack.
Nutrition
- Calories: 200
- Sugar: 9g
- Fat: 12g
- Carbohydrates: 18g
- Protein: 4g
I’ll never forget the first time I truly fell in love with the power of a simple peanut butter cookie. I was in the third grade, facing down my very first school bake sale. The pressure was on! My mom, wonderful as she was, was not a natural baker. Her attempts at from-scratch chocolate chip cookies often turned into what we affectionately called “cookie brittle.”
One afternoon, a kind neighbor saw me fretting on our front steps and shared her “cheat” recipe—a magical formula involving a box of cake mix and a jar of peanut butter. We made them together that evening, and I was mesmerized. I got to roll the dough into little balls and press the crisscross pattern with a fork, feeling like a true pastry chef. The next day at the bake sale, my plate of cookies was the first to sell out. The look of pride on my face must have been priceless. It was the moment I realized that the best recipes aren’t about being complicated; they’re about being shared, loved, and creating happy memories, one simple, delicious bite at a time.
Gather Your Ingredients: The Fantastic Four
Ready to see the magic? Here’s all you need. I’ve included my favorite little tips and swaps for each ingredient to make this recipe truly your own.
- 1 box (15.25 oz) Yellow Cake Mix – This is our secret weapon! The cake mix already has the perfect blend of flour, sugar, and leavening agents, which means we get to skip like, five steps. Chef’s Insight: I prefer the classic “butter recipe” or “moist” yellow cake mixes for an extra-rich flavor, but any standard brand works beautifully.
- 1 cup Creamy Peanut Butter – The star of the show! This is what gives our cookies that deep, nutty flavor and wonderfully soft, dense texture. Substitution Tip: You can use crunchy peanut butter if you love a little texture, but creamy will give you that classic, smooth finish. For a natural peanut butter, just make sure it’s well-stirred, but note the dough might be a tad oilier.
- 2 large Eggs – Our trusty binders. Eggs bring everything together, add structure, and contribute to that lovely golden-brown color. Chef’s Insight: Make sure your eggs are at room temperature! They incorporate into the dough much more easily, giving you a smoother, more uniform cookie.
- ½ cup Vegetable Oil – This is the key to a super soft and moist cookie that stays tender for days. Substitution Tip: If you’re feeling a little decadent, you can swap this for melted (and slightly cooled) butter. It will give the cookies a richer, more buttery flavor and a slightly crispier edge.
Let’s Bake! Your Foolproof, Step-by-Step Guide
Okay, apron on? Let’s do this! I’ll walk you through each step with a few of my favorite chef hacks to ensure cookie perfection.
- Preheat your oven to 350°F (175°C) and line a baking sheet with parchment paper. This isn’t just busywork! Preheating is non-negotiable for even baking. And the parchment paper? It’s my ultimate kitchen hack. It prevents sticking and makes cleanup an absolute dream. No scrubbing required! If you don’t have parchment, a light coating of non-stick spray will work in a pinch.
- In a large mixing bowl, combine the peanut butter, eggs, and oil. Grab a big bowl—trust me, you’ll need the space. Using a sturdy wooden spoon or a silicone spatula, mix these three wet ingredients together until they are completely smooth and beautifully glossy. You’re looking for a consistent, creamy mixture with no streaks of egg or oil. Little Chef Hack: If you used melted butter, make sure it’s cooled down so it doesn’t start cooking the eggs when you mix it in!
- Gradually add the dry cake mix to the wet ingredients. Now, here’s where the transformation happens! I like to add the cake mix in two or three parts, stirring gently after each addition. At first, it might seem too dry, but keep faith! As you stir, it will magically come together into a thick, slightly sticky, and incredibly fragrant dough. Don’t overmix here—just stir until you no longer see any dry streaks of cake mix.
- Roll the dough into 15 evenly sized balls. To make sure all our cookies bake at the same rate, we want them to be roughly the same size. I use a medium cookie scoop (about 1.5 tablespoons) for perfect portioning every time, but a regular spoon and your hands work just fine. Roll them gently between your palms—you want them smooth, but don’t compact the dough too tightly.
- Place the dough balls on your prepared baking sheet and use a fork to press a classic crisscross pattern into the top of each one. Leave about 2 inches between each ball, as they will spread a little. Now for the signature look! Dip the tines of your fork in a little sugar or extra cake mix to prevent sticking, then gently press down on one ball to flatten it slightly. Turn the fork 90 degrees and press again to create that beautiful grid. You’re not just making them pretty—this helps them bake evenly!
- Bake for 10-12 minutes, or until the edges are lightly golden. Ovens can be sneaky, so I always recommend starting to check at the 10-minute mark. You’re looking for lightly golden edges while the centers might still look a tiny bit soft and puffy. This is the secret to a soft cookie! They will continue to cook on the hot baking sheet as they cool. Overbaking is the number one enemy of a chewy peanut butter cookie.
- Let the cookies cool on the baking sheet for 5 minutes before transferring them to a wire rack. I know, the temptation is real! But this waiting period is crucial. The cookies are still very delicate right out of the oven. Letting them rest on the sheet allows them to set up perfectly, so you can move them without them falling apart. Then, transfer them to a wire rack to cool completely.
How to Serve Up These Smiles
Now for the best part! These cookies are heavenly all on their own, still slightly warm from the oven. But why stop there? For the ultimate comfort food experience, place a warm cookie on a small plate and serve it with a tall, ice-cold glass of milk for dipping. If you’re feeling extra fancy, sandwich a scoop of vanilla ice cream between two cookies for an epic, instant ice cream sandwich. They also make a gorgeous addition to a dessert platter at parties—just watch them disappear!
Get Creative! Fun Recipe Variations
Once you’ve mastered the classic, have some fun and make this recipe your own! Here are a few of my favorite twists:
- Chocolate Chip Peanut Butter Bliss: Stir in ½ cup of semi-sweet or milk chocolate chips into the dough before scooping.
- Peanut Butter & Jelly Thumbprints: Instead of the crisscross, press your thumb into the center of each dough ball and fill the well with a dollop of your favorite jam or jelly before baking.
- Double Peanut Power: Use crunchy peanut butter and add ½ cup of chopped, salted peanuts for an extra nutty crunch.
- Gluten-Free & Vegan Friendly: Use a certified gluten-free yellow cake mix. For a vegan version, use a vegan cake mix, substitute the eggs with flax eggs (2 tbsp ground flaxseed + 5 tbsp water, let sit for 5 mins), and use your favorite plant-based peanut butter.
Anna’s Chef Notes & Kitchen Stories
This recipe has been a staple in my kitchen for years, and it’s evolved in the funniest ways. I once had a baking session with my nephew where we decided to be “rebellious” and not press the cookies with a fork. We just plopped the dough balls on the sheet. The result? They baked into these funny, domed little mounds that were still delicious, but we learned our lesson—the crisscross isn’t just for looks, it’s for texture, too!
Over time, I’ve found that letting the dough sit for 10-15 minutes after mixing helps the cake mix hydrate fully, leading to an even better texture. And if you’re a salt fiend like me, don’t be afraid to sprinkle a tiny bit of flaky sea salt on top of the cookies right when they come out of the oven. It’s a game-changer!
Your Questions, Answered!
I’ve gotten so many wonderful questions about this recipe over the years. Here are the most common ones to help you bake with confidence!
Q: My dough is really dry and crumbly. What did I do wrong?
A: Don’t worry, we can fix this! Different cake mix brands and peanut butters can have slight variations in moisture. If your dough seems too dry to roll, simply add a tablespoon of water or milk (or even a touch more oil) at a time, mixing after each addition, until it comes together. It should be pliable but not overly sticky.
Q: Can I use a different flavor of cake mix?
A: Absolutely! This is a fantastic way to experiment. A chocolate cake mix will give you the most amazing chocolate-peanut butter cookies. A spice cake mix creates a wonderfully warm, autumnal flavor. Just stick with the standard 15.25-ounce size for the best results.
Q: Why are my cookies flat and spread out too much?
A> This usually happens if your dough is too warm. If your kitchen is particularly hot, or if you used very warm butter/oil, pop the dough balls on the baking sheet into the refrigerator for 10-15 minutes before baking. This chills the fat, which helps the cookies hold their shape better in the oven.
Q: How do I store these cookies to keep them soft?
A> The oil in this recipe is a fantastic preservative! To keep them soft and chewy, store the completely cooled cookies in an airtight container at room temperature. They’ll stay perfect for up to 5 days. You can also freeze the baked cookies for up to 3 months, or freeze the unbaked dough balls and bake them straight from the freezer (just add 1-2 minutes to the baking time).
Quick Nutrition & Prep Info
Please note: This is an approximate estimate based on the specific ingredients I used and can vary greatly depending on the brands you choose.
Prep Time: 10 minutes | Bake Time: 12 minutes | Total Time: 22 minutes | Servings: 15 cookies
Per Cookie (Approx.): Calories: 200 | Fat: 12g | Carbs: 18g | Sugar: 9g | Protein: 4g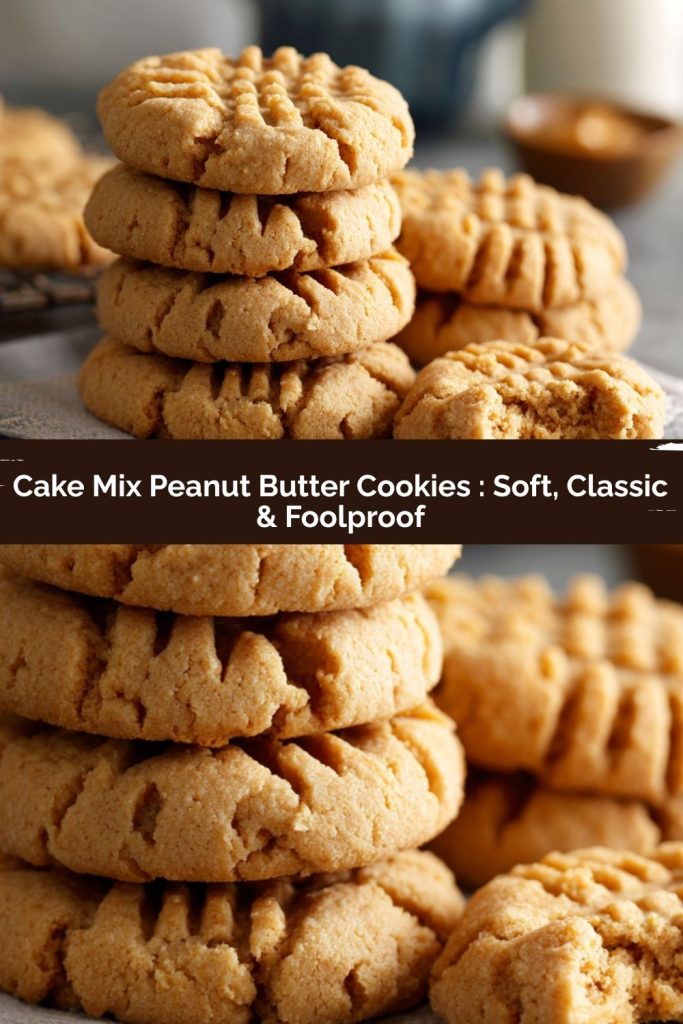
Final Thoughts
You know, every time I bake these cookies, I’m reminded that joy doesn’t have to be complicated. A box of cake mix, a jar of peanut butter, and a little bit of love can turn an ordinary afternoon into something special. There’s just something about that familiar crisscross pattern, the buttery aroma filling the kitchen, and that first soft, chewy bite that takes you straight back to childhood.
These Cake Mix Peanut Butter Cookies are proof that shortcuts can still lead to something magical. They’re the kind of cookie that invites you to slow down, share a few laughs, and sneak one (or three) while they’re still warm. So go ahead—keep this recipe close. Because when life gets busy, and you need a little sweetness in a hurry, this is the kind of comfort that never lets you down.