***
Ditch the Guilt, Keep the Gooey Goodness: My Magical Cauliflower Mac & Cheese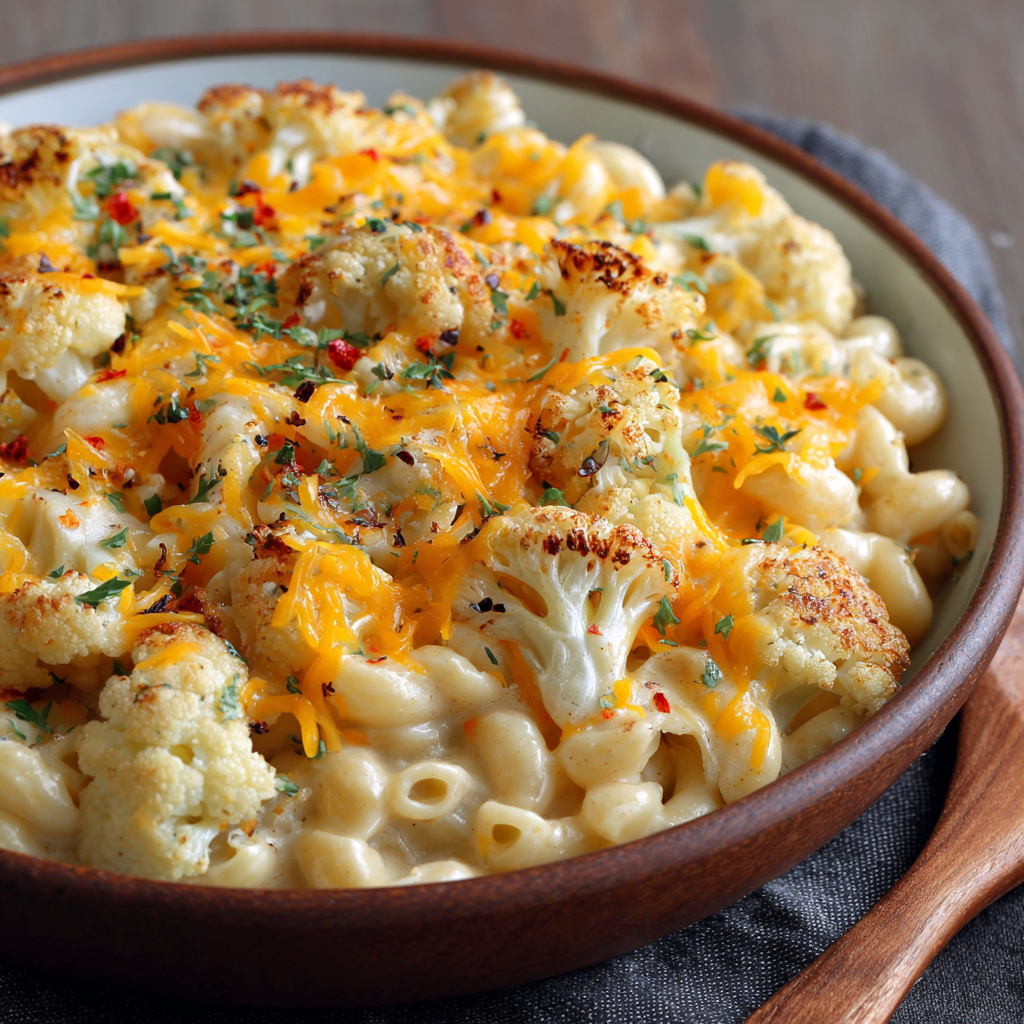
Hey there, friend! Let’s talk about mac and cheese for a second. That iconic, soul-warming, couldn’t-be-more-comforting dish we all know and love. It’s the culinary equivalent of a big, warm hug, right? But sometimes, after that second (or let’s be real, third) helping, that hug can start to feel a little… heavy. We’ve all been there, lounging on the couch, feeling supremely satisfied but also a tad weighed down by all that rich decadence.
What if I told you we could keep every single bit of that creamy, cheesy, utterly satisfying comfort but sneak in a powerful punch of veggies? A version that feels indulgent and nourishing at the same time? Enter my secret weapon: this incredibly dreamy Cauliflower Mac & Cheese.
Now, before you raise an eyebrow, hear me out! This isn’t one of those recipes where you just toss a few sad florets into your cheese sauce. Oh no. We’re getting sneaky-smart here. We’re roasting a whole head of cauliflower until it’s golden and sweet, then blending it right into the sauce itself. The result? A sauce that’s impossibly velvety, packed with flavor, and secretly loaded with good-for-you nutrients. It’s a game-changer, a weeknight hero, and a dish that will have everyone—yes, even the pickiest eaters at your table—asking for seconds. So, let’s grab our favorite pots and turn an ordinary day into a deliciously clever one!
The Mac & Cheese That Won Over My Niece
PrintCauliflower Mac & Cheese

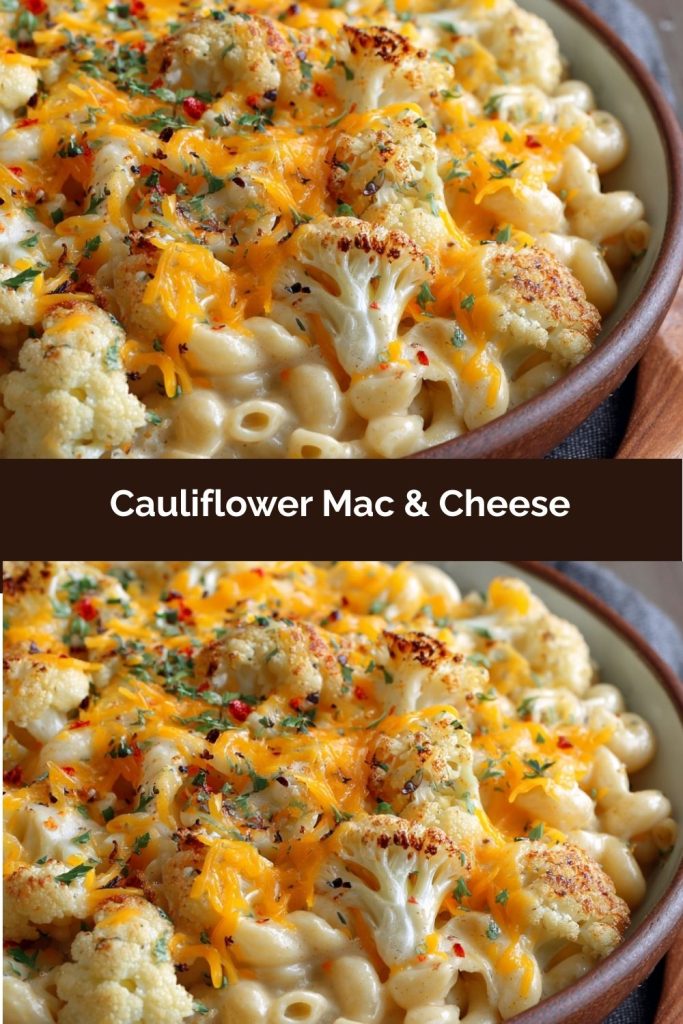
Creamy, cheesy, and secretly loaded with veggies—this cauliflower mac & cheese blends roasted cauliflower into a rich cheese sauce for a lighter take on the classic. It’s velvety, comforting, and full of flavor, with the added bonus of extra nutrients hidden in every bite. A smart, delicious way to satisfy your mac cravings.
- Prep Time: 10 minutes
- Cook Time: 25 minutes
- Total Time: 35 minutes
- Yield: 4 1x
Ingredients
8 oz elbow macaroni
1 small head cauliflower, chopped
1 tablespoon olive oil
1 1/2 cups milk (preferably whole or 2%)
1 1/2 cups shredded sharp cheddar cheese
1/4 cup grated Parmesan
2 tablespoons butter
Salt and pepper, to taste
Optional: pinch of garlic powder or mustard powder for depth
Instructions
Preheat oven to 400°F (200°C). Toss cauliflower with olive oil, salt, and pepper, then roast for 20–25 minutes until golden and tender.
Meanwhile, cook macaroni until al dente. Drain and set aside.
In a blender, combine roasted cauliflower and milk. Blend until smooth.
Pour cauliflower mixture into a saucepan over medium heat. Stir in butter, cheddar, Parmesan, and any optional seasonings. Cook until cheese is melted and sauce is smooth.
Fold in cooked pasta and stir until well coated. Serve warm.
Nutrition
- Calories: 360
- Fat: 18g
- Carbohydrates: 30g
- Fiber: 3g
- Protein: 18g
This recipe holds a special place in my heart because it was born out of a little bit of love and a whole lot of stubbornness. My niece, Chloe, went through a phase where her diet was proudly beige. Chicken nuggets, fries, buttered noodles—you get the picture. Getting a green vegetable near her was a tactical mission usually ending in failure. But she would inhale a bowl of classic mac and cheese like it was her job.
One Sunday, during our regular “Auntie Anna cooking day,” I decided to get crafty. I told her we were making “Superhero Mac & Cheese” with a secret power-up ingredient. She was suspicious but intrigued. As we roasted the cauliflower, its nutty, almost buttery aroma filled the kitchen. When I blended it into the sauce, she watched, wide-eyed, as it turned into a smooth, creamy potion. The moment of truth came when she took her first bite. She chewed, thought for a second, and then declared, “It’s the best mac and cheese EVER.” She had no idea about the hidden veggie, and I did a silent victory dance right there by the stove. It was a reminder that a little creativity in the kitchen can lead to the most winning, heartwarming results.
Gathering Your Magical Ingredients
This recipe is all about simple, wholesome ingredients coming together to create something truly special. Here’s what you’ll need:
- 8 oz elbow macaroni: The classic vessel for our cheesy sauce. Its little tubes are perfect for catching all that goodness. Feel free to use any small pasta shape you love—cavatappi, shells, or even orecchiette work beautifully!
- 1 small head cauliflower, chopped: Our secret superstar! Roasting it is non-negotiable—it caramelizes the natural sugars, giving a deep, nutty flavor that pure boiling just can’t achieve. You’ll need about 4-5 cups of florets.
- 1 tablespoon olive oil: For roasting our cauli. It helps it get beautifully golden and tender.
- 1 1/2 cups milk (preferably whole or 2%): The base of our luscious sauce. Whole milk will give you the richest, creamiest result, but 2% works great too. For a non-dairy version, unsweetened oat milk or almond milk are fantastic substitutes.
- 1 1/2 cups shredded sharp cheddar cheese: Chef’s tip! Always, always shred your own cheese from a block. Pre-shredded bags contain anti-caking agents that can make your sauce grainy and less smooth. Sharp cheddar gives that classic, tangy punch we all crave.
- 1/4 cup grated Parmesan: The flavor booster! Parmesan adds a salty, umami depth that takes the sauce to another level. Freshly grated is always best.
- 2 tablespoons butter: A little bit of richness to round out the sauce and make it utterly irresistible.
- Salt and pepper, to taste: The essential flavor enhancers. Don’t be shy!
- Optional: pinch of garlic powder or mustard powder: My little chef’s hack! Just a tiny pinch of either (or both!) amplifies the cheesy flavor without being individually detectable. It’s a total flavor power move.
Let’s Create Some Magic: Step-by-Step Instructions
Okay, apron on? Let’s do this! This process is simple, fun, and fills your kitchen with the most incredible aromas.
Step 1: Roast to Perfection
First, preheat your oven to 400°F (200°C). While it’s heating, chop your cauliflower into small, even-sized florets. Toss them on a baking sheet with that tablespoon of olive oil and a good sprinkle of salt and pepper. Get your hands in there and make sure every little piece is lightly coated. This is the first step to building big flavor! Pop the tray in the oven and roast for 20-25 minutes. You’re looking for tender florets with those gorgeous, caramelized brown spots. That color = flavor!
Step 2: Pasta Party
While the cauliflower is working its magic in the oven, bring a large pot of salted water to a boil. Cook your elbow macaroni according to the package directions, but for one minute less than it says—this is called “al dente!” It will finish cooking in the sauce later, so we don’t want it to get mushy. Drain it and set it aside. No need to rinse it—that starchy surface helps the sauce cling on for dear life.
Step 3: The Secret Sauce
This is my favorite part! Carefully transfer your beautifully roasted cauliflower into a blender. Add the milk. Now, blend on high until the mixture is completely, utterly smooth and silky. This might take a full minute or two. You’re creating a luxurious, velvety puree that forms the incredible base of your cheese sauce. Taste it! You’ll be amazed at how sweet and creamy it is already.
Step 4: Bring It All Together
Pour that gorgeous, smooth cauliflower puree into a medium saucepan or, even better, use the same pot you cooked the pasta in (less dishes!). Warm it over medium heat. Now, stir in the butter until it melts. Next, start adding your shredded cheeses a handful at a time, stirring constantly until each addition is fully melted and incorporated before adding the next. This patience ensures a smooth, non-clumpy sauce. Stir in your optional garlic or mustard powder here, if using. Season generously with salt and pepper. You should have a pot of the most beautifully creamy, cheesy sauce you’ve ever seen.
Step 5: The Grand Finale
Add your drained pasta right into the sauce and gently fold it all together until every single piece of macaroni is luxuriously coated in that cheesy, cauliflower-y goodness. Let it warm through for just a minute or two over low heat. Then, it’s time to serve it up!
How to Serve Your Masterpiece
This mac and cheese is glorious all on its own, straight from the pot. For the ultimate comfort food experience, ladle it into deep bowls while it’s still steaming hot. I love to finish it with an extra crack of black pepper and a little sprinkle of fresh chopped chives or parsley for a pop of color and freshness. If you’re feeling extra indulgent, a few extra shreds of cheddar on top never hurt anybody! It’s the perfect main event for a cozy night in, but also makes a fantastic side dish for grilled chicken or roasted pork chops.
Make It Your Own: Delicious Variations
The beauty of this recipe is its versatility! Here are a few of my favorite ways to mix it up:
- Spicy Buffalo Style: Stir in 1/4 cup of your favorite buffalo sauce to the cheese sauce and top with crumbled blue cheese and sliced green onions.
- Protein Power-Up: Add a can of drained tuna, some shredded rotisserie chicken, or crispy chopped bacon for a hearty, complete meal.
- Baked & Crispy Top: Transfer the mixed mac and cheese to a baking dish, top with panko breadcrumbs mixed with a little melted butter and Parmesan, and bake at 375°F for 15-20 minutes for a crispy, golden finish.
- Greek Yogurt Twist: For an extra protein kick and tang, stir in 1/2 cup of plain Greek yogurt at the very end.
- Gluten-Free & Vegan: Use your favorite gluten-free pasta. For a vegan version, use olive oil instead of butter, unsweetened plant-based milk, and your favorite meltable vegan cheeses.
Anna’s Chef Notes & Kitchen Stories
This recipe has evolved so much since that first batch I made for Chloe! I’ve learned that roasting the cauliflower is the absolute key—it removes any potential bitterness and adds a complexity that makes this dish truly special. I’ve also had my fair share of kitchen experiments; one time I got a little over-zealous with the blender and didn’t have the lid on quite right. Let’s just say my kitchen walls got a warm, cheesy cauliflower bath! So, a word to the wise: make sure that blender lid is secure before you hit that button. Lesson learned!
Over time, I’ve found that this sauce is also incredibly forgiving. Don’t have sharp cheddar? Use Gruyère for a fancy twist or Monterey Jack for a super melty, mild sauce. It’s a blank canvas for your culinary creativity. This dish has become a weekly staple in our house, and I hope it finds a special place in yours, too.
Your Questions, Answered!
Q: My sauce turned out a bit grainy. What happened?
A: This is almost always a cheese issue! The most common culprit is pre-shredded bagged cheese, which contains starches that can seize up and get grainy when melted. For a perfectly smooth sauce, always shred your cheese from a block. Also, make sure you’re adding the cheese to a warm (not boiling) sauce and stirring constantly until it melts.
Q: Can I make this cauliflower mac and cheese ahead of time?
A: Absolutely! You can prepare the entire dish, let it cool, and store it in an airtight container in the fridge for up to 3 days. When you’re ready to eat, reheat it gently on the stovetop over medium-low heat, adding a small splash of milk to help loosen the sauce back up to its creamy consistency.
Q: The sauce seems too thick. How can I thin it out?
A: No problem! This is an easy fix. Simply stir in a little more milk, one tablespoon at a time, until it reaches your desired creaminess. The sauce can thicken as it sits, so you may need to do this when reheating leftovers, too.
Q: Can I freeze this?
A: I don’t recommend freezing the fully assembled dish, as dairy-based sauces can separate and become watery when thawed. However, you can freeze the roasted cauliflower puree by itself for up to 3 months! Just thaw it in the fridge overnight and then proceed with the recipe from step 4.
Nutritional Information*
Prep Time: 10 minutes | Cook Time: 25 minutes | Servings: 4
Calories: ~360 | Protein: 18g | Carbohydrates: 30g | Fat: 18g | Fiber: 3g
*Please note: Nutritional information is an estimate and can vary based on specific ingredients and portion sizes used.
Final Thoughts: Comfort Food, Cleverly Reimagined
At the end of the day, this Cauliflower Mac & Cheese proves that comfort food doesn’t have to mean compromise. You still get that creamy, gooey, cheesy bowl of happiness, but with a sneaky veggie boost that makes every bite feel as nourishing as it is nostalgic.
Whether you’re serving it to picky little ones, whipping it up for a weeknight dinner, or dishing it out at a holiday table, this recipe has a way of winning over hearts (and taste buds). It’s comfort food made just a little smarter, and that’s something worth celebrating.
So go ahead—grab your fork, twirl up that cheesy pasta, and enjoy a bowl of comfort you can feel good about. Your future self (and your taste buds) will thank you.