***
Your New Favorite Cookie Recipe Is Here!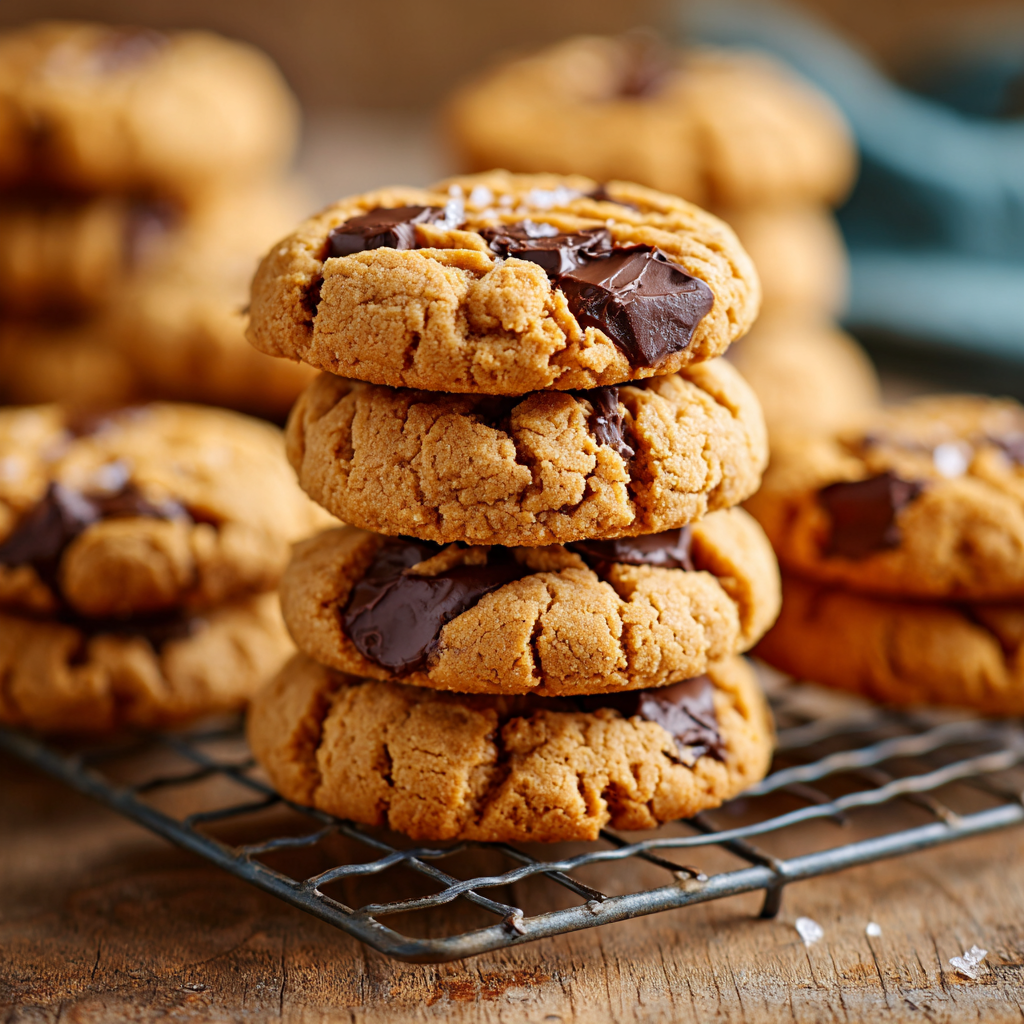
Hey there, friend! Is there anything in the world that smells more like pure, unadulterated joy than a batch of peanut butter cookies baking in the oven? That warm, nutty, sweet aroma just seems to wrap itself around you like a cozy hug, promising something delicious is just minutes away. If you’re like me, this classic treat is the ultimate edible comfort food—a simple pleasure that never, ever goes out of style.
Today, we’re diving headfirst into my absolute go-to recipe for Classic Peanut Butter Cookies. We’re talking about the real deal: cookies that are soft and chewy in the center with those perfectly crisp, lightly crinkled edges. And that iconic fork-marked criss-cross on top? It’s not just for looks—it’s a badge of honor, a sign that you’re about to experience a little piece of baking heaven.
This isn’t just any recipe; it’s a double batch of happiness. We’re making a whopping eight dozen because, trust me, you’ll want plenty to share (or, you know, to secretly stash in the freezer for your next 3 PM craving). I’ve also included a couple of my favorite creative twists to make these classic cookies truly pop with extra flavor and texture. So, preheat those ovens, tie on your favorite apron, and let’s bake up a storm of nostalgia together!
The Cookie Jar That Held Our Secrets
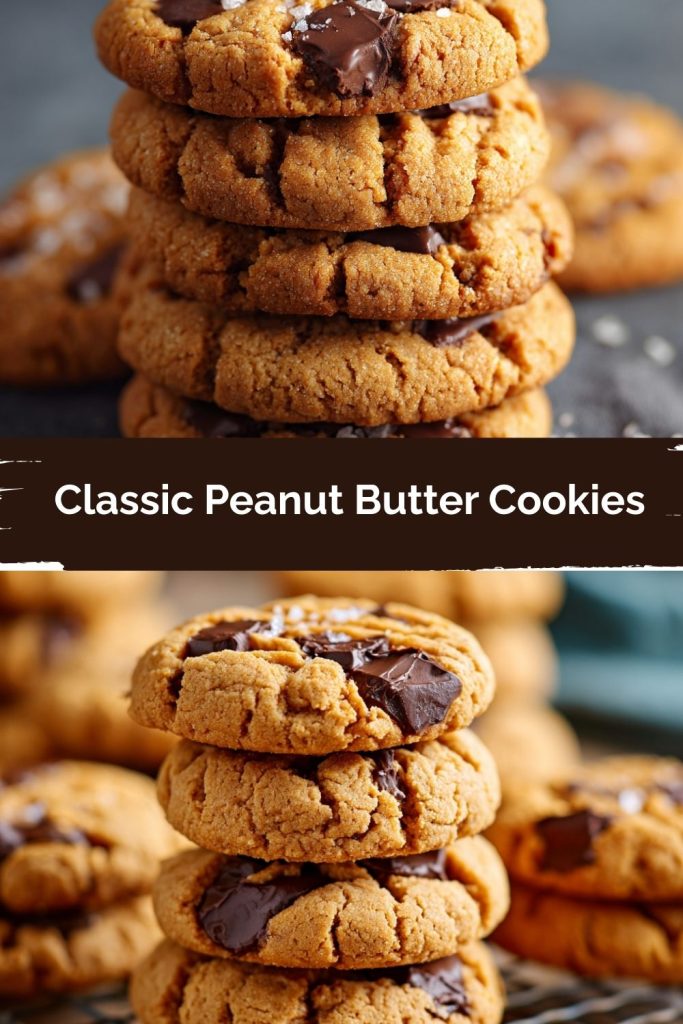
PrintClassic Peanut Butter Cookies

Soft in the center, lightly crisp on the edges, and packed with nutty goodness—these classic peanut butter cookies never go out of style. This double batch brings enough to share (or stash!), and we’re adding a few creative touches to make them pop with flavor and texture.
- Prep Time: 10 minutes
- Cook Time: 12 minutes
- Total Time: 22 minutes
- Yield: 24 cookies 1x
Ingredients
1 cup smooth peanut butter
½ cup (1 stick) unsalted butter, softened
½ cup granulated sugar
½ cup packed brown sugar
1 large egg
1 tsp vanilla extract
1¼ cups all-purpose flour
¾ tsp baking soda
¼ tsp salt
Instructions
Preheat oven to 350°F and line a baking sheet with parchment paper.
In a large bowl, cream together peanut butter, butter, sugars, egg, and vanilla until smooth.
In another bowl, whisk together flour, baking soda, and salt. Gradually mix into wet ingredients.
Roll dough into 1-inch balls and place on the baking sheet. Flatten each with a fork, making a crisscross pattern.
Bake for 10–12 minutes until edges are lightly golden. Let cool on a rack.
Nutrition
- Calories: 150
- Sugar: 9g
- Sodium: 90mg
- Fat: 9g
- Carbohydrates: 15g
- Protein: 3g
For me, peanut butter cookies will always taste like my grandmother’s kitchen on a rainy Saturday afternoon. I can still see her, flour dusting her apron like a light snowfall, her hands moving with a practiced ease that seemed like magic to my young eyes. She’d let me cream the butter and sugars together, my small hands struggling with the heavy wooden spoon. But the best part was always the fork press.
She’d hand me the cold, heavy fork, and it was my solemn duty to press each dough ball into perfect, cross-hatched disks. “That’s how everyone knows they’re made with love, Anna,” she’d say with a wink. The wait for them to cool felt like an eternity, but that first warm, crumbly bite, shared with her at the checkered kitchen table, was pure bliss. Those cookies weren’t just a snack; they were a ritual, a connection, a lesson in the simple joy of creating something wonderful with your own two hands. This recipe is my homage to her, and I hope it becomes a part of your own kitchen story, too.
Gathering Your Cookie Crew: The Ingredients
Here’s your shopping list for cookie success! Remember, baking is a science, but it’s also an art—so I’ve included some of my favorite insights and swaps to make this recipe your own.
- 2 cups unsalted butter, softened: This is the rich, creamy foundation of our cookie. Using unsalted lets you control the salt level perfectly. Chef’s Tip: “Softened” means cool to the touch but leaves a slight indent when you press it. Don’t let it get oily or melted!
- 2 cups crunchy peanut butter: I love the extra texture crunchiness adds, but creamy works just as well for a smoother cookie. Use a natural peanut butter if you like, but note the dough might be a bit oilier.
- 2 cups white sugar: This gives our cookies that lovely crispness on the outside and helps them spread just right.
- 2 cups packed brown sugar: The molasses in brown sugar is the secret to that incredible chewiness and deep, caramel-like flavor. Pack it firmly into your measuring cup!
- 4 large eggs: These are our binders, bringing everything together. Make sure they’re at room temperature for the best emulsification with the butter and sugars.
- 5 cups all-purpose flour: The structure of our cookie. For a slightly more tender cookie, you can swap one cup for bread flour, but all-purpose is perfect.
- 3 tsp baking soda: Our primary leavening agent. This is what gives the cookies their lift and airy texture.
- 2 tsp baking powder: A little extra help for a perfect rise. Yes, we use both! They work together like a dream team.
- 1 tsp salt: Crucial for balancing all that sweetness and making the peanut butter flavor really sing. If you only have salted butter, just reduce this to a ½ tsp.
Optional Twists (Highly Recommended!):
- 2 tsp cinnamon: My secret weapon! It adds a subtle, warm complexity that makes people go, “Wow, what is that?!” without being overpowering.
- 1½ cups chopped roasted peanuts or mini chocolate chips: Fold these in for an epic upgrade. Peanuts for serious crunch, or chocolate chips for that legendary PB&Choc combo.
Let’s Get Baking: The Step-by-Step Guide
Okay, team! Let’s walk through this together. Read through all the steps once before you start—it’s my number one tip for stress-free baking!
- Cream Together Butter, Peanut Butter, and Sugars: In your largest mixing bowl, beat the softened butter, peanut butter, white sugar, and brown sugar together on medium-high speed for a good 2-3 minutes. We’re not just mixing; we’re “creaming.” This incorporates air into the dough, which is key for a light, tender texture. You’ll know it’s ready when the mixture turns noticeably paler and looks fluffy.
- Beat in the Eggs: Crack your room-temperature eggs into a small bowl first (to avoid any shell accidents!) and add them one at a time, beating well after each addition. This allows the fats and liquids to emulsify properly, creating a smooth, cohesive dough. If you’re using vanilla extract, add it with the last egg.
- Whisk the Dry Ingredients: In a separate bowl, grab your whisk and thoroughly combine the flour, baking soda, baking powder, salt, and that magical cinnamon. This ensures the leaveners and salt are evenly distributed, so every cookie bakes uniformly. No one wants a bitter bite of just baking soda!
- Combine Wet and Dry: With your mixer on low speed, gradually add the dry ingredients to the wet mixture. Mix just until the flour disappears. Chef’s Hack: Overmixing at this stage develops gluten and leads to tough cookies. A few streaks of flour are okay—they’ll incorporate when we add the mix-ins!
- Fold in the Goodies: If you’re using chopped peanuts or mini chocolate chips, now’s the time! Use a sturdy spatula to gently fold them in until they’re evenly distributed.
- Chill the Dough: This is the step you might be tempted to skip—DON’T! Cover the bowl and chill the dough for at least 1 hour, or up to 3 days. Chilling solidifies the fat, which prevents the cookies from spreading too much into flat puddles in the oven. It also deepens the flavors, making for a much tastier cookie. Trust me on this!
- Preheat and Prep: When you’re ready to bake, preheat your oven to a precise 350°F (175°C). Line your baking sheets with parchment paper. This prevents sticking and makes cleanup a dream. No parchment? A light coating of baking spray works too.
- Shape and Press: Roll the chilled dough into 1-inch balls. Place them about 2 inches apart on your prepared sheets to give them room to spread. Now, for the signature look: dip a fork in a little sugar or flour and press down on each ball to flatten it slightly, then press again perpendicular to the first set of lines to create the classic criss-cross pattern.
- Bake to Perfection: Bake for 9-11 minutes. They might look a tiny bit underdone in the middle when you pull them out—that’s perfect! They will continue to cook on the hot baking sheet. You’re aiming for lightly golden edges and soft, set centers. Overbaking is the enemy of a soft, chewy cookie!
- Cool: Let the cookies cool on the baking sheet for 5 minutes before transferring them to a wire rack to cool completely. This allows them to set up without breaking.
How to Serve These Beauties
Presentation is part of the fun! Pile these warm, heavenly cookies high on a rustic wooden board or a vintage plate for that homey feel. They are absolutely sublime still slightly warm from the oven, with a cold glass of milk for the ultimate classic combo. For a next-level dessert, crumble one over a bowl of vanilla ice cream or even use two to make an ice cream cookie sandwich. Pure magic!
Make It Your Own: Delicious Variations
Feel like playing? Here are a few of my favorite ways to mix things up:
- Triple Chocolate PB: Swap the mini chips for dark chocolate chunks and add ½ cup of cocoa powder to the dry ingredients.
- Gluten-Free Goodness: Substitute the all-purpose flour with a 1:1 gluten-free baking blend. The texture will be slightly more delicate but just as delicious.
- Peanut Butter Cup Explosion: Instead of chips or nuts, fold in 1 ½ cups of chopped peanut butter cups right before baking.
- Oatmeal Peanut Butter: Reduce the flour to 4 cups and add 1 cup of old-fashioned oats for a heartier, chewier cookie.
- Spicy Kick: Add a ¼ teaspoon of cayenne pepper with the dry ingredients for a surprising and addictive sweet-heat flavor.
Anna’s Chef Notes & Kitchen Stories
This recipe has been my trusty sidekick for years, and it’s evolved with me. I initially only made them with creamy peanut butter, but one day I was out and had to use crunchy. It was a happy accident that became a permanent change—we adored the added texture! The cinnamon twist came from a half-asleep mix-up where I grabbed the wrong spice jar, but the result was so good it stuck. That’s my biggest piece of advice: don’t be afraid of happy accidents in the kitchen. Some of the best recipes are born that way!
Also, a funny story: I once tried to shortcut the chilling time by putting the dough in the freezer for 15 minutes. I forgot about it, and my husband later asked why there was a rock-solid bowl of concrete in there. We had to let it thaw on the counter for two hours! The moral? Patience, young grasshopper. Good cookies are worth the wait.
Your Questions, Answered!
Q: My cookies spread too much and came out flat. What happened?
A: This is almost always caused by butter that was too warm or dough that wasn’t chilled sufficiently. The chilled fat takes longer to melt in the oven, giving the cookies time to set before spreading. Ensure your butter is just softened, not melted, and never skip the chill time!
Q: Can I freeze the dough?
A: Absolutely! This dough freezes beautifully. Roll the dough into balls, place them on a parchment-lined sheet, and freeze until solid. Then, transfer the frozen dough balls to a zip-top freezer bag. You can bake them straight from the freezer—just add 1-2 minutes to the baking time. Perfect for fresh cookies anytime!
Q: My cookies are too hard/cakey. How can I make them softer?
A: Hard cookies are often a sign of overbaking or overmixing. Remember, they continue to cook on the hot tray! Pull them out when the edges are just golden and the centers still look soft. Cakey cookies can result from using too much flour. Next time, try fluffing your flour with a spoon before scooping it into your measuring cup and leveling it off with a knife to avoid over-packing.
Q: Can I halve this recipe?
A: Of course! Simply divide all the ingredients by two. You’ll get a still-generous 4 dozen cookies. The baking time may be slightly less, so start checking around the 8-minute mark.
Nutritional Information (Per Cookie)
Please note: This is an estimate and will vary based on specific ingredients used and any substitutions.
Calories: ~140 | Fat: 8g | Saturated Fat: 3.5g | Carbohydrates: 15g | Fiber: 0.5g | Sugar: 9g | Protein: 2g
Final Thoughts
Peanut butter cookies are one of those timeless bakes that never fail to bring comfort—and this recipe proves why they’ve been beloved for generations. With their soft, chewy centers, golden edges, and that iconic criss-cross crown, these cookies are as fun to make as they are to share.
Whether you stick to the classic version or play with one of the tasty twists, you’ll end up with a cookie tin full of happiness. Bake them for family, stash some in the freezer for future cravings, or sneak one warm from the tray (no judgment here).
Because at the end of the day, peanut butter cookies aren’t just a treat—they’re a tradition, a hug in edible form, and a reminder that the sweetest moments are often the simplest.