Let’s Time-Travel in the Kitchen: Making Yeast Like It’s 1866!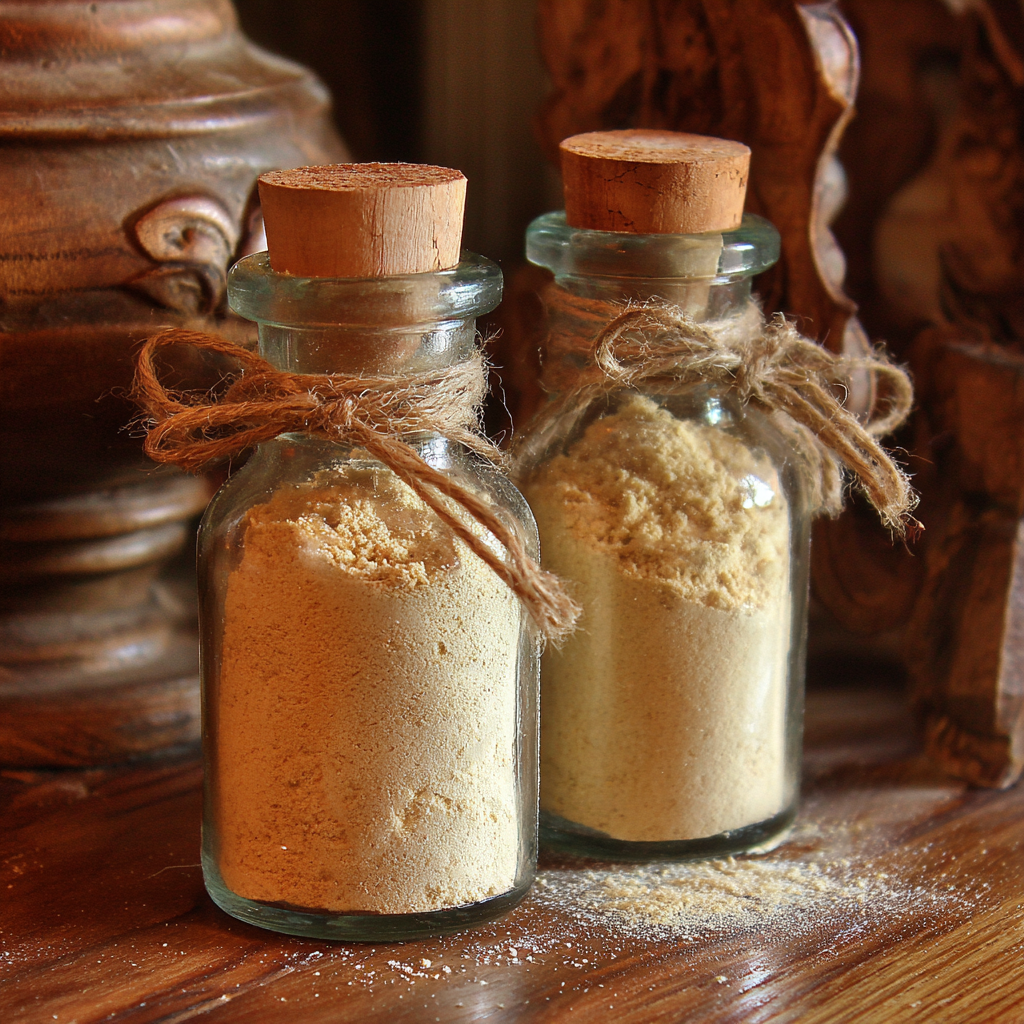
Hey there, friend! Have you ever been in the middle of baking a loaf of bread, tearing open that little packet of yeast, and wondered… where did this come from? I mean, really come from? Before the neat little foil squares in the grocery store aisle, before the jars of active dry yeast, how did our great-great-great-grandmothers make their bread rise? How did they create those soft, airy crumbs and golden, crackly crusts that fueled entire families?
Well, my curiosity got the better of me recently, and I fell down the most delightful historical rabbit hole. I stumbled upon a recipe from a tattered old cookbook, dated 1866, with the simple, bold title: “How To Make Yeast.” My food-lover’s heart just about skipped a beat. This wasn’t a recipe using yeast; this was a recipe for creating the very leavening agent itself from scratch. I was instantly captivated. I knew I had to roll up my sleeves, dust off the history books, and give it a try.
And let me tell you, the process is a little bit science, a whole lot of magic, and a beautiful connection to the kitchens of the past. It’s slower, yes. It requires patience and a bit of faith. But the reward isn’t just a jar of bubbling, active yeast—it’s a feeling of incredible self-sufficiency and a deep, tangible link to the culinary wisdom of generations past. So, if you’re ready for a kitchen adventure that’s more about the journey than the destination, grab your biggest pot. We’re going to make our own yeast, and I’ll be your guide every step of the way!
A Whiff of History: My First Encounter with “Starter”
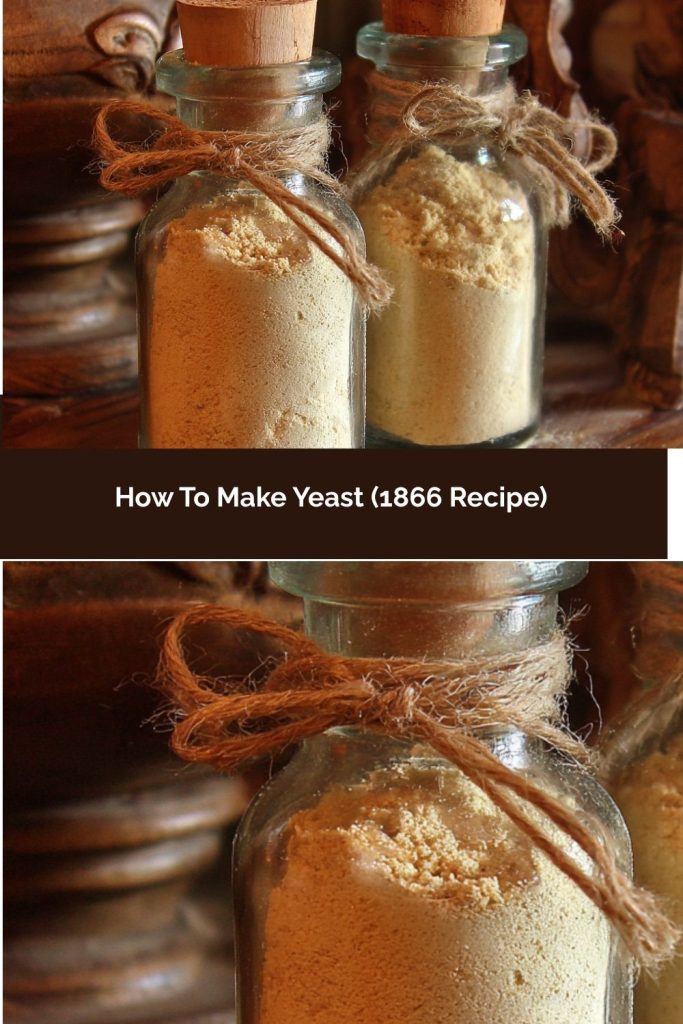
PrintHow To Make Yeast (1866 Recipe)
Ingredients
1 pound of good flour
1/4 pound of brown sugar
A little salt
2 gallons of water
Instructions
Boil all ingredients together for one hour.
Remove from heat.
While still warm, bottle the mixture and cork it closed.
Let it sit for 24 hours.
After that time, the yeast is ready to use.
Yield:
One pint of this yeast mixture will make 18 pounds of bread.
Note:
This type of yeast is likely a wild or natural yeast starter, relying on airborne or flour-based yeasts to ferment. It’s not the same as modern active dry yeast, but it would’ve been a staple in kitchens long before commercial yeast became available.
This whole experiment took me back to my very first attempt at a sourdough starter. I was fresh out of culinary school, armed with technique but completely naive to the wild, living nature of natural fermentation. I named my starter “Bubbles” (original, I know!), and I tended to it like a fussy pet. I’d wake up and rush to the kitchen to see if it had risen, smelling its tangy, beer-like aroma with a mix of fascination and trepidation.
One day, I forgot to feed it. The next day, it had deflated into a sad, hooch-filled puddle. I was devastated, convinced I had killed my budding bread-making career. But my grandmother, who was visiting, just chuckled. She took one look at it and said, “Oh, honey, it’s just hungry. It’s tougher than you think.” She showed me how to pour off the liquid, feed it a fresh meal of flour and water, and within hours, it was bubbling away again, more vigorous than ever. That moment taught me that cooking isn’t about perfection; it’s about resilience, patience, and learning to work with your ingredients, even when they’re alive! This 1866 yeast recipe feels like the great-grandmother of my sourdough starter—a testament to that same resilient, wild spirit.
Gathering Your Time-Traveling Ingredients
The beauty of this recipe is in its stunning simplicity. Just four humble ingredients come together to create the engine for countless loaves of bread. Here’s what you’ll need and a little “chef’s insight” on each one.
- 1 pound of good flour – The recipe doesn’t specify, but in 1866, this would have likely been a softer wheat flour, not the high-protein bread flour we often use today. All-purpose flour is a perfect choice here. It provides the starchy food that wild yeasts and bacteria present in the air and the flour itself love to munch on. Chef’s Tip: If you’re feeling adventurous, try using a whole wheat or rye flour for a portion of it. These less-refined flours are often teeming with more natural yeasts and can give your starter a boost!
- 1/4 pound of brown sugar – That’s about half a cup, packed. This isn’t just for sweetness! The sugar acts as quick, accessible fuel for the microorganisms, giving them an initial burst of energy to kickstart the fermentation process. The molasses in the brown sugar also adds subtle minerals that the yeast enjoys. Substitution Tip: No brown sugar? Honey or molasses would be a fantastic and historically accurate substitute.
- A little salt – Just a pinch! Salt does two important jobs: it helps to regulate the fermentation, preventing less desirable bacteria from taking over, and it enhances the overall flavor profile of your future bread.
- 2 gallons of water – Yes, you read that right—two gallons. This makes a huge quantity of yeast liquid, which was practical for a 19th-century household baking bread weekly. We’ll be scaling this down in our chef’s notes, but it’s a reminder of the scale of historical cooking! Use non-chlorinated water if you can, as chlorine can inhibit the wild yeasts. Filtered or bottled water is great, or you can just leave tap water out on the counter for a few hours to let the chlorine dissipate.
The Step-by-Step Magic: Brewing Your Own Yeast
Ready to play kitchen scientist? This process is surprisingly straightforward, but the transformation is nothing short of magical. Follow these steps, and keep your nose alert—the changing smells are part of the fun!
- Boil all ingredients together for one hour.Grab your largest stockpot—seriously, the biggest one you have. Add the two gallons of water, the entire pound of flour, the brown sugar, and your pinch of salt. Now, here’s the first chef’s hack: use a whisk to combine everything before you turn on the heat. This will prevent the flour from clumping up into stubborn lumps. Once it’s smooth, bring the mixture to a boil, then reduce it to a steady simmer.
Let it bubble away for a full hour. You’ll need to stir it occasionally with a long-handled spoon to prevent it from sticking to the bottom of the pot. What you’re creating is essentially a sterile, nutrient-rich slurry. The boiling hydrates the flour, dissolves the sugar, and pasteurizes the mixture, killing off any unwanted bacteria and giving the wild yeasts that will enter later a clean slate to thrive on. The mixture will thicken slightly and take on a porridge-like consistency. Your kitchen will start to smell wonderfully toasty and malty.
- Remove from heat.After your timer dings, carefully move the pot off the heat. The hard part is over! Now, we need to let it cool down. This is a crucial step. If you bottle it while it’s too hot, you’ll kill any wild yeast that tries to settle in. If you let it cool completely, other, less friendly bacteria might move in first. We’re aiming for the “Goldilocks zone”—warm, but not hot.
- While still warm, bottle the mixture and cork it closed.Once the liquid has cooled to what I call “baby bottle warm” (around 95-105°F, or just warm to the touch on your wrist), it’s time to bottle. This is where the magic really begins! Using a ladle and a funnel, carefully pour the warm liquid into very clean glass bottles or jars. Swing-top bottles are ideal because they allow pressure to escape without letting in contaminants, but any clean glass jar with a lid will work.
Chef’s Hack: Sterilize your bottles first by running them through the dishwasher or rinsing them with a bit of boiling water. We want to welcome only the wild yeasts from the air, not any lingering microbes from the jar! Don’t fill the bottles all the way to the top; leave about an inch or two of headspace. Now, seal them tightly with a cork or a lid.
- Let it sit for 24 hours.Place your sealed bottles in a warm, draft-free spot in your kitchen. On top of the fridge, in a turned-off oven with the light on, or on a sunny countertop are all perfect spots. And now… we wait. This is the part that requires faith. Over the next 24 hours, the wild yeasts present in the flour and the air will find their way into your mixture, settle in, and begin to feast on the sugars and flour. They’ll multiply, creating carbon dioxide and alcohol as byproducts.
- After that time, the yeast is ready to use.After a day has passed, it’s time for the big reveal! Gently uncork one of your bottles. You should hear a faint hiss—that’s the sound of success! It’s the CO2 escaping. The liquid might look a bit separated, and that’s okay. Give it a gentle swirl. It should have a slightly sour, beer-like, and pleasantly yeasty aroma. You might see some tiny bubbles. Congratulations! You’ve just made wild yeast.
How to Use Your Homemade 1866 Yeast
This isn’t a one-to-one swap for modern instant yeast. Think of it as a liquid starter. The original note says one pint of this yeast will make 18 pounds of bread! You’ll use it as the liquid base in your bread dough. Replace the water or milk in your favorite historical or rustic bread recipe with an equal amount of this yeast liquid. Because it’s wild and less concentrated, it will likely lead to a longer, slower rise, which only adds to the depth of flavor and creates an incredible, tender crumb. The bread will have a subtle, complex tang that commercial yeast just can’t replicate.
Creative Twists on a Classic
Once you’ve mastered the basic method, feel free to play with it! Our ancestors certainly did.
- The Potato Boost: A common historical variation involves adding a mashed, boiled potato to the mixture. Potatoes provide a different type of starch that yeast absolutely loves, often resulting in an even more active culture.
- Hops-Infused Yeast: Some old recipes include a handful of hops, boiled with the water and then strained out. Hops are a natural preservative and can help prevent souring while adding a distinct, bitter flavor profile perfect for certain breads.
- Scale It Down: Let’s be real, most of us don’t need two gallons of yeast starter. Try a quarter of the recipe: 4 cups of water, 1 cup of flour, 2 tablespoons of brown sugar, and a tiny pinch of salt. The process and timing remain the same.
- The Sourdough Path: If a bit of this yeast liquid is left out at room temperature and “fed” daily with fresh flour and water, it will eventually mature into a robust, tangy sourdough starter.
Anna’s Kitchen Notes & Stories
When I first tried this, my family thought I had officially lost it. “You’re… boiling flour water?” my daughter asked, with the classic skepticism of a teenager. But when we heard that first satisfying *pffft* upon opening the bottle, we all cheered! It felt like we had unlocked a secret.
This recipe has evolved in my kitchen from a one-time experiment into a seasonal ritual. I love making a small batch in the fall. The way it perfumes the house with its warm, fermenting scent is the perfect prelude to a day of baking. It’s a reminder that the most fundamental elements of cooking are alive, resilient, and deeply connected to our past. It’s not always predictable, and that’s the point. It teaches you to be a more intuitive, observant cook. So don’t be discouraged if your first batch isn’t super bubbly; like my grandma said, it’s tougher than you think. Just try again!
Your Yeast Questions, Answered!
I know this process can bring up a lot of questions. Here are answers to the ones I get most often.
Q: My bottle didn’t hiss or bubble after 24 hours. What went wrong?
A: Don’t worry! Wild yeast fermentation is less predictable than commercial yeast. It might be too cold in your kitchen. Try moving it to a warmer spot and waiting another 12-24 hours. It could also be that there weren’t many wild yeasts in the air that day—it’s a bit of a lottery! If after 48 hours there’s no activity and it smells foul (not beery or sour, but truly rotten), it’s best to compost it and try again.
Q: How long does this yeast last, and how do I store it?
A> This is a fresh, liquid yeast, so it doesn’t have the long shelf life of commercial dry yeast. For the best activity, use it within a week. Store it in sealed bottles in the refrigerator, which will slow down the fermentation. You might see some separation; just give it a shake before using. You can also “feed” it to keep it alive longer by adding a spoonful of flour and a pinch of sugar every few days.
Q: Can I use this yeast in any modern bread recipe?
A> You can, but you’ll need to adapt the recipe. Since this is a liquid, you’ll have to reduce the other liquids in the recipe accordingly. More importantly, the rise times will be significantly longer. I recommend starting with a simple, no-knead artisanal bread recipe that’s designed for a long, slow fermentation. It’s less about the exact timing and more about watching the dough double in size.
Q: It smells a little like beer or alcohol. Is that normal?
A> Absolutely! That’s exactly what you want to hear. The yeasts are fermenting the sugars, producing ethanol and carbon dioxide. That beery, slightly sour, tangy aroma is the signature scent of a successful wild fermentation. If it smells putrid, moldy, or like rotten eggs, then it’s time to toss it.