***
Your New Favorite Party Trick: Kool-Aid Dusted Grapes!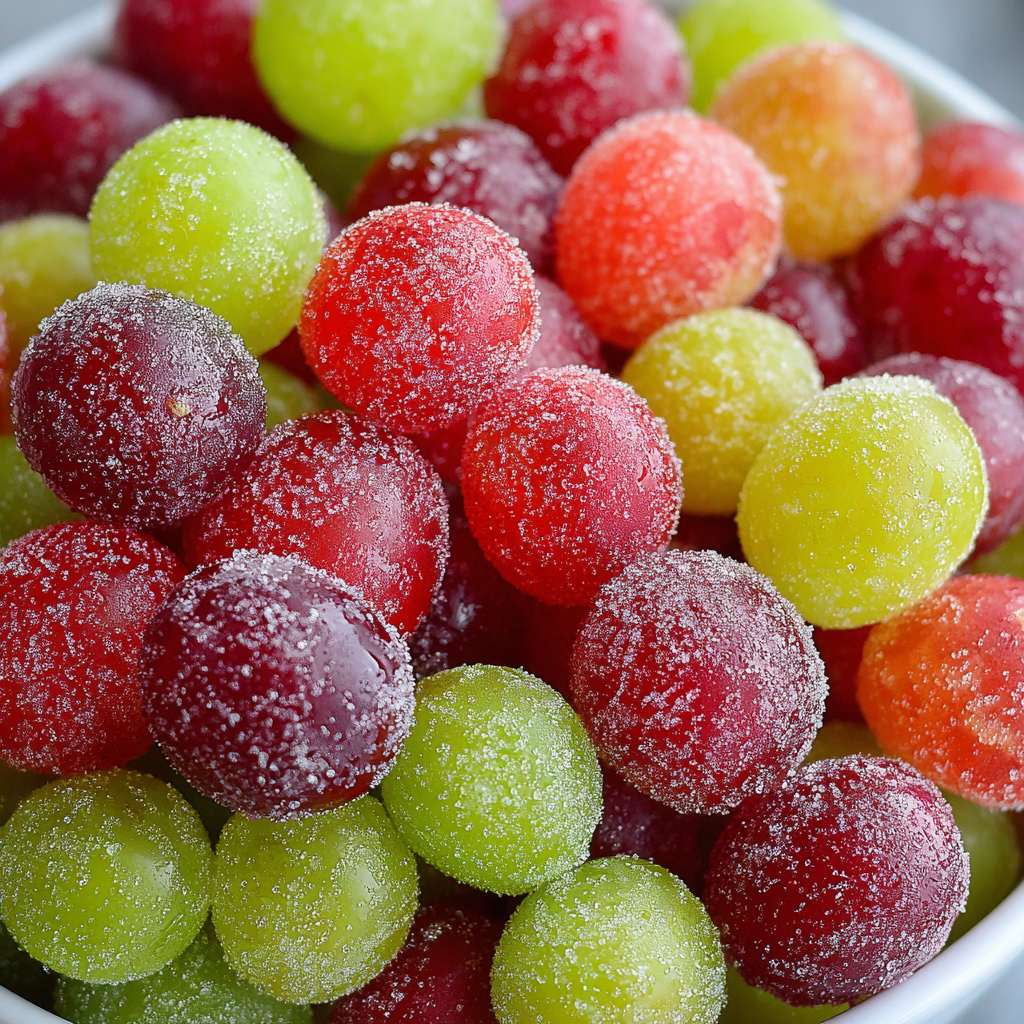
Hey there, friend! Anna here. Can I let you in on a little secret? Some of the most magical moments in the kitchen don’t come from a fancy, five-page recipe or a simmering all-day stew. Sometimes, they come from the simplest, most joyful combinations—the ones that make you tilt your head and say, “Why haven’t I tried this before?”
That’s exactly the feeling I get every single time I make a batch of these Kool-Aid Dusted Grapes. We’re taking a humble, healthy fruit and giving it a full-on flavor and fun makeover. Imagine this: icy-cold, juicy grapes, coated in a vibrant, sweet-and-tangy Kool-Aid powder that crackles with flavor the second it hits your tongue. They look like something out of a candy store, but they’re secretly a fruit snack you can feel great about.
Whether you’re prepping for a backyard barbecue, a kid’s birthday party, a potluck where you want to be the “cool one,” or just a Tuesday night when you need a pick-me-up, these grapes are your answer. They’re ridiculously easy to make, completely customizable, and guaranteed to bring a smile to everyone’s face. So, let’s ditch the complicated stuff for a minute and cook up a little bit of pure, unadulterated fun together. Ready to turn your freezer into a treasure chest of colorful, crave-worthy snacks? Let’s do this!
A Grape-ful Memory: Where It All Began
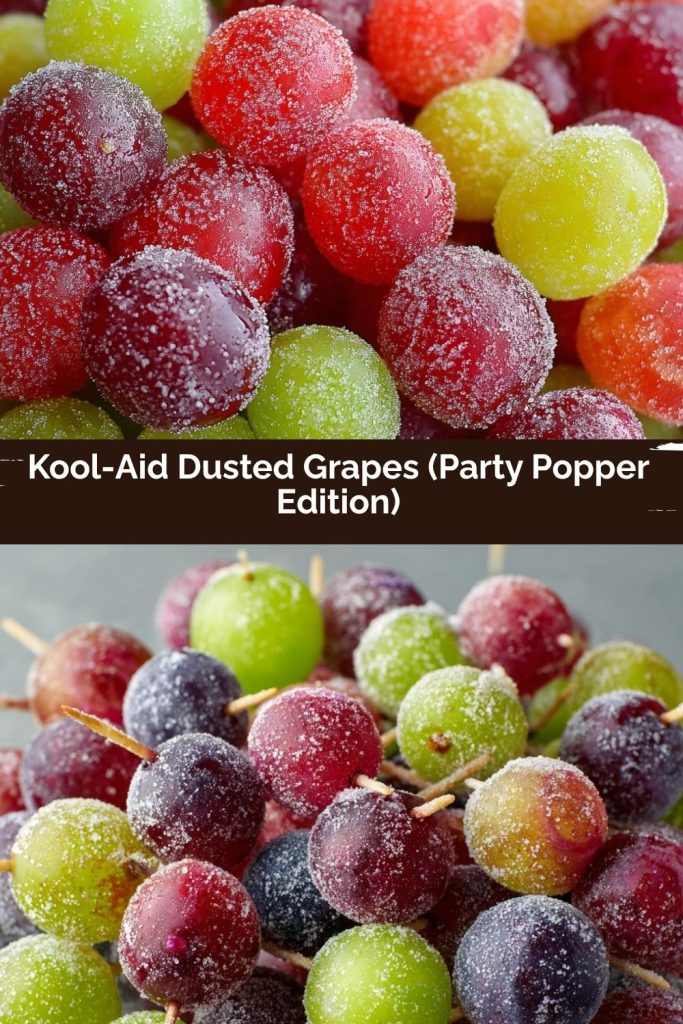
PrintKool-Aid Dusted Grapes (Party Popper Edition)

Get ready for a fruity explosion of flavor! Kool-Aid Grapes are the ultimate sweet-meets-tangy snack—juicy, colorful, and totally addictive. Perfect for parties, picnics, or anytime you want to jazz up your fruit game. They look like candy and taste even better. Let the snacking begin!
- Prep Time: 1 hour
- freeze time: 1 day
- Total Time: 1 day 1 hour
- Yield: 24 1x
Ingredients
6 lbs green grapes, washed and very well dried
12 oz Kool-Aid mix (use multiple flavors for rainbow effect – think cherry, blue raspberry, tropical punch)
1–2 tbsp lemon or lime juice (twist: enhances the tang!)
Optional: a touch of superfine sugar for extra sparkle
Toothpicks or skewers (for fun, mess-free serving)
Instructions
Prep the Grapes: Remove grapes from stems, rinse thoroughly, and pat them completely dry. Any moisture will prevent the Kool-Aid from sticking.
Add a Tangy Base: Lightly mist grapes with lemon or lime juice in a large bowl, tossing gently to coat. This helps the powder adhere and adds zing.
Dust with Flavor: Pour Kool-Aid mix into a large zip-top bag. Working in batches, add grapes and shake until coated. For a candy-like finish, sprinkle in a little superfine sugar.
Freeze for the Magic: Spread grapes in a single layer on a parchment-lined tray. Freeze for 12–24 hours until fully set and frosty.
Serve & Store: Serve frozen for an icy crunch, or slightly thawed for chewy candy vibes. Store in an airtight container in the freezer.
Nutrition
- Calories: 50
- Sugar: 11g
- Fat: 0g
- Carbohydrates: 13g
- Fiber: 1g
This recipe takes me right back to sticky summer afternoons at my grandma’s house. She wasn’t a fancy chef, but she was a wizard at making everyday things feel special. One blisteringly hot day, she came out to the porch with a big metal bowl full of green grapes she’d frozen solid. We’d pop them like candy, loving the icy crunch and the way they slowly burst with juice. They were our secret weapon against the heat.
Years later, I was at a state fair and saw a vendor selling “candy grapes,” tossed in what looked like pixie dust. I was instantly transported back to my grandma’s porch. I knew I had to recreate that magic, but with my own twist. I raced home, grabbed some Kool-Aid packets from the back of the pantry (you know, the ones you buy for one specific recipe and then forget about?), and started experimenting. The first batch was a messy, overly-tangy, but absolutely delightful success. It was the perfect marriage of my grandma’s simple, brilliant idea and that fairground sense of whimsy. Now, every time I make them, I think of her, and it makes this silly-simple snack feel like a little piece of family history.
Gathering Your Flavor Arsenal
Here’s the beautiful part: you only need a handful of simple ingredients to create this flavor explosion. The magic is in the combination!
- 6 lbs green grapes: I prefer green for their crisp, slightly tart flavor that balances the sweet powder perfectly. Chef’s Insight: Make sure they’re firm and plump—squishy grapes won’t hold up well in the freezer.
- 12 oz Kool-Aid Unsweetened Drink Mix (multiple flavors!): This is your paint box! Go for a rainbow: Cherry, Blue Raspberry, Tropical Punch, and Lemon-Lime are my go-tos. Substitution Tip: If you can’t find Kool-Aid, any unsweetened drink powder like Finley or a flavored gelatin powder like Jell-O will work, but note that Jell-O already contains sweetener, so your grapes will be sweeter.
- 1–2 tbsp lemon or lime juice: Don’t skip this! A light mist of citrus does two things: it gives an extra zing of tanginess that cuts the sweetness, and it acts as a “glue” to help the Kool-Aid powder stick to the grape’s skin. Chef’s Insight: Freshly squeezed is best, but the bottled stuff works in a pinch!
- Optional: 1-2 tbsp superfine sugar: If you have a serious sweet tooth or are using particularly tart Kool-Aid flavors, a little superfine sugar mixed in with the powder adds a lovely sparkle and extra sweetness. Substitution Tip: You can make your own by blitzing regular granulated sugar in a blender for a few seconds.
- Toothpicks or small skewers: For the “Party Popper” presentation! Serving them this way is fun, mess-free, and just makes everyone feel like a kid again.
Let’s Make Some Magic: The Step-by-Step Guide
Okay, friends, this is where the fun really begins. Put on some music, clear a little counter space, and let’s transform these grapes. I’ll walk you through every step with my favorite little chef hacks to ensure your results are absolutely perfect.
- Prep the Grapes Like a Pro. First things first, we need to get our grapes off their stems. Give them a good rinse in a colander under cool water. Now, here is the single most important step for success: DRY THOSE GRAPES COMPLETELY. I’m talking pat-them-down-until-they’re-squeaky-clean dry. Any leftover water will turn the Kool-Aid into a sticky, clumpy paste instead of a beautiful dust. My favorite method is to spread them out on a clean kitchen towel and gently roll them around, then give them one final pat with a paper towel. Chef’s Hack: If you’re not in a huge rush, let them air dry on the towel for 15-20 minutes for guaranteed dryness.
- The Tangy “Glue” Mist. Place your bone-dry grapes into a large, clean bowl. Now, take your lemon or lime juice and lightly mist it over the grapes. You don’t need to drench them! A light, even coating is all we’re after. Use your hands or a large spoon to toss them gently, ensuring every grape gets a tiny, invisible kiss of citrus. This step is our secret weapon for that perfect, even coating of Kool-Aid.
- The Flavor Dusting Station. Now for the colorful part! Pour one packet of Kool-Aid powder (and your optional superfine sugar) into a large zip-top bag. I like to work with one flavor at a time to keep things organized and vibrant. Chef’s Hack: If you want a multi-colored “confetti” effect on a single batch, you can mix a few different Kool-Aid flavors together in one bag! Add a manageable batch of your citrus-kissed grapes to the bag, seal it tightly (double-check that zip lock!), and shake, shake, shake! I like to gently roll the bag between my hands as well to make sure every single nook and cranny of each grape gets covered in that gorgeous, colorful powder.
- Freeze for the Final Magic. Line a large baking sheet with parchment paper (this prevents sticking and makes cleanup a dream). Spread your beautifully dusted grapes in a single, even layer on the tray. You don’t want them piled on top of each other, or they’ll freeze into one big grape-clump. Carefully place the tray in the freezer and let the magic happen for at least 12 hours, but ideally 24. This long freeze is key to getting that firm, icy-candy texture we’re craving.
- Serve & Savor the Fun. Once your grapes are fully frozen, you can transfer them to a large airtight container or freezer bag for storage. When you’re ready to serve, grab a handful and pop them straight from the freezer for a seriously satisfying, crunchy, icy treat. Or, let them sit out for 5-10 minutes for a slightly softer, chewier “gummy candy” vibe. For the ultimate “Party Popper” experience, skewer a few of each color onto toothpicks or small skewers before serving!
How to Serve These Colorful Gems
Presentation is part of the fun! For parties, I love filling a large, chilled bowl with these vibrant grapes for a self-serve snack station. To really lean into the “Party Popper” theme, pre-skewer them onto toothpicks or short colorful skewers and stand them up in a watermelon or pineapple “hedgehog” for a stunning centerpiece. They’re also fantastic served in individual paper cones or small cups—perfect for keeping little hands (and big ones!) mess-free while mingling.
Mix It Up! Fun Flavor Twists
The beauty of this recipe is its versatility. Don’t be afraid to get creative and make it your own!
- Grown-Up Gourmet: Swap the lemon juice for a light mist of lime juice and use Tajín chili-lime seasoning mixed with the Kool-Aid for a sweet, tangy, and spicy kick.
- Sugar-Free Swap: Use sugar-free Kool-Aid and skip the optional superfine sugar. The grapes provide all the natural sweetness you need!
- Tropical Escape: Use a combination of Mango, Pineapple, and Strawberry Kiwi Kool-Aid flavors and toss in some shredded coconut with the powder for a tropical vibe.
- Chocolate-Covered Pretzel: Believe it or not, a packet of unsweetened Grape Kool-Aid mixed with a little sugar tastes just like a chocolate-covered pretzel! It’s a wild and wonderful illusion.
- Frozen Yogurt Bites: After dusting the grapes, dip them halfway in Greek yogurt and freeze on the parchment-lined tray for a creamy, protein-packed treat.
Anna’s Chef’s Notes & Kitchen Stories
This recipe has evolved so much since my first messy batch! I’ve learned that the type of grape really matters—green holds its crunch better, while red grapes can get a bit softer. I also used to try and coat all the grapes in one giant bowl, which resulted in a lot of broken grapes and a technicolor kitchen counter. The zip-top bag method was a total game-changer for even coating and minimal mess.
A funny story: I once brought these to a fancy potluck without explaining what they were. I watched with silent amusement as a very proper, distinguished guest tentatively picked one up, examined it, and then his eyes went wide with surprise and delight. He spent the rest of the night hovering by the bowl. It just goes to show, a little bit of playful food can break down any barrier and bring out the kid in all of us. Don’t be afraid to play with your food!
Your Questions, Answered!
Over the years, I’ve gotten a lot of questions about these grapes. Here are the answers to the most common ones to ensure your snacking success!
Q: My Kool-Aid powder is clumping and not sticking evenly. What did I do wrong?
A: I can almost guarantee the grapes weren’t dry enough! Any residual moisture, even a tiny bit, will cause the powder to dissolve and clump. Make sure you are *vigilant* about drying them thoroughly with a towel. If it’s too late and they’re already clumping, you can try rolling the sticky grapes in a little extra, dry Kool-Aid powder to coat them.
Q: Can I make these with other fruits?
A: Absolutely! This method works wonderfully with other firm, small fruits. Blueberries, raspberries, and small strawberries are all fantastic candidates. Just remember the golden rule: they must be completely dry before dusting.
Q: How long will these keep in the freezer?
A> They will keep beautifully for up to 2-3 months in an airtight container or freezer bag. The flavor and texture hold up perfectly, making them a fantastic make-ahead snack for busy weeks or last-minute party plans.
Q: The flavor is too intense/tangy for me. How can I tone it down?
A> No problem! You can easily cut the intensity by mixing the Kool-Aid packet with an equal part of superfine sugar or even a little citric acid powder before you dust the grapes. This gives you more control over the sweet-to-tangy ratio. Taste a little of the powder mix on your finger first to test it!
Nutritional Information*
*Please note: This is an estimated nutritional breakdown. Values can vary based on specific ingredients used.
Per Serving (approx. 1/2 cup): Calories: 50 | Total Carbohydrates: 13g | Dietary Fiber: 1g | Total Sugars: 11g | Protein: 0g | Fat: 0g
Prep Time: 1 hour | Freeze Time: 1 day | Total Time: 1 day 1 hour | Serves: 24
Final Thoughts
There’s just something magical about recipes like this—simple ingredients, a splash of color, and a whole lot of joy. These Kool-Aid Dusted Grapes are proof that fun food doesn’t have to be complicated to make people smile. Every icy, tangy bite brings a little burst of childhood nostalgia and pure summer happiness.
Whether you’re serving them at a backyard party, packing them for a picnic, or sneaking a few straight from the freezer on a busy afternoon, they never fail to brighten the moment. So go ahead—grab those grapes, shake up some color, and make your freezer a little more fun. Because life’s too short not to play with your food once in a while!