
The Ultimate Recipe for Olive Garden Breadsticks: A Cozy Kitchen Adventure
Hello, my friend! Today, I’m thrilled to share with you one of those classic comfort foods that bring back a wave of nostalgia and happiness—the iconic Olive Garden breadsticks! Whether you’ve enjoyed these pillowy delights while indulging in a bowl of hearty soup or with a simple olive oil dip, there’s just something magical about them that makes every meal feel a little more special. So, let’s dive into this breadstick adventure together!
A Slice of Nostalgia
Ah, the smell of freshly baked breadsticks wafting through the kitchen takes me back to those family outings at our local Olive Garden. As a child, I remember my siblings and I practically bouncing in our seats, eagerly awaiting the steaming basket of breadsticks to arrive at our table. We would rip off pieces, slather them in herbed butter, and savor every buttery morsel while dunking them in marinara sauce. It felt like a party on our plates!
Even now, as an adult, the aroma of baking breadsticks has that same power. It’s a reminder of laughter, family bonding, and the joy of sharing good food with those we love. So, when I decided to create my version of these beloved breadsticks, I was filled with excitement—could I capture that same warmth and joy in my own kitchen? Spoiler alert: I absolutely can, and you will too!
Let’s roll up our sleeves and get ready to create these heavenly Olive Garden-style breadsticks that are super easy to make and oh-so-delicious!
Ingredients
Here’s everything you need to whip up a batch of Olive Garden-inspired breadsticks:
-
4 cups all-purpose flour
A staple in baking, this flour helps create the perfect dough texture. If you need a gluten-free option, try a 1:1 gluten-free flour blend. -
1 packet (0.25 oz) active dry yeast
This little packet is what makes our breadsticks light and fluffy! You can substitute it with instant yeast, using the same amount for a quicker rise. -
2 tablespoons sugar
Not only does sugar add sweetness, but it also helps activate the yeast. If you’d prefer, you could swap it for honey or a sugar substitute. -
1 teaspoon salt
Essential for enhancing flavor, salt also helps control yeast activity. Just be cautious—too much can stall the rising process. -
1 1/2 cups warm water
The warm water activates the yeast. Make sure it’s about 110°F (just warm to the touch). Too hot and it’ll kill the yeast! -
1/4 cup unsalted butter
Melt this into your dough and also brush it on top for a rich, buttery finish. You can use olive oil if you’re looking for a dairy-free option. -
2 cloves garlic, minced
Fresh garlic provides a punch of flavor that’s simply irresistible. In a pinch, garlic powder works too—just use 1/2 teaspoon. -
1/2 teaspoon garlic powder
A great complement to fresh garlic, this adds depth to the overall flavor. You could use more or less depending on your garlic love! -
1/4 teaspoon salt (for topping)
A sprinkle of salt on top elevates the flavor and gives a wonderful contrast to the soft bread. -
Olive oil (for brushing)
A light brush of olive oil adds added richness and helps keep the breadsticks soft as they cool.
Step-by-Step Instructions
Ready to become a breadstick maestro? Follow these steps, and you’ll be whisked away with the aroma of fresh-baked goodness in no time!
-
Activate the Yeast:
In a small bowl, combine the warm water, sugar, and yeast. Give it a stir and let it sit for about 5-10 minutes until it’s frothy. This is like sending a wake-up call to the yeast—it’s time to party! -
Prepare the Dough:
In a large mixing bowl, whisk together the flour and salt. Create a well in the center, and pour in your yeast mixture along with the melted butter and minced garlic. Now, get in there with a wooden spoon or your hands and mix until it forms a shaggy dough. -
Knead Like a Pro:
Flour your work surface lightly and turn the dough out. Knead it for about 5-7 minutes until it becomes smooth and elastic. Don’t be afraid to show a little love with those hands! If the dough is too sticky, sprinkle in a bit more flour as needed. -
Let It Rise:
Place your dough in a greased bowl, cover it with a kitchen towel, and let it rise in a warm spot for about 1 hour or until it has doubled in size. This is the part where you can sip a cup of tea, do a little kitchen dance, or daydream about your future breadsticks. -
Shape the Breadsticks:
Once the dough is nice and puffy, punch it down to release the air. Turn it out again and divide it into about 12-15 equal portions. Roll each piece into a long rope, about 6-8 inches, and place them on a baking sheet lined with parchment paper—give them a little space to expand! -
Second Rise:
Cover the shaped breadsticks with a towel and let them rise for another 30 minutes. This step is crucial for that light, pillowy texture we adore. -
Preheat the Oven:
While your breadsticks are rising, preheat your oven to 375°F (190°C). Get excited—aromatic bread will soon fill your kitchen! -
Brush and Bake:
Just before baking, brush the breadsticks lightly with olive oil. This will give them a gorgeous golden-brown finish. Bake for 15-20 minutes until they are golden and just starting to look crispy on the edges. -
Garlic Butter Opulence:
As the breadsticks bake, melt your remaining butter in a small saucepan and stir in the garlic powder and a little salt. Once the breadsticks are out of the oven, brush this luscious garlic butter mixture all over them while they’re still warm. -
Get Ready to Enjoy:
After that, it’s time to dig in! Serve these beauties warm with marinara sauce, a drizzle of olive oil, or alongside your favorite pasta dish for a perfect pairing.
Serving Suggestions
To serve these delightful breadsticks, arrange them in a beautiful basket lined with a cloth napkin. This not only keeps them warm but also adds a cozy touch to your dining experience. You can also serve them alongside a small bowl of marinara sauce for dipping or a side of herbed olive oil drizzled with balsamic vinegar for a taste explosion!
Recipe Variations
If you’re feeling adventurous, here are some fun creative twists on the classic breadstick recipe:
-
Cheesy Garlic Breadsticks: Add shredded mozzarella or Parmesan cheese on top before baking for a cheesy delight!
-
Herbed Breadsticks: Incorporate dried herbs like oregano, basil, or even a pinch of Italian seasoning into the dough for a flavor boost.
-
Spicy Breadsticks: Sprinkle some red pepper flakes into the garlic butter for a little extra kick!
-
Stuffed Breadsticks: Roll the dough around fillings like pepperoni and cheese for fun pizza-flavored breadsticks.
-
Vegan Version: Substitute the butter with vegan margarine and use almond milk instead of water for a plant-based treat.
Chef’s Notes
As someone who loves to experiment in the kitchen, this recipe has seen some evolution over the years. I started with a simple version but found that caring for each ingredient—especially the garlic and butter—truly shines through in the final product. And trust me, nothing beats the joy of pulling a tray of warm breadsticks out of the oven while the golden aroma wraps around you. Every time I make them, it’s like an embrace from my childhood, and I can’t wait for you to experience this magic at home too!
FAQs and Troubleshooting
-
My breadsticks didn’t rise. What went wrong?
If your breadsticks didn’t rise, the yeast may have been inactive. Check the expiration date on your yeast or ensure the water was the right temperature—too hot can kill it! -
Why are my breadsticks dense?
Dense breadsticks can be a result of over-kneading or not enough rising time. Be gentle when kneading, and always allow ample time for rising to capture that airy texture. -
Can I freeze the dough?
Absolutely! After the first rise, you can wrap the dough tightly in plastic wrap and freeze it. When ready to bake, simply thaw it in the fridge overnight and shape the breadsticks. -
How do I store leftovers?
If you have any leftovers (though they may not last long!), store them in an airtight container at room temperature for up to 2 days. Reheat them in the oven for a few minutes to regain their original warmth!
Nutritional Info
Each breadstick is approximately 150 calories, with 3g of fat, 1g of protein, 29g of carbohydrates, and 1g of fiber (exact values will vary based on exact ingredients used).
Final Thoughts
So there you have it—a delightful journey into the world of Olive Garden breadsticks. I hope you found this recipe as comforting and joyful as I do. The beauty of these breadsticks lies in their simplicity and their ability to bring people together around the table. So grab your apron, invite a friend, or enjoy them solo with a good book. Remember, good food is made for sharing, so let the magic of homemade breadsticks turn your meals into celebrations! Happy baking!
PrintOlive Garden Breadsticks

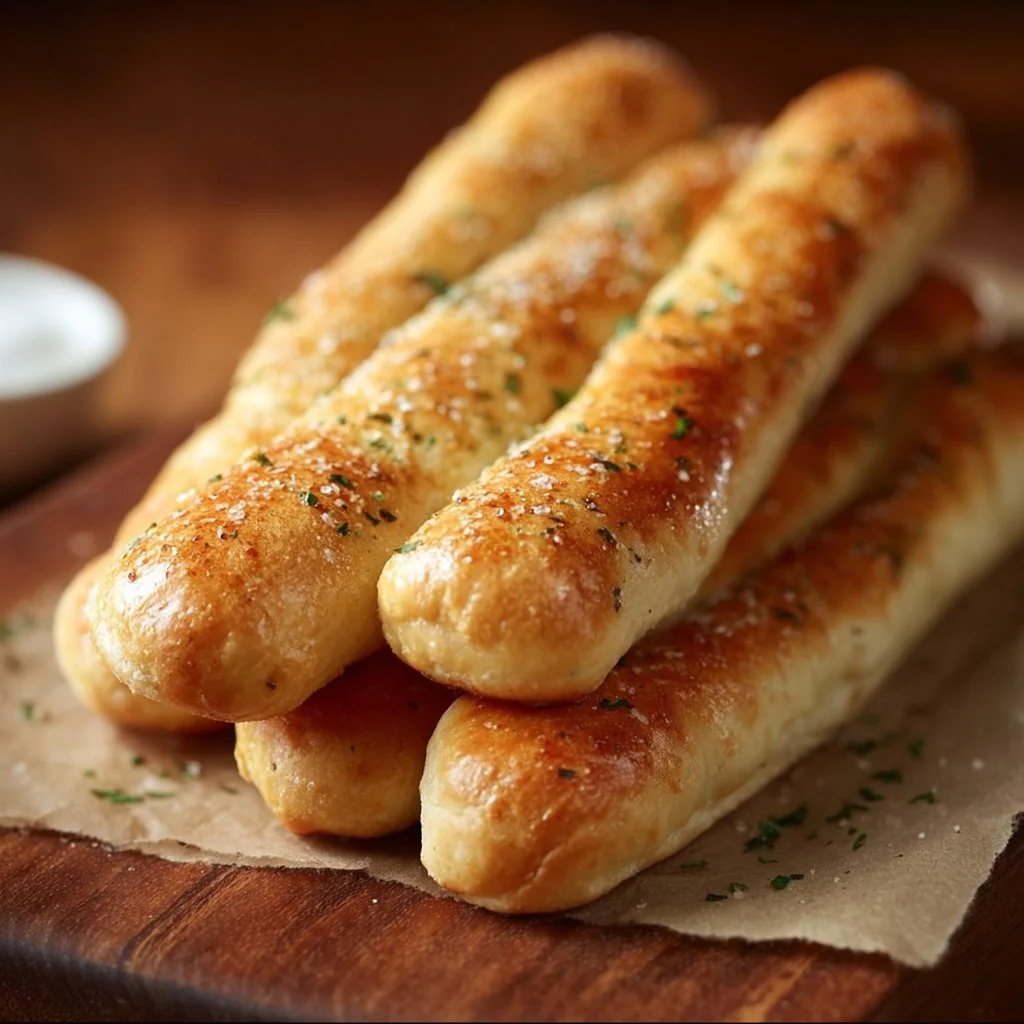
Experience the magic of homemade Olive Garden breadsticks—pillowy, buttery delights perfect for any meal.
- Prep Time: 15 minutes
- Cook Time: 20 minutes
- Total Time: 75 minutes
- Yield: 12 servings 1x
- Category: Side Dish
- Method: Baking
- Cuisine: Italian
- Diet: Vegetarian
Ingredients
- 4 cups all-purpose flour
- 1 packet (0.25 oz) active dry yeast
- 2 tablespoons sugar
- 1 teaspoon salt
- 1 1/2 cups warm water
- 1/4 cup unsalted butter
- 2 cloves garlic, minced
- 1/2 teaspoon garlic powder
- 1/4 teaspoon salt (for topping)
- Olive oil (for brushing)
Instructions
- Activate the yeast: In a small bowl, combine the warm water, sugar, and yeast. Let it sit for about 5-10 minutes until frothy.
- Prepare the dough: In a large mixing bowl, whisk together flour and salt. Create a well, pour in yeast mixture, melted butter, and minced garlic. Mix until it forms a shaggy dough.
- Knead the dough: Flour your work surface, turn out the dough, and knead for about 5-7 minutes until smooth and elastic.
- Let it rise: Place dough in a greased bowl, cover it, and let rise in a warm spot for about 1 hour or until doubled in size.
- Shape the breadsticks: Punch down the dough, divide into 12-15 portions, and roll each into a long rope. Place on a lined baking sheet.
- Second rise: Cover and let the shaped breadsticks rise for another 30 minutes.
- Preheat the oven: Preheat to 375°F (190°C).
- Brush and bake: Brush breadsticks with olive oil and bake for 15-20 minutes until golden.
- Prepare garlic butter: Melt remaining butter, stir in garlic powder, and brush over breadsticks while warm.
- Enjoy: Serve warm with marinara sauce or herbed olive oil.
Notes
Serve breadsticks warm for the best flavor. Try out different toppings for creative variations!
Nutrition
- Serving Size: 1 breadstick
- Calories: 150
- Sugar: 2g
- Sodium: 300mg
- Fat: 3g
- Saturated Fat: 1g
- Unsaturated Fat: 2g
- Trans Fat: 0g
- Carbohydrates: 29g
- Fiber: 1g
- Protein: 4g
- Cholesterol: 10mg
Keywords: breadsticks, Olive Garden, Italian bread, homemade bread, comfort food