The No-Bake Treat That Tastes Like a Hug: Peanut Butter Chocolate Bars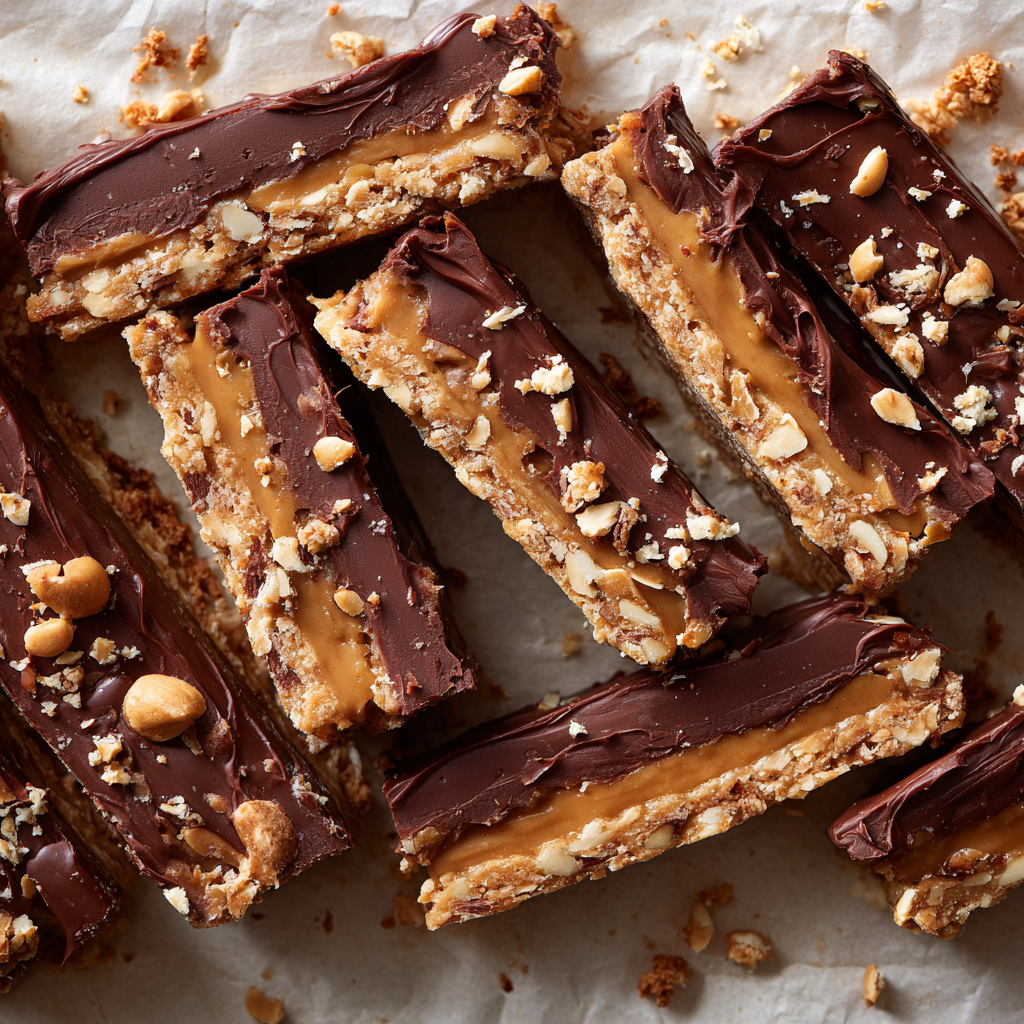
Hey there, friend! Come on in, the kitchen’s just getting good. Have you ever had one of those days where you just need something sweet? Not in a “I should preheat the oven and measure flour” kind of way, but in a “I want magic to happen in under 15 minutes with zero fuss” kind of way. I hear you. Loud and clear.
That’s exactly why these Peanut Butter Chocolate Bars are my secret weapon, my go-to joy-bringer, and quite possibly the most requested treat in my house. Imagine the very best parts of a peanut butter cup—that perfect, impossible-to-beat sweet and salty combo—but in glorious, sliceable bar form. We’re talking a creamy, slightly crunchy peanut butter base that’s so good you’ll want to eat it with a spoon (no judgment here), all snuggled under a blanket of rich, silky chocolate.
The best part? Your oven gets to take a nap. This is a true no-bake wonder, friends. It’s the dessert you whip up when it’s too hot to turn on the oven, when you need a last-minute potluck hero, or when you simply deserve a little homemade happiness without the clean-up marathon. So, tie on your favorite apron (the one with the fun print), and let’s make some effortless magic together.
The Summer of Sticky Fingers & Sweet Discoveries
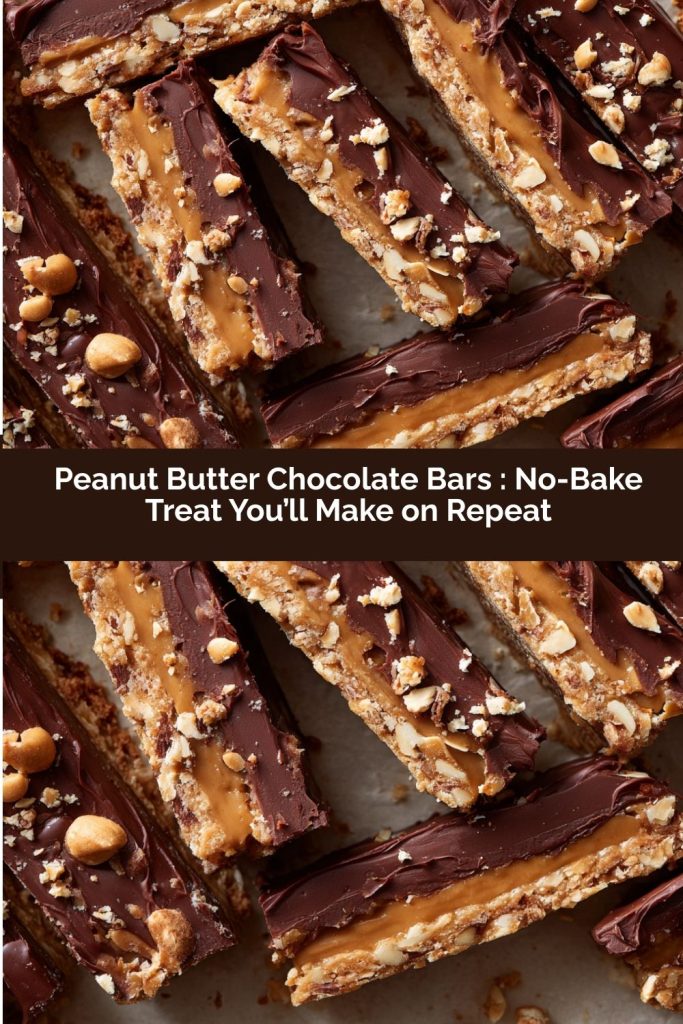
PrintPeanut Butter Chocolate Bars : No-Bake Treat You’ll Make on Repeat

These Peanut Butter Chocolate Bars are the perfect mix of creamy, crunchy, sweet, and salty. With just a few simple ingredients, you get a no-bake dessert that tastes like a peanut butter cup—but in bar form! Whether you need a quick treat, a lunchbox surprise, or a party snack, this recipe delivers major flavor with minimal effort.
- Prep Time: 10 mins
- chill time: 1 hour
- Total Time: 1 hr 10 mins
- Yield: 16 bars 1x
Ingredients
For the Base:
1 cup creamy peanut butter
½ cup melted butter
1¾ cups powdered sugar
1½ cups graham cracker crumbs
For the Topping:
1½ cups semi-sweet chocolate chips
¼ cup peanut butter
Instructions
In a bowl, mix peanut butter, melted butter, powdered sugar, and graham cracker crumbs until smooth.
Press the mixture evenly into a lined 8×8 inch pan.
Melt chocolate chips and ¼ cup peanut butter together (microwave or stovetop), stir until smooth.
Pour over the base and spread evenly.
Chill in the fridge for at least 1 hour until set.
Nutrition
- Calories: 220
- Carbohydrates: 20g
- Protein: 4g
This recipe takes me straight back to my grandma’s linoleum-floored kitchen, circa 1997. Summers were long, hot, and officially off-limits for “heating up the whole house” with baking. But my cousin Sarah and I had a bottomless pit where our stomachs should have been, and a serious craving for something chocolate and peanut buttery.
One afternoon, rummaging through her well-loved recipe box, we found a faded card titled “Emergency Squares,” written in her elegant cursive. It called for things we actually had in the pantry. We felt like kitchen detectives who’d struck gold. We mixed the base with our hands, laughing as the powdered sugar puffed into little clouds, and “tested” the chocolate topping more times than was strictly necessary. The wait for them to set in her old Frigidaire was agony! But that first bite—cool, firm, melting into creamy-sweet-salty perfection—was a revelation. It tasted like independence, like shared secrets, and pure, uncomplicated joy. Every time I make these bars, I’m right back there, a kid with sticky fingers and a full heart, reminded that the best recipes aren’t just about food—they’re about the memories you mix in.
Gathering Your Kitchen Allies: The Simple Ingredient Lineup
See? I told you it was simple! This is pantry magic at its finest. Here’s what you’ll need, along with my little chef notes to make sure your bars are pure perfection.
- 1 cup creamy peanut butter: This is the star, so use a brand you love to eat by the spoonful! I typically use a standard processed peanut butter (like Jif or Skippy) for this recipe because its consistent texture and slight sweetness help the base set up firmly. Chef’s Insight: If you prefer natural peanut butter (the kind that separates), give it a really good stir first and know your bars might be a tad softer—still delicious, just a different texture.
- ½ cup (1 stick) unsalted butter, melted: Melted butter acts as our glue and adds incredible richness. I use unsalted so we control the salt level. Quick Sub: For a dairy-free version, a good-quality vegan butter stick works beautifully here.
- 1 ¾ cups powdered sugar: Also called confectioners’ sugar. It dissolves beautifully into the peanut butter and butter, creating that smooth, fudgy base. No gritty texture here! Pro Tip: Sift it if it’s lumpy for the smoothest mix.
- 1 ½ cups graham cracker crumbs: The secret textural hero! They provide the perfect hint of honey-kissed crunch and help the base hold its shape. Easy Swap: Gluten-free friends, just grab a box of gluten-free graham crackers and crush them up. You can also use digestive biscuits for a slightly different, but equally tasty, flavor.
- For the Topping: 1 ½ cups semi-sweet chocolate chips: The classic choice for its balanced sweetness. Flavor Adventure: Feel free to use milk chocolate for a sweeter bar, or dark chocolate (60-70%) for a more sophisticated, less sweet bite.
- For the Topping: ¼ cup peanut butter: Adding peanut butter to the melted chocolate does two wonderful things: it gives the topping a gorgeous peanut butter flavor ripple, and it helps the chocolate set with a slightly softer, easier-to-cut texture. Trust me on this one!
Let’s Make Some Magic: Simple Steps to Bar Bliss
Ready? This is the fun part. We’re going to create two glorious layers of goodness, and I’ll be with you every step of the way with my favorite tips and hacks.
Step 1: The Base. In a large mixing bowl, combine the creamy peanut butter and melted butter. Give it a good stir until it’s completely smooth and welcoming. Now, add in your powdered sugar and graham cracker crumbs. I like to stir it first with a spatula to avoid a sugar cloud, then I dive in with clean hands. Yes, hands! It’s the best tool for the job. Squeeze and mix until every last crumb is incorporated and you have a cohesive, slightly stiff “dough.” It should hold together when you pinch it. Chef Hack: If the mixture feels too dry and crumbly, add another tablespoon of melted butter. If it feels too greasy or soft, a sprinkle more powdered sugar will fix it. Kitchens (and peanut butter brands) vary!
Step 2: Press It with Purpose. Line an 8×8 inch baking pan with parchment paper, leaving a little overhang on two sides. This is your golden ticket to easy removal later—no wrestling with the pan! Dump your peanut butter mixture into the pan and press it down firmly and evenly. I use the bottom of a flat measuring cup or a small glass to really compact it. A solid, well-pressed base is the foundation for perfect slices. Pop this into the fridge for about 15 minutes to let it firm up while you make the topping.
Step 3: The Dreamy Topping. In a microwave-safe bowl (or a heatproof bowl for a double boiler), combine the chocolate chips and the ¼ cup of peanut butter. Microwave in 30-second bursts, stirring vigorously after each, until completely melted and smooth. This usually takes about 90 seconds total. Important Tip: Do NOT over-microwave! The residual heat will melt the last few chips as you stir. If using a double boiler, keep the water at a gentle simmer and stir until lush and liquid.
Step 4: The Big Chill. Pull your chilled base from the fridge. Pour the melted chocolate-peanut butter mixture over the top. Tilt the pan gently to spread it into every corner. You can use an offset spatula or the back of a spoon for a perfectly even, glossy finish. Now, the test of patience! Return the pan to the refrigerator. Let it chill for at least 1 hour, or until the topping is completely set and doesn’t give when you gently touch it. For super clean cuts, I sometimes let it go for 2 hours.
Step 5: Slice & Savor! Using the parchment paper “handles,” lift the whole slab of deliciousness out of the pan and onto a cutting board. Use a large, sharp knife to slice into bars or squares. For pristine cuts, wipe the knife clean with a warm, damp cloth between slices. Now, admire your handiwork! You just made a no-bake masterpiece.
How to Serve Up the Sweetness
Presentation is part of the fun! I love arranging these bars on a simple white platter or a rustic wooden board. They’re rich, so small squares are perfect. For a fancy touch, you can sprinkle a tiny pinch of flaky sea salt over the chocolate right after you pour it, or finish the plated bars with a light dusting of crushed, salted peanuts. They’re fantastic with a cold glass of milk, a hot cup of coffee, or just all on their own, enjoyed straight from the fridge while standing in front of the open door (we’ve all been there).
Make It Your Own: Delicious Twists & Swaps
- The Salty Crunch: Stir ½ cup of chopped pretzels or roasted, salted peanuts into the peanut butter base along with the graham crumbs.
- Cookie Butter Bliss: Swap out ½ cup of the peanut butter in the base for speculoos cookie butter for a warm, spiced flavor.
- The Extra-Chocolaty: After spreading the chocolate topping, immediately sprinkle with mini chocolate chips, toffee bits, or even mini peanut butter cups for a loaded look and extra texture.
- Fruity Nutty: Press a layer of dried cranberries or chopped dried cherries onto the chilled base before pouring the chocolate topping over.
- Sunflower Sweetness: Have a nut allergy? Use sunflower seed butter in place of peanut butter throughout for a nut-free treat that’s just as delicious!
Anna’s Kitchen Notes: The Story Behind the Bars
This recipe has been on quite a journey with me! The original “Emergency Squares” from my grandma’s box were even simpler—just peanut butter, butter, powdered sugar, and chocolate. Over the years, I added the graham cracker crumbs for that essential texture, and the peanut butter in the chocolate topping was a happy accident one day when I was short on chips. It turned out to be the best “mistake” ever! These bars have seen me through college finals, been my go-to new-baby gift for friends (no time to bake!), and are the first thing my kids ask to make when they have friends sleeping over. They’ve become more than a recipe; they’re my edible greeting card, my shareable joy. I hope they find a special place in your recipe rotation and your memory-making, too.
Your Questions, Answered!
Q: My base seems really dry and won’t hold together. What did I do wrong?
A: Don’t worry! This usually means your peanut butter was a bit on the drier side (natural varieties can do this) or your measurements were a touch off. The fix is easy: add more “glue.” Drizzle in another tablespoon of melted butter and mix/knead it in. Keep adding just a teaspoon at a time after that until the mixture holds together when pinched.
Q: Can I use natural peanut butter?
A> You absolutely can! Just make sure it’s very well-stirred to incorporate all the oil. Be prepared for a slightly softer, more crumbly base (see the tip above about adding a touch more butter if needed). The flavor will be more intensely peanutty, which is a wonderful thing!
Q: How do I store these, and how long do they last?
A: These bars are best kept in an airtight container in the refrigerator. The cool temperature keeps them firm and the chocolate perfect. They’ll be at their peak for about 1 week. You can also freeze them for up to 2 months! Slice them first, layer between parchment paper in a freezer-safe container, and thaw in the fridge before serving.
Q: My chocolate topping seized or got grainy when I melted it. Help!
A> This means a tiny bit of moisture got into the chocolate (a common microwave mishap). To prevent it, always make sure your bowl is completely dry. If it happens, try stirring in a teaspoon of very neutral oil (like vegetable or coconut) to smooth it back out. For foolproof melting, the double-boiler method is always my top recommendation.
A Quick Nutritional Glance*
*Please note: This is an estimated nutritional breakdown per bar, based on 16 servings, calculated using a standard online calculator. For precise dietary needs, use your preferred calculator with your exact brands and measurements.
Calories: ~220 | Protein: 4g | Carbohydrates: 20g | Fat: 14g
Final Thoughts
Some recipes are fancy. Some are impressive. And then there are the ones that quietly steal your heart and refuse to give it back.
These no-bake peanut butter chocolate bars are that kind of recipe.
They’re the treat you make when life feels busy, when the kitchen is too hot, when you need something sweet now, or when you want to show someone love without dirtying every bowl you own. They’re simple, forgiving, and endlessly comforting — the kind of dessert that disappears faster than you expect and gets requested again before the plate is even empty.