Why You’ll Fall in Love with Quick Pickled Zucchini Ribbons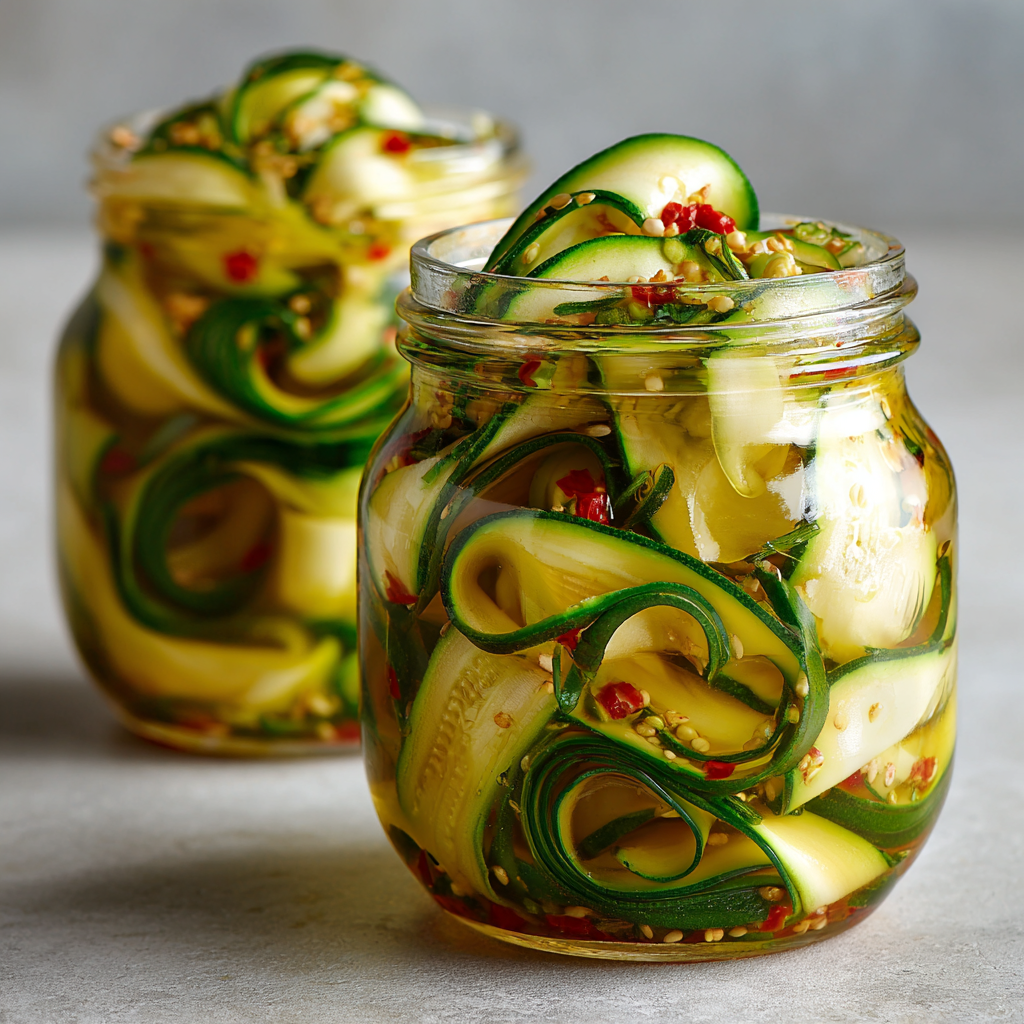
Hey there, kitchen friend! Anna here, ready to share one of my all-time favorite fridge magicians: Quick Pickled Zucchini Ribbons. Picture this: You’ve got zucchini coming out of your ears (hello, summer gardens!), and instead of another loaf of zucchini bread, you transform them into tangy, crisp, confetti-bright ribbons that make everything they touch taste like a gourmet picnic. These aren’t just pickles – they’re little edible rainbows that jazz up salads in seconds, turn sandwiches into superstars, and make cheese boards do a happy dance. The best part? They’re ridiculously simple. No sterilizing jars, no waiting weeks – just 10 minutes of active prep and a couple hours in the fridge. I call them my “emergency glam squad” because they rescue even the simplest meal from boringville. Whether you’re a pickle pro or a first-time fermenter, this recipe is your ticket to crunchy, zingy joy!
A Zucchini Tale: My First Pickling Adventure
PrintQuick Pickled Zucchini Ribbons
Tangy, crisp, and beautifully vibrant—these Quick Pickled Zucchini Ribbons are the ultimate way to elevate salads, sandwiches, and snacks. Ready in a flash and full of zing, they’re a delicious, no-fuss fridge staple you’ll keep coming back to.
- Prep Time: 10 minutes
- chill time:
- Cook Time: 5 minutes
- Total Time: 2 hours+
- Yield: 6 cups 1x
Ingredients
6 small zucchini, sliced into thin coins or ribbons
2 cups white or white wine vinegar
2 cups water
4 tbsp pickling salt
¼ cup sugar (adjust to taste)
Instructions
In a saucepan, combine vinegar, water, pickling salt, and sugar. Heat until salt and sugar dissolve, then remove from heat and let cool slightly.
Pack zucchini ribbons into clean jars or containers.
Pour the warm pickling liquid over zucchini until fully submerged.
Let cool to room temperature, then cover and refrigerate for at least 2 hours (best after 24 hours).
Store in the fridge and use within 2 weeks.
Notes
Vegan, gluten-free, low-calorie
Nutrition
- Calories: 20 kcal
- Fat: 0
- Carbohydrates: 4g
Let me take you back to my sun-drenched Minnesota childhood. Every August, our neighbor Mr. Henderson would appear at our door with a cardboard box overflowing with baseball-bat-sized zucchinis – his garden’s “friendly invasion.” One sweltering afternoon when Mom was buried in zucchini muffins, I decided to experiment. Armed with Grandma’s vintage mandoline (and strict supervision!), I shaved emerald ribbons that fluttered like party streamers. We steeped them in vinegar with dill from the porch pot, giggling as we packed jam jars. Two hours later? Magic. That first bite – cold, tangy, with that satisfying CRUNCH – felt like unlocking a secret kitchen superpower. Dad piled them on brats that night, declaring them “better than the State Fair.” Thirty years later, that memory still bubbles up every time I hear the *thwick-thwick* of my mandoline. Some flavors just stick to your heart!
Gathering Your Ingredients: Simple & Fresh
- 6 small zucchini: Look for firm, glossy skins (no soft spots!). Chef’s hack: Smaller = fewer seeds = crisper ribbons! Swap yellow squash for confetti vibes.
- 2 cups white wine vinegar: My fave for bright acidity. Sub tip: Apple cider vinegar adds fruity depth, rice vinegar keeps it light.
- 2 cups water: Filtered is best – chlorine can mute flavors.
- 4 tbsp pickling salt: Crucial for crunch! Must-know: Regular table salt contains anti-caking agents that cloud brine.
- ¼ cup sugar: Balances the tang. Sweet freedom: Use honey, maple syrup, or omit for keto-friendly zing!
Bonus Flavor Boosters (Pick Your Adventure!): Garlic cloves, dill fronds, red pepper flakes, mustard seeds, lemon zest, or fresh thyme. Toss ’em in the jar before pouring brine!
Creating Your Tangy Masterpiece: Step-by-Step
- Ribbon Romance: Wash zucchinis and trim ends. Using a Y-peeler or mandoline, slice lengthwise into thin ribbons. Pro Tip: Stop slicing when you hit seeds – switch sides! Thicker seeds = soggier pickles.
- Brine Brilliance: In a non-reactive saucepan (stainless steel or enamel), combine vinegar, water, salt, and sugar. Whisk over medium heat JUST until dissolved (2-3 mins). Game Changer: Never boil – heat kills crispness! Remove from heat immediately.
- Jar Jazz: Pack zucchini ribbons vertically into clean mason jars like floral bouquets. Tuck in flavor boosters between layers. Why vertical? Ribbons stay intact and look stunning!
- Brine Bath: Carefully pour warm brine over zucchini, covering completely. Leave ½-inch headspace. Tap jars gently to release air bubbles. Chef’s Secret: Slide a chopstick down the sides to coax out trapped air.
- Chill Out: Cool uncovered to room temp (about 30 mins). Seal lids and refrigerate. Patience Pays: Wait at least 2 hours, but 24 hours = flavor fireworks!
Serving Up Sunshine: How to Enjoy Your Pickled Zucchini
These vibrant ribbons crave the spotlight! Drape them over avocado toast for Insta-worthy breakfasts, or tuck them into falafel wraps for juicy crunch. Toss a handful into grain bowls – they cut through rich quinoa like a zesty ninja. My favorite? Layer them with burrata, heirloom tomatoes, and basil on crusty bread. They even glam up grilled chicken or fish in 10 seconds flat! For next-level snacking, wrap ribbons around cream cheese-stuffed peppadews. Basically, if it’s beige, these pickles are its fairy godmother.
Make It Your Own: Delicious Twists & Swaps
- Spicy Fiesta: Add 1 sliced jalapeño + 1 tsp cumin seeds to brine.
- Mediterranean Dream: Stir 2 tbsp chopped Kalamata olives + 1 tsp oregano into jars.
- Dilly Garden: Pack jars with fresh dill sprigs + ½ tsp black peppercorns.
- No-Sugar Zing: Replace sugar with 2 tbsp monk fruit sweetener.
- Rainbow Remix: Use 2 zucchini + 2 yellow squash + 2 peeled carrot ribbons.
From My Kitchen to Yours: Chef’s Notes
This recipe evolved from a “zucchini rescue mission” during my catering days! I once made 20 jars for a wedding, only to find the groom sneaking them straight from the fridge pre-ceremony – “for courage!” Now I always make double batches. Over the years, I’ve learned: 1) Room-temp brine = crisper pickles (hot brine cooks veggies), and 2) Mandolines demand respect (RIP my favorite polka-dotted apron, 2017). These pickles improve for about 5 days, then slowly soften. If your brine turns slightly cloudy? Totally normal – it’s just sediment from spices!
Your Questions Answered: FAQs & Troubleshooting
Q: Can I use regular salt?
A: Please don’t! Pickling salt lacks iodine and anti-caking agents that make brine cloudy and pickles rubbery. Kosher salt works in a pinch (use same volume).
Q: Why are my pickles soft?
A: Three likely culprits: 1) Overripe/zucchinis with big seeds, 2) Boiling the brine (heat breaks down cell walls), or 3) Packing ribbons too tightly (they need brine flow!).
Q: How long do they REALLY last?
A: Officially 2 weeks, but mine vanish faster! For peak crunch, devour within 7 days. Always use clean utensils to fish them out – no fingers!
Q: Can I pickle thicker slices?
A: Absolutely! Try ¼-inch coins. They’ll need 48+ hours in brine for full flavor penetration. Add 1 extra tbsp salt for crunch insurance.
Nutritional Information (Per ½ Cup Serving)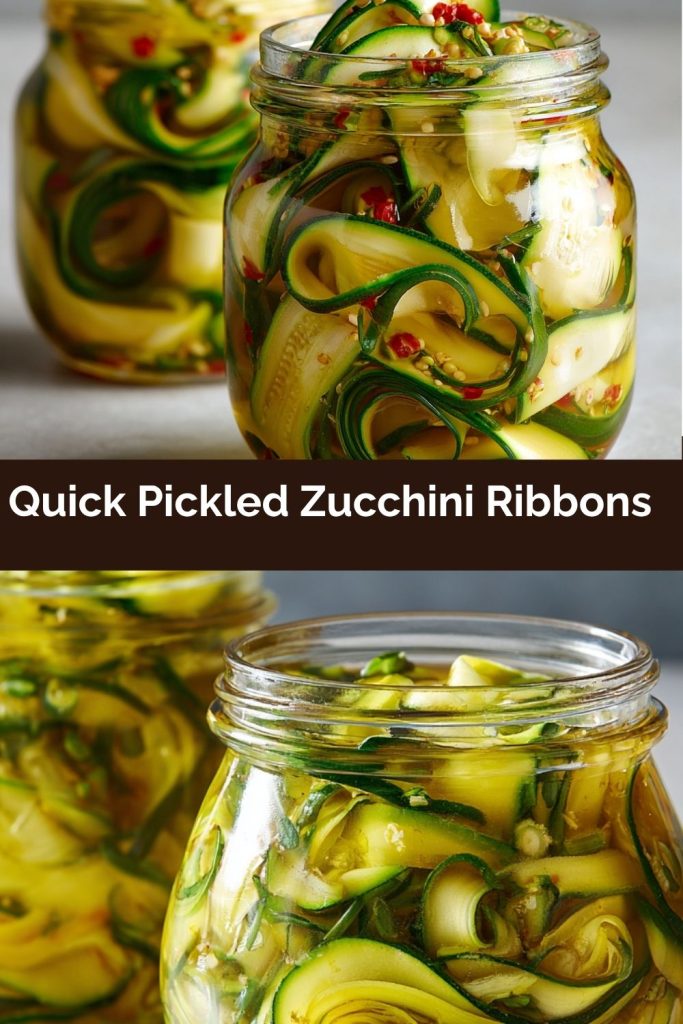
Calories: 20kcal | Carbs: 4g | Fat: 0g | Protein: 1g | Fiber: 1g | Sugar: 3g
Diet Notes: Vegan, Gluten-Free, Low-Calorie, Keto-Friendly (omit sugar)
Final Thoughts
Quick Pickled Zucchini Ribbons are proof that the simplest recipes can spark the most joy. With just a handful of fresh ingredients, a warm brine, and a few jars, you’ve got tangy, crunchy magic that turns everyday meals into something special. Whether you’re jazzing up your lunch, impressing dinner guests, or just saving that last zucchini from muffin fate, these ribbons bring sunshine to every plate. So next time your garden’s bursting or your fridge feels blah, remember: a jar of pickled zucchini might just be the glow-up your table needs.