The Easiest Apple Pie Recipe: Your New Go-To for Cozy Comfort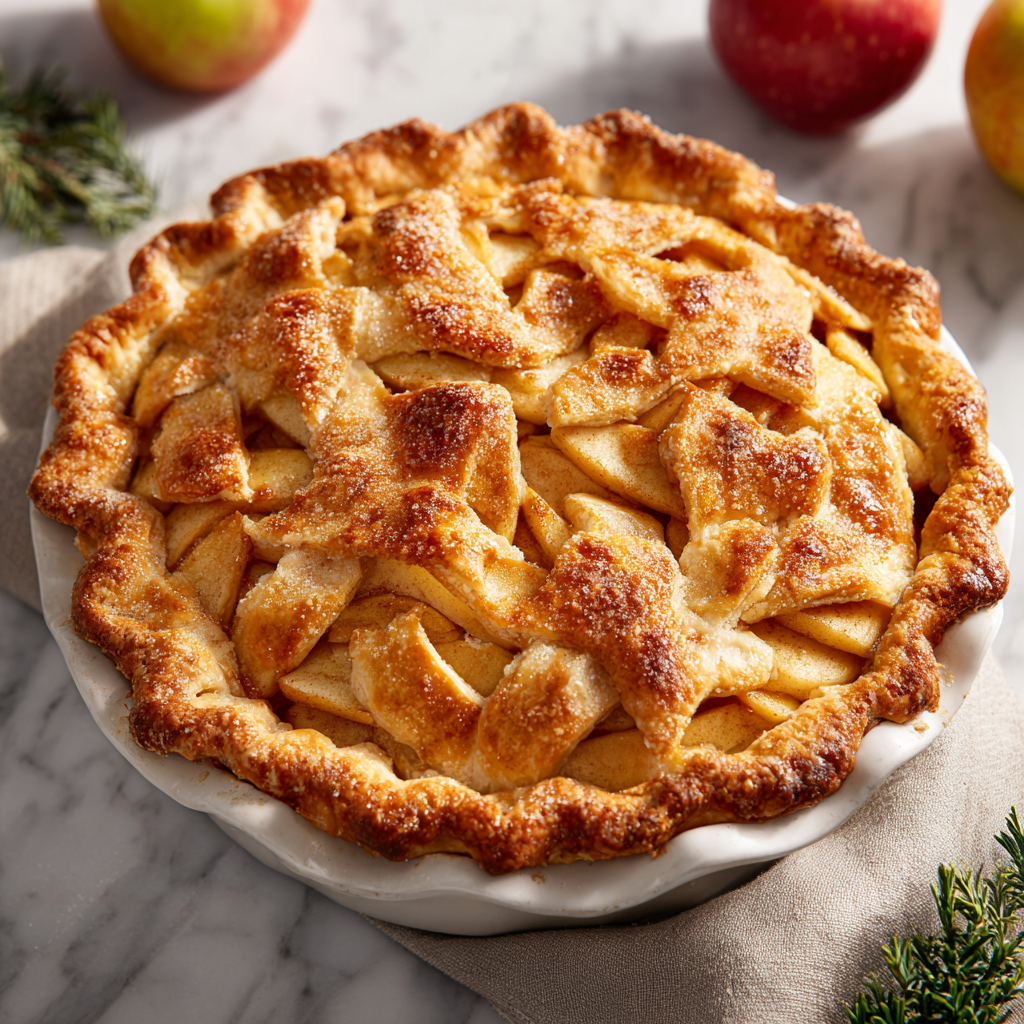
Hey there, friend! Is there anything in the world that smells more like pure, unadulterated joy than an apple pie baking in the oven? That warm, spicy-sweet aroma of cinnamon and butter weaving through the house is like a big, cozy hug. It promises something wonderful is coming, something made with love that’s meant to be shared. It’s the ultimate edible comfort.
But I get it. Sometimes, the idea of making a pie from scratch can feel a little… daunting. The fear of a soggy bottom, the stress of a tough crust, the mystery of the perfect filling—it’s enough to make anyone reach for the frozen aisle instead. Well, consider this your official permission slip to let all of that go. This isn’t a fussy, complicated pastry exam. This is your ticket to creating pure magic with minimal stress.
This recipe is my absolute favorite for a reason: it’s simple, classic, and totally comforting. We’re talking flaky, golden crust, a tender, cinnamon-spiced apple filling that actually holds its shape, and that glorious, bubbling goodness that says, “You did it!” We’re using a brilliant shortcut with a ready-made crust because great food doesn’t have to be complicated to be unforgettable. This pie is perfect for beginners, a lifesaver for busy bakers, and the absolute best answer for when a pie craving hits hard. So, let’s tie on those aprons and turn this ordinary day into a delicious one. You’ve got this!
A Pie for Patching Things Up
PrintThe Easiest Apple Pie Recipe

Simple, classic, and totally comforting—this apple pie is all about flavor without the fuss. With just a handful of pantry staples and a ready-made crust, you’ll have a golden, cinnamon-spiced pie in the oven in no time. Perfect for beginners, busy bakers, or anytime a pie craving hits.
- Prep Time: 20 mins
- Cook Time: 55–60 mins
- Total Time: 1 hr 20 mins
- Yield: 8 1x
Ingredients
1 package (2 crusts) refrigerated pie dough
6–7 medium apples (Granny Smith, Honeycrisp, or both), peeled and sliced
¾ cup granulated sugar
2 tbsp all-purpose flour
1½ tsp ground cinnamon
¼ tsp ground nutmeg
1 tbsp lemon juice
2 tbsp butter, cut into small pieces
1 egg, beaten (for egg wash)
1 tbsp coarse sugar (optional, for topping)
Instructions
Preheat oven to 425°F (220°C).
Roll out one pie crust into a 9-inch pie dish.
In a large bowl, toss apple slices with sugar, flour, cinnamon, nutmeg, and lemon juice.
Pour apple mixture into the crust and dot with butter.
Place the second crust on top (whole or lattice), seal and crimp edges. Cut small slits if using a whole crust.
Brush with egg wash and sprinkle with coarse sugar if desired.
Bake for 20 minutes, then reduce heat to 375°F (190°C) and bake another 35–40 minutes, until golden and bubbling.
Let cool at least 2 hours before slicing.
Nutrition
- Calories: 360 per slice
- Sugar: 28g
- Fat: 16g
- Carbohydrates: 55g
This recipe always makes me smile because it’s tied to one of my favorite kitchen memories. Years ago, my best friend Sarah and I had our first (and only!) real argument. It was over something silly, as these things often are, but it felt huge at the time. We spent a whole day giving each other the silent treatment, and the air in our shared apartment was frostier than a glass of iced tea.
I knew I had to fix it, but words felt hard. So, I did what I always do when I don’t know what to say: I went to the kitchen. I pulled out apples, sugar, cinnamon, and that trusty box of refrigerated pie dough. I didn’t follow a fancy recipe; I just started building a pie, layer by layer, hoping each slice of apple carried an unspoken “I’m sorry.” The moment that pie went into the oven, the smell began to work its magic. About halfway through baking, Sarah wandered into the kitchen, pretending to look for a glass of water. “That smells amazing,” she mumbled. I just smiled and said, “It’s for you.” We sat on the floor in front of the oven, watching it turn golden through the glass, and talked it all out. The pie was the peace treaty. It was a little messy, incredibly sweet, and absolutely perfect. We still laugh about it, and I still make this exact pie whenever we need a little extra comfort.
Gather Your Magical Ingredients
Here’s the beautiful part: you probably have most of this in your pantry right now! This is a no-fuss list for maximum flavor.
- 1 package (2 crusts) refrigerated pie dough – Our superstar shortcut! I love the ease of this. Look for it in the refrigerated section near the canned biscuits. No shame in the store-bought game—it’s flaky, buttery, and works like a dream. Let it sit at room temperature for 15 minutes before unrolling to prevent cracking.
- 6–7 medium apples – This is where the flavor lives! I use a mix of Granny Smith (for their tartness and structure—they hold their shape beautifully) and Honeycrisp (for their incredible sweetness and juiciness). This combo gives you the perfect balance. Other great options: Braeburn, Pink Lady, or Jonagold.
- ¾ cup granulated sugar – Sweetens the deal. You can adjust this up or down by a quarter cup depending on the sweetness of your apples.
- 2 tbsp all-purpose flour – Our thickening agent! This is crucial for absorbing the delicious juices the apples release and preventing a soupy filling. If you need a gluten-free swap, tapioca flour or cornstarch work wonderfully.
- 1½ tsp ground cinnamon – The heart of the spice blend. Don’t be shy!
- ¼ tsp ground nutmeg – Cinnamon’s best friend. It adds a warm, nutty depth that makes the flavor profile so much more interesting.
- 1 tbsp lemon juice – A little bright acidity to balance the sweetness and prevent the apples from browning while you prep. Fresh is best, but bottled works in a pinch!
- 2 tbsp butter, cut into small pieces – We’ll dot this over the filling before adding the top crust. As it melts, it adds an incredible richness and helps everything caramelize into gooey perfection.
- 1 egg, beaten (for egg wash) – This is the secret to that gorgeous, glossy, golden-brown top crust. A quick brush is all it takes!
- 1 tbsp coarse sugar (optional, for topping) – The finishing touch! This adds a delightful crunch and a little sparkle. Sugar in the raw or turbinado sugar are perfect here.
Let’s Build Your Masterpiece: Step-by-Step
Ready? This is where the fun begins. Follow these steps, and you’ll have a pie that’s not only beautiful but also perfectly baked.
Step 1: Preheat and Prep
Preheat your oven to 425°F (220°C). This initial high heat is key to creating a burst of steam that helps set the crust and gives you those beautifully flaky layers. While it’s heating, take your pie dough out of the fridge and let it sit on the counter. This makes it much easier to handle and unroll without breaking.
Step 2: The Foundation
Lightly flour your surface and your rolling pin. Unroll one of the pie crusts and gently roll it out just enough to smooth any creases. Carefully place it into a 9-inch pie dish. Gently press it down so it nestles into the bottom and sides. Don’t stretch the dough—just let it relax into the dish. I like to let the edges hang over for now; we’ll trim them later. No need to prick the bottom with a fork!
Step 3: The Star of the Show
In a large bowl—bigger than you think you need!—toss your peeled and sliced apple slices with the granulated sugar, flour, cinnamon, nutmeg, and lemon juice. My chef hack here? Use your hands! Get in there and really mix it all together, making sure every single apple slice is coated in that spiced, sugary mixture. This ensures every bite is perfectly seasoned. Let it sit for a few minutes; you’ll see the apples start to release a little juice, which is exactly what we want.
Step 4: Fill ‘Er Up
Pour your gorgeous apple mixture into the waiting pie crust. Mound the apples slightly higher in the center—they will shrink down as they bake. Now, take those little pieces of cold butter and dot them evenly all over the top of the apples. These little pockets of butter are going to melt and mingle with the spices and sugar, creating an insanely good sauce.
Step 5: The Beautiful Top
Now for the top crust! You have options here. For the classic look, simply unroll the second crust, place it over the filling, and trim the overhanging edges to about an inch. Then, tuck that edge under itself and crimp it with your fingers or a fork. Want to get fancy? Cut the second crust into strips and weave a lattice top—it’s easier than it looks and lets all that steam escape beautifully. Either way, if you’re using a solid top crust, don’t forget to cut 4-5 small slits in the top to act as steam vents. This is non-negotiable unless you want a pie-top explosion!
Step 6: The Golden Glow Up
Beat that egg with a teaspoon of water to make your egg wash. Use a pastry brush (or even your fingers) to gently brush a thin layer all over the top crust. This is what gives you that professional, bakery-worthy golden shine. Now, for the final flourish, sprinkle that coarse sugar generously over the top. It’s like putting on jewelry—it just completes the look!
Step 7: The Bake
Place your beautiful pie on a baking sheet. This is my #1 pro tip! This does two things: it catches any potential bubble-overs (saving you from a smoky kitchen and a messy oven), and it helps heat the bottom of the pie pan more evenly for a crispier bottom crust. Bake at 425°F for 20 minutes. This initial blast of high heat gets the crust cooking fast. Then, without opening the oven door, reduce the heat to 375°F (190°C) and bake for another 35-40 minutes. You’ll know it’s done when the crust is deeply golden brown and you can see thick, bubbly juices peeking out through the vents or lattice.
Step 8: The Test of Patience
This is the hardest part, I promise! You must let the pie cool for at least 2 hours before you even think about slicing into it. I know, I know. It smells incredible and you want a taste right now. But trust me, this cooling time is when the filling sets. If you cut it warm, it will be a soupy, delicious mess. If you wait, you’ll get clean, perfect slices. It’s worth the wait, I pinky-promise.
Serving Up the Comfort
Once your pie has cooled and set, it’s showtime! Slice it into generous wedges. The best way to serve it? Still slightly warm or at room temperature. For the ultimate indulgence, place a slice on a plate and add a big, melting scoop of vanilla bean ice cream right on top. The contrast of the cold, creamy ice cream with the warm, spiced apples and flaky crust is nothing short of heavenly. A dollop of freshly whipped cream or even a sharp cheddar cheese slice on the side are also classic, fantastic choices. Serve it with a big smile—you made this!
Make It Your Own: Delicious Twists
Love this base recipe? Here are a few fun ways to switch it up!
- Caramel Apple Pie: Drizzle ½ cup of good-quality caramel sauce over the apples after you dot them with butter for an extra gooey, decadent treat.
- Streusel Topping: Skip the top crust! Instead, mix ½ cup flour, ½ cup brown sugar, ½ cup rolled oats, and ¼ cup softened butter with a pinch of salt until crumbly. Sprinkle it over the filling and bake as directed.
- Ginger-Spiced: Add 1 tsp of grated fresh ginger or ½ tsp of ground ginger to the spice mix for a warm, zesty kick.
- All-Butter Crust: Feeling ambitious? Swap the refrigerated crust for your favorite homemade all-butter pie crust for that extra-rich, flaky flavor.
- Vegan Version: Use a vegan pie crust, swap the butter for vegan butter or coconut oil, and use a plant-based milk (like almond or oat) with a pinch of sugar instead of the egg wash.
Anna’s Chef Notes
This recipe has been my faithful companion for years, and it’s evolved in little ways. I used to be terrified of a soupy filling, so I’d overload on flour. The result was a pasty, gloppy sauce—not great! I learned that the right balance of flour and the patience to let it cool are the true secrets. I also used to pack the apples in as tightly as I could, only to end up with a giant air gap after baking. Now, I mound them high, knowing they’ll cook down perfectly.
My funniest pie story? I once was so distracted chatting with a friend that I completely forgot to add the sugar to the filling. I didn’t realize it until we took the first bite of a very, very tart pie. We laughed so hard we cried, and then drowned our sorrows in copious amounts of sweetened whipped cream. It’s a good reminder to mis-en-place (get all your ingredients measured and ready) before you start! Even mistakes can be delicious with enough whipped cream.
Your Apple Pie Questions, Answered!
Q: My bottom crust is always soggy! How can I prevent that?
A: This is the #1 question! A few tricks: 1) Bake on a preheated baking sheet. Place your empty baking sheet in the oven while it preheats, then put your pie dish on the hot sheet. This gives the bottom an instant blast of heat. 2) Make sure your filling isn’t too wet. Tossing the apples with flour helps, but also avoid using apples that are overly juicy and water-heavy (like McIntosh) for your entire pie. 3) Glass or ceramic pie dishes are better than metal for browning the bottom crust.
Q: Can I make this pie ahead of time?
A: Absolutely! You have two great options. 1) Assemble and refrigerate: You can assemble the entire pie, cover it tightly, and keep it in the fridge for up to 24 hours before baking. You might need to add a few extra minutes to the bake time since it will be going in cold. 2) Freeze unbaked: Assemble the pie and freeze it solid (wrap it well in plastic wrap and foil). Bake straight from the freezer, adding about 20-25 minutes to the covered baking time. You can also bake it completely, let it cool, and freeze it. Thaw overnight and warm in a low oven.
Q: My crust edges are burning before the pie is done! Help!
A: This is so common! The solution is simple: pie shields. If you don’t have a fancy silicone or metal ring, no worries. About 20-30 minutes into the total baking time, when the edges start to look golden, take a long strip of aluminum foil and gently tent it over the edges of the crust. This will protect them from direct heat and allow the center to continue browning without the edges turning into charcoal.
Q: Can I use a different sweetener, like brown sugar?
A: Of course! Swapping half the granulated sugar for packed brown sugar is a fantastic idea. It adds a deeper, molasses-like flavor and makes the filling even more caramel-like and gorgeous. I often do ½ cup white sugar and ¼ cup brown sugar. You could use all brown sugar, but the filling will be much darker.
Nutritional Information*
*This is an estimated nutritional breakdown per slice, based on 8 servings. This information is provided as a courtesy and should be considered an estimate, as values can vary based on specific ingredients used and portion sizes.
- Calories: ~360 kcal
- Carbohydrates: 55g
- Fat: 16g
- Sugar: 28g
- Fiber: 3g
 Final Thoughts: A Slice of Comfort You’ll Crave Again and Again 🍎🥧
This apple pie isn’t just dessert—it’s the kind of recipe that turns an ordinary day into a memory. With its flaky crust, perfectly spiced filling, and that nostalgic aroma that fills the house, it proves that comfort can be simple, unfussy, and absolutely unforgettable. Whether you bake it to patch things up, to celebrate, or just because you need a little extra sweetness in your week, this pie has a way of bringing people together.
So grab those apples, roll out that dough, and let your kitchen fill with the magic of cinnamon and butter. One bite in, and you’ll see—this easy apple pie is more than a recipe. It’s a tradition in the making.