Your New Favorite Morning Ritual: Sourdough Discard Waffles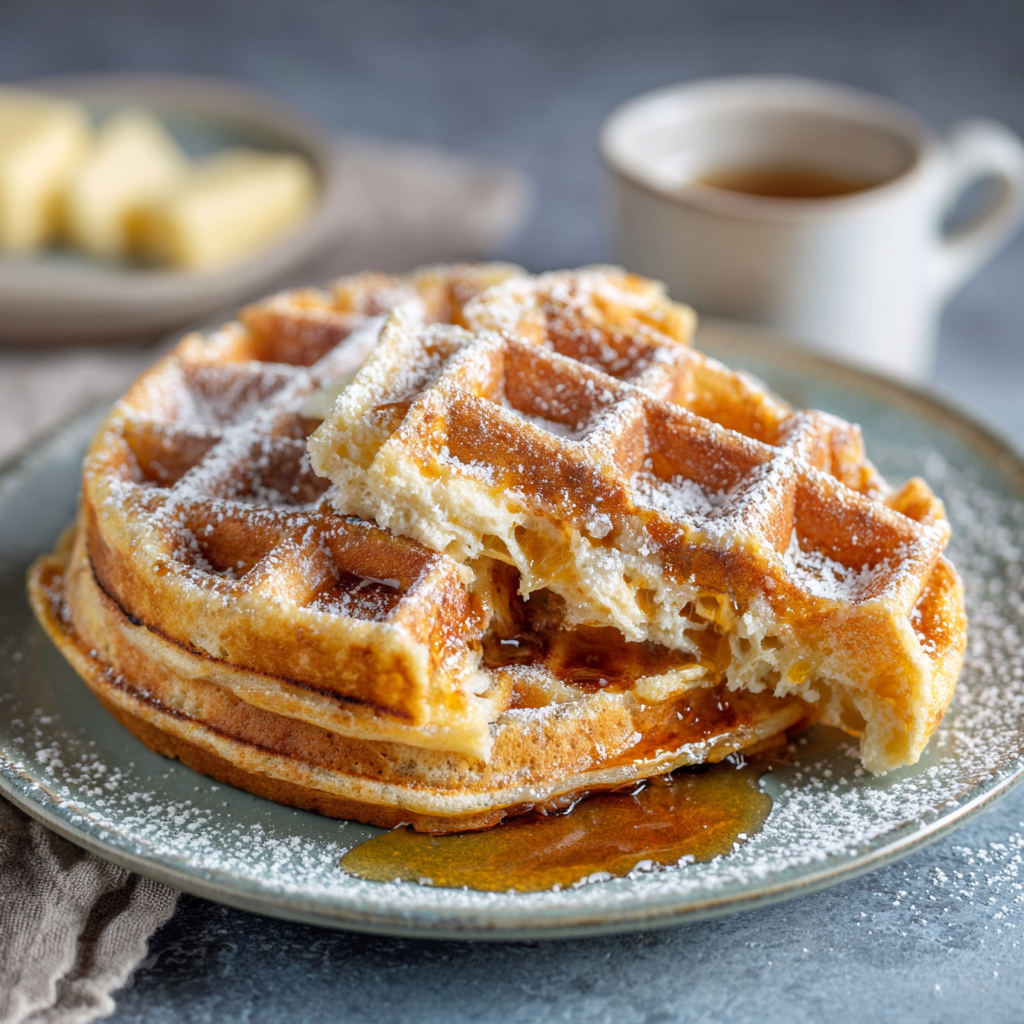
Raise your hand if your sourdough starter has ever felt like a part-time job that doesn’t pay. You feed it, you care for it, you whisper encouraging words to it on chilly nights… and then you’re left staring at that jar of “discard,” feeling a tiny pang of guilt as you contemplate pouring your bubbly, tangy kitchen pet project down the drain. Friend, I have been there more times than I can count. That’s why I want to hug you through the screen and tell you: the guilt stops today. We are turning that so-called “discard” into absolute breakfast gold.
Let me introduce you to your new weekend superhero: Crispy & Fluffy Sourdough Discard Waffles. Imagine a waffle with a shatteringly crisp, golden-brown exterior that gives way to a cloud-like, tender, and subtly tangy interior. This isn’t just a way to use up starter; this is a legitimate upgrade to your breakfast game. The sourdough adds a complex flavor that makes boxed mixes taste, well, bland in comparison, and it contributes to an incredible texture that’s both sturdy and light. Whether you’re a seasoned sourdough sorcerer or a curious newbie, this easy recipe is your ticket to a zero-waste, maximally delicious morning. So, let’s ditch the guilt, grab that jar of discard, and cook up something truly amazing together.
A Tale of Two Waffles: Grandma’s Legacy & My Sourdough Saga
My love affair with waffles began in my grandma’s sun-drenched kitchen, where a heavy, chrome-laden waffle iron was treated with the reverence of a family heirloom. The ritual was sacred: the hiss of batter hitting the hot grids, the anxious peek as steam escaped the sides, and finally, the triumphant unveiling of a perfect, golden square. She’d serve it with a pat of butter melting into the little pockets, creating tiny lakes that pooled the maple syrup just so. To me, that was magic.
Years later, when I caught the sourdough bug (like we all did in 2020!), I found myself with the same starter-struggle. One Saturday, staring at my jar of unfed starter and craving that childhood comfort, I had a “what if?” moment. What if I added my bubbly discard to Grandma’s basic waffle formula? The result was a happy accident that felt like a beautiful kitchen collision between past and present. The familiar crispness was there, but now with a fascinating tang and a fluffiness I hadn’t achieved before. It felt like I had unlocked a secret level of waffle-dom. Now, every time I make these, I think of her—a wonderful reminder that the best recipes are often those that blend tradition with a dash of our own delicious experimentation.
Gathering Your Kitchen Crew: The Ingredients
Here’s the beautiful part: you likely have almost everything you need already. This is pantry-raid cooking at its finest. Let’s break it down.
- 1 cup sourdough discard (unfed): This is your star! “Unfed” or “discard” simply means starter straight from the fridge that you haven’t recently given flour and water to. Its acidity is the key to tenderizing the gluten and adding that lovely tang. Chef’s Insight: Don’t stress if it’s super bubbly or looks a bit sleepy—both work. The hydration of your starter (how thick or runny it is) can vary. If yours is very thick, you may need a splash more milk; if it’s runny, your batter might be a bit thinner, and that’s okay too!
- 1 cup all-purpose flour: Our trusty foundation. For a slightly more robust flavor, you can swap in ½ cup of whole wheat flour.
- 1 tbsp sugar: Just a touch to balance the tang and promote browning. You can use white, brown, honey, or maple syrup here.
- 1 tsp baking powder & ½ tsp baking soda: Our dynamic leavening duo! The baking soda reacts with the acidity in the sourdough for immediate lift, while the baking powder gives an extra boost during cooking. Make sure they’re fresh for maximum fluff.
- ¼ tsp salt: The flavor enhancer. Never skip it!
- 1 cup milk (or non-dairy): The liquid that brings the party together. Buttermilk is a fantastic swap for an extra tangy punch. Any plain non-dairy milk works wonderfully too.
- 1 large egg: Adds richness, structure, and helps with browning. For a vegan version, see the variations below.
- 2 tbsp melted butter or oil: Butter gives incredible flavor, but a neutral oil like avocado or melted coconut oil works perfectly and is easier for dairy-free.
- 1 tsp vanilla extract (optional but encouraged): A warm, aromatic backdrop that makes everything taste more “bakery-style.”
Let’s Make Some Magic: Step-by-Step Instructions
Ready? Aprons on, waffle iron plugged in. This comes together in minutes, I promise.
- Preheat Your Waffle Iron: Do this first—on medium-high if it has settings. A properly hot iron is the secret to a crispy exterior. A lukewarm iron makes for soggy, sad waffles. While it heats, give it a light brush of oil or a spritz of cooking spray, even if it’s non-stick. Trust me on this.
- Mix the Dry Team: In a large bowl, whisk together the flour, sugar, baking powder, baking soda, and salt. Whisking aerates the flour and ensures the leaveners are evenly distributed, preventing those bitter bites of baking soda. Set this bowl aside.
- Whisk the Wet Team: In another bowl, combine the sourdough discard, milk, egg, melted butter (make sure it’s cooled a bit so it doesn’t cook the egg!), and vanilla. Whisk until it’s smooth and homogenous. Don’t worry about a few tiny lumps of starter; they’ll cook out.
- The Grand Union: Here’s the critical moment for fluffy waffles: pour the wet ingredients into the dry ingredients. Use a spatula or wooden spoon and stir gently, just until you no longer see dry streaks of flour. Do NOT overmix! A few small lumps are absolutely fine—they’re better than fine, they’re ideal. Overmixing develops gluten, leading to tough, chewy waffles. We want tender. We want cloud-like.
- Cook to Golden Perfection: Ladle or pour batter onto the center of your hot waffle iron, using about ½ to ⅔ cup depending on its size (it’s okay if it doesn’t reach the edges—it will spread). Close the lid and let it work its magic. Chef’s Hack: Resist the urge to peek for at least 2-3 minutes! Let that steam build up to cook the inside. The waffle is ready when the steam drastically reduces and the exterior is deep golden brown and crisp. Use a fork to gently lift it out.
- The Holding Pattern: For the crispiest family-style service, place cooked waffles directly on a wire rack in a single layer while you finish the batch. If you stack them on a plate, they’ll steam each other and get soft. If you need to keep them warm for longer, place the rack in a 200°F (95°C) oven.
Plate It Pretty: Serving Suggestions
This is the fun part! Slide that gorgeous, crispy waffle onto a plate. The classic move is a generous pat of butter that melts into all the nooks, followed by a river of pure maple syrup. But let’s get creative! Try a dollop of Greek yogurt and a pile of fresh berries for a bright twist. Or go decadent with a drizzle of salted caramel and toasted pecans. For a savory spin (yes, really!), top with a fried egg, crispy bacon, and a dash of hot honey. The world is your waffle oyster!
Make It Your Own: Recipe Variations
- Blueberry Lemon Zest: Fold 1 cup fresh blueberries and the zest of one lemon into the batter right before cooking.
- Chocolate Chip: A family favorite. Add ⅔ cup chocolate chips to the dry ingredients so they don’t all sink.
- Cinnamon Spice: Whisk 1 tsp cinnamon, ¼ tsp nutmeg, and a pinch of ginger into the dry ingredients.
- Vegan Version: Use non-dairy milk, a flax egg (1 tbsp ground flax + 3 tbsp water, sit for 5 mins), and oil instead of butter.
- Gluten-Free: Swap the all-purpose flour for a 1:1 gluten-free baking blend.
Anna’s Chef Notes & Kitchen Confessions
This recipe is a living, breathing thing in my kitchen. The first time I made it, I was so nervous I overmixed the batter into a smooth paste—we ended up with what my son lovingly called “waffle-shaped rubber soles.” Lesson learned! The beauty of this recipe is its flexibility. Sometimes I’ll mix the discard, milk, and flour the night before and let it sit covered on the counter (a pseudo-overnight ferment). In the morning, I stir in the remaining ingredients. The flavor deepens beautifully! And a funny story: I once accidentally used salted butter and forgot to reduce the added salt. They were… aggressively savory. We drowned them in syrup and laughed it off. Cooking is about joy, not perfection. If your first waffle is a sacrificial “test waffle” that doesn’t look perfect, just slather it with butter and eat it standing over the sink. That’s the cook’s treat.
Your Questions, Answered: FAQs & Troubleshooting
Q: My waffles are soggy, not crispy! What happened?
A: The #1 culprit is a waffle iron that wasn’t hot enough. Make sure it’s fully preheated (the indicator light isn’t always reliable). Also, avoid stacking cooked waffles—use a wire rack! Finally, ensure your batter isn’t too thin; if it is, add a tablespoon or two more flour.
Q: Can I make the batter ahead of time?
A: You can mix the dry and wet ingredients separately the night before and combine them in the morning. For best results, I don’t recommend mixing the complete batter more than 30 minutes ahead, as the leaveners will start to activate and may lose some oomph.
Q: Can I freeze these waffles?
A: Absolutely! It’s one of my favorite meal-prep tricks. Let them cool completely on a wire rack, then place in a single layer on a baking sheet to freeze solid (about 1 hour). Transfer to a freezer bag. Reheat straight from the freezer in a toaster or oven at 375°F until hot and crisp again.
Q: My batter seems too thick/too thin. Help!
A> Starter hydration varies widely! If it’s too thick (doesn’t pour), add a splash more milk. If it’s too thin (runs all over the iron), sprinkle in a bit more flour. You’re aiming for a thick, pourable consistency that holds its shape briefly on the iron.
Nutritional Information*
*Per waffle, assuming recipe yields 5 waffles. This is an estimate and will vary based on specific ingredients and toppings used.
Calories: ~220 | Carbohydrates: 25g | Protein: 6g | Fat: 10g | Sugar: 3g
Enjoy Every Bite!
There you have it, friend—the end of sourdough discard guilt and the beginning of your new favorite weekend tradition. I hope these waffles bring as much cozy, crispy joy to your kitchen as they have to mine. Remember, the best part of any recipe is the memory you make while cooking it. Now go forth, conquer that jar of starter, and make your kitchen smell incredible. And when you do, tag me online—I’d love to see your beautiful creations! Happy cooking!

Final Thoughts
If your sourdough starter has ever made you feel equal parts proud and mildly resentful, these waffles are your peace offering. They turn something that once felt like kitchen waste into a breakfast ritual that’s cozy, celebratory, and deeply satisfying. Crisp on the outside, fluffy on the inside, and kissed with that subtle sourdough tang—this is the kind of recipe that makes slow mornings feel special, even if you’re still in pajamas and sipping coffee from your favorite chipped mug.
More than anything, I hope these waffles remind you that good cooking doesn’t have to be complicated or precious. Sometimes it’s about curiosity, a little experimentation, and giving yourself permission to play with what you already have. So the next time you’re staring down that jar of discard, don’t sigh—smile. Breakfast gold is only a waffle iron away. 💛