Let’s Make Some Magic: Chocolate Mousse Shot Glasses!
Hey there, friend! Tell me, have you ever been to a party, a fancy dinner, or even just been scrolling through Pinterest, and seen those impossibly elegant, tiny desserts that look like they were crafted by a pastry wizard? You know the ones—perfect little glasses filled with something decadent, topped with a swoosh of cream and a delicate curl of chocolate. They look incredible, but part of you thinks, “That’s way too fancy for me to make at home.”
Well, I’m here to let you in on a little secret: those show-stopping desserts are often the easiest ones to make. Seriously! And these Chocolate Mousse Shot Glasses are the absolute perfect example. We’re talking about a dessert that is luxuriously silky, intensely chocolatey, and served in the most fun, party-ready portion. There’s no oven required, no fancy equipment needed—just a few bowls, a whisk, and a whole lot of love.
This isn’t just a recipe; it’s your new secret weapon for making any occasion feel special. Date night? These are instant romance. Book club? You’ll be the most popular member. Just a Tuesday night where you deserve a treat? This is it. So, let’s banish any intimidation, tie on our favorite aprons, and whip up something truly amazing together. I promise, by the end of this, you’ll feel like a dessert superhero.
A Spoonful of Nostalgia and a Dash of Panic
PrintChocolate Mousse Shot Glasses
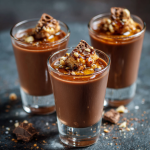
Decadent, silky, and irresistibly rich, these chocolate mousse shot glasses are a show-stopping dessert served in perfect little portions. They’re ideal for parties, date nights, or when you just need that hit of chocolate done right—no oven required.
- Prep Time: 25 minutes
- chill: 2 hours
- Total Time: 2 hours 25 minutes
Ingredients
6 oz semi-sweet chocolate, chopped
2 tablespoons unsalted butter
2 large eggs, separated
2 tablespoons granulated sugar
½ teaspoon vanilla extract
¾ cup heavy whipping cream
Whipped cream and chocolate shavings for topping (optional)
Instructions
Melt chocolate and butter together over a double boiler or in short bursts in the microwave. Stir until smooth. Let cool slightly.
Whisk in egg yolks and vanilla until well combined.
In a separate bowl, beat egg whites until soft peaks form. Gradually add sugar and beat until glossy stiff peaks form.
In another bowl, whip heavy cream until soft peaks form.
Gently fold whipped cream into the chocolate mixture, followed by the egg whites, until smooth and airy.
Spoon or pipe into shot glasses. Chill for at least 2 hours.
Top with whipped cream and chocolate shavings if desired.
Nutrition
- Calories: 220
- Sugar: 14g
- Sodium: 20mg
- Fat: 16g
- Saturated Fat: 9g
- Carbohydrates: 17g
- Cholesterol: 75mg
This recipe takes me right back to my first-ever grown-up dinner party. I was so nervous! I wanted to impress my new friends with a dessert that screamed “sophisticated host,” but my culinary skills were, let’s say, a work in progress. The main course was… edible. But dessert? I was terrified.
I found a version of this chocolate mousse recipe in a tattered old community cookbook. It seemed simple enough, but my heart was pounding as I folded the egg whites, terrified of deflating all that airy goodness. I didn’t have fancy glasses, so I used our everyday juice tumblers. I chilled them for what felt like an eternity, praying it would work.
The moment of truth came. I carried the tray out, trying to look cool and collected. The silence that fell over the table after the first spoonful was the best compliment I’ve ever received. It was rich, it was light, it was pure chocolate magic. That night, I learned a powerful lesson: the most impressive dishes are often born from simple, honest ingredients and a little bit of courage. Now, every time I make these, I smile, remembering that nervous twenty-something me and the triumph she felt.
Gathering Your Chocolatey Treasure
Here’s the beautiful part: the ingredient list is short and sweet. Quality is key here, especially with the chocolate, since it’s the star of the show!
- 6 oz Semi-Sweet Chocolate, chopped: I like using a good baking bar (like Ghirardelli or Baker’s) instead of chocolate chips. Chips have stabilizers that can sometimes make melting less smooth. Chef’s Insight: For a deeper, darker flavor, you can swap half for bittersweet chocolate!
- 2 tablespoons Unsalted Butter: This adds an incredible richness and silky mouthfeel to the mousse. It’s our secret weapon for that luxurious texture.
- 2 large Eggs, separated: Room temperature eggs are non-negotiable here! They whip up to a much greater volume. The yolks add richness and structure, while the whites give us that gorgeous, airy lift. Important Note: This recipe uses raw eggs. If this is a concern, you can use pasteurized eggs.
- 2 tablespoons Granulated Sugar: Just a little bit to sweeten the deal and help stabilize our egg whites. Don’t be tempted to add more; the chocolate brings plenty of sweetness!
- ½ teaspoon Vanilla Extract: The classic flavor enhancer. It rounds out the chocolate flavor perfectly. For a fun twist, try using almond extract or even a tiny drop of orange oil.
- ¾ cup Heavy Whipping Cream: Make sure it’s cold, cold, cold! This is what we’re going to whip into soft, pillowy clouds to fold into our chocolate. Substitution Tip: For a dairy-free version, a full-fat, canned coconut cream works wonders. Chill the can overnight and scoop out the solid cream to whip.
- Whipped Cream & Chocolate Shavings for topping (optional but highly encouraged): This is the finishing touch! It makes them look professionally done. Use a vegetable peeler on a chocolate bar for beautiful shavings.
Let’s Create Some Chocolate Alchemy: Step-by-Step
Ready to work some magic? Follow these steps, and read my little hacks along the way—they make all the difference!
Step 1: The Melting Pot
Melt your chopped chocolate and butter together. You can do this in a heatproof bowl set over a pot of gently simmering water (a double boiler), making sure the bottom of the bowl doesn’t touch the water. Or, use the microwave in 20-second bursts, stirring well after each burst. Chef’s Hack: The microwave is faster, but the double boiler gives you more control and prevents any chance of scorching. Once it’s smooth and glossy, take it off the heat and let it cool for about 5 minutes. We don’t want it so hot that it cooks the egg yolks!
Step 2: The Rich Base
Whisk your two egg yolks and vanilla extract together in a small bowl just until they’re combined. Now, slowly, slowly whisk this yolk mixture into the slightly cooled chocolate. Go slowly at first to temper the eggs and prevent them from scrambling. You’ll end up with a thick, incredibly shiny chocolate pudding-like base. Set this aside.
Step 3: The Airy Whites
In a spotlessly clean and dry bowl, beat your room temperature egg whites. Any trace of grease or yolk can prevent them from whipping properly! Beat them until they become foamy and hold soft peaks—this means when you lift the beaters, the peaks curl over. Now, gradually add the sugar, a tablespoon at a time, while beating. Keep going until you have stiff, glossy peaks that stand straight up. This is our first source of amazing volume!
Step 4: The Whipped Cloud
In another bowl (yes, it’s a lot of bowls—it’s worth it, I promise!), take your ice-cold heavy cream and whip it until it also holds soft peaks. It should look like, well, perfect whipped cream! Chef’s Hack: If you want to stabilize your whipped cream topping, add a tablespoon of powdered sugar and a tiny splash of vanilla while whipping.
Step 5: The Gentle Fold
This is the most important step! We need to combine everything without deflating all the beautiful air we just whipped in. Add about a third of the whipped cream to the chocolate base and fold it in using a spatula. This first addition helps lighten the thick chocolate mixture. Now, gently fold in the remaining whipped cream until just combined. Finally, add a third of the egg whites and fold them in. Once incorporated, gently fold in the rest of the egg whites. Stop as soon as you see no more streaks of white. A few streaks are better than over-mixing and deflating it!
Step 6: The Chill Out
Carefully spoon or pipe the mousse into your shot glasses, small glasses, or ramekins. Leave a little room at the top for toppings! Cover them lightly with plastic wrap and chill for at least 2 hours, but ideally 4 or even overnight. This waiting period is crucial—it allows the flavors to meld and the texture to set into that classic, dreamy mousse consistency.
Step 7: The Grand Finale
Right before serving, top each glass with a dollop of fresh whipped cream and a sprinkle of chocolate shavings. This is where they go from “yum” to “WOW!”
How to Serve Your Masterpiece
Presentation is half the fun! I love arranging these on a sleek slate board or a vintage silver tray for a gorgeous contrast. Place a small spoon or a long, elegant espresso spoon next to each one. For a big party, you can even create a “mousse bar” with toppings like fresh raspberries, crushed peppermint, sea salt flakes, or toasted nuts in little bowls so guests can customize their own. They’re self-contained, perfectly portioned bites of joy that are as beautiful as they are delicious.
Get Creative: Endless Flavor Twists!
The basic recipe is a perfect canvas. Here are a few of my favorite ways to play with it:
- Orange Dream: Add 1 teaspoon of finely grated orange zest to the chocolate while it’s melting. A splash of Grand Marnier wouldn’t hurt either!
- Mocha Madness: Dissolve 1-2 teaspoons of instant espresso powder into the vanilla extract before adding it. It deepens the chocolate flavor incredibly.
- Peppermint Patty: Fold ¼ cup of crushed peppermint candies or candy canes into the finished mousse before chilling.
- Berry Swirl: Before chilling, drop a small spoonful of seedless raspberry or strawberry jam into each glass and use a toothpick to swirl it gently.
- Vegan Wonder: Use dairy-free chocolate, coconut oil instead of butter, and whip the solid cream from two chilled cans of full-fat coconut milk. Use aquafaba (the liquid from a can of chickpeas) instead of egg whites! Whip ½ cup of aquafaba with the sugar until stiff peaks form.
From My Kitchen to Yours: A Few Final Thoughts
This recipe has been with me for over a decade, and it’s evolved in tiny ways. I used to be terrified of folding and would often end up with a slightly denser mousse. I’ve learned that a light hand and the confidence to stop while you’re ahead are the real secrets. Don’t worry if it’s not perfect the first time—it will still taste incredible.
One of my favorite kitchen stories involves my nephew, who decided to “help” me make these once. He was in charge of the egg whites and, in his excitement, turned the mixer to the highest setting before the bowl was even under it. We had a spectacular, foamy egg white explosion all over the kitchen. We laughed for ten minutes straight, cleaned up, and started over. The second batch was made with so much joy and laughter, it might have been the best one yet. So remember, a happy kitchen is sometimes a messy kitchen. Embrace it!
Your Questions, Answered!
Q: I’m worried about raw eggs. What can I do?
A: This is the most common question! You have a few options. 1) Use pasteurized eggs, which are heated to a temperature that kills bacteria but keeps them liquid. They’re available at most grocery stores. 2) You can gently heat the egg yolks with a bit of the sugar over a double boiler until they reach 160°F (71°C), then proceed. For the whites, you can make an Italian meringue by whipping them with a hot sugar syrup, but that’s a more advanced technique.
Q: My mousse is grainy/curdled! What happened?
A: This usually happens if the chocolate was too hot when you added the eggs or whipped cream, causing it to seize slightly. Another culprit could be over-mixing during the folding stage. Next time, ensure your chocolate is just warm to the touch, not hot, and fold with a gentler hand. If it happens, you can try pressing the entire mixture through a fine-mesh sieve to smooth it out before chilling—it can sometimes save the day!
Q: How far in advance can I make these?
A: They are the perfect make-ahead dessert! You can assemble them completely, cover them well, and store them in the fridge for up to 2 days. I’d wait to add the whipped cream and shavings topping until just an hour or two before serving so they stay fresh and pretty.
Q: Can I freeze chocolate mousse?
A: You can! Freeze them without the toppings. They’ll become more like a frozen mousse or ice cream. Let them thaw in the fridge for about 30 minutes before serving for the best texture.
Nutritional Information*
*This is an approximate estimate calculated for one serving (based on 10 servings) without optional toppings, using a generic nutrition calculator. Values can vary based on specific ingredients used.
Per Serving: Calories: 220 | Fat: 16g | Saturated Fat: 9g | Cholesterol: 75mg | Sodium: 20mg | Carbohydrates: 17g | Sugar: 14g | Protein: 3g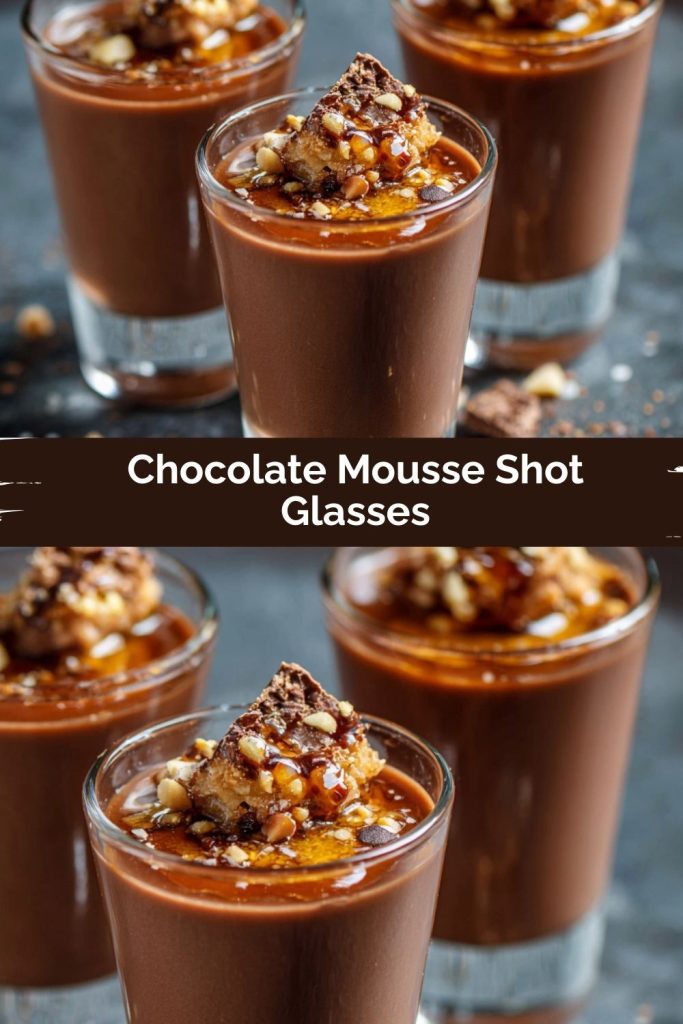
Final Thoughts
At its heart, chocolate mousse is proof that elegance doesn’t have to mean complicated. With just a handful of quality ingredients, a gentle folding technique, and a little patience, you can create a dessert that feels truly magical. These Chocolate Mousse Shot Glasses aren’t just sweet treats—they’re little invitations to slow down, savor, and celebrate the moment, whether it’s a big party or a quiet night at home.
So, don’t overthink it. Tie on your apron, melt that chocolate, and let yourself be amazed at what you can whip up. I promise, your guests (and your tastebuds) will thank you.