***
Your New Favorite Holiday Tradition: Easy Maple Nut Fudge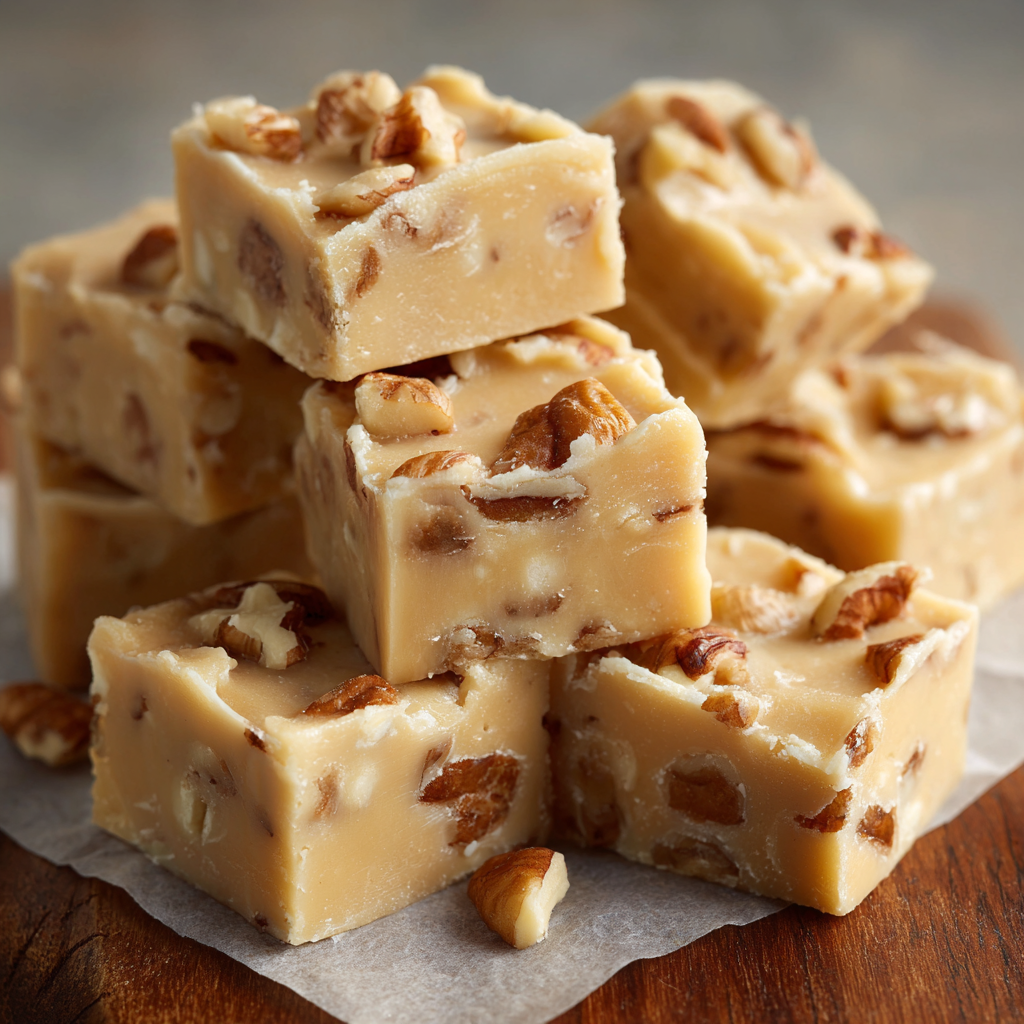
Hey there, friend! Is there anything that whispers “holiday magic” quite like the rich, comforting aroma of maple and toasted nuts wafting through your kitchen? If you’re dreaming of a treat that’s both incredibly decadent and surprisingly simple to whip up, you’ve absolutely come to the right place. This isn’t just any fudge; this is my legendary Easy Maple Nut Fudge, and I promise, it’s about to become your go-to dessert for every festive gathering, cozy night in, and last-minute gift-giving occasion this season.
Now, I know what you might be thinking: “Anna, fudge is finicky. It requires candy thermometers, precise temperatures, and a whole lot of crossing my fingers!” Well, my dear foodie friend, I’m here to bust that myth wide open. This recipe is a dream come true for anyone who’s ever been intimidated by traditional candy-making. We’re skipping the complicated science project and leaning on a few brilliant, no-fuss ingredients to create a fudge that’s unbelievably smooth, richly flavored, and packed with that satisfying crunch of toasted nuts. It’s a melt-in-your-mouth masterpiece that requires just a quick mix, a pour, and a little patience while it sets. So, let’s push those worries aside, put on our favorite festive apron, and cook up something truly amazing together. Trust me, your future self (and everyone you share this with) will thank you!
A Sweet Slice of My Grandma’s Kitchen
PrintMaple Nut Fudge

Rich, creamy, and loaded with cozy maple flavor, this Maple Nut Fudge is a no-fuss favorite that delivers big on taste. No candy thermometer needed—just stir, pour, chill, and enjoy. A melt-in-your-mouth holiday treat that feels homemade in the best way.
- Prep Time: 10 mins
- chill time: 2–3 hours
- Total Time: 3 hours
Ingredients
3 cups white chocolate chips
1 (14 oz) can sweetened condensed milk
2 tbsp unsalted butter
1½ tsp maple extract
1 cup chopped walnuts or pecans
Pinch of salt
Instructions
Line an 8×8-inch pan with parchment paper.
In a saucepan over medium-low heat, melt white chocolate chips, condensed milk, and butter, stirring constantly.
Once smooth, remove from heat and stir in maple extract, salt, and chopped nuts.
Pour into the prepared pan and smooth the top.
Chill in the fridge for 2–3 hours until set.
Cut into squares and enjoy or wrap for gifting.
Nutrition
- Calories: 160
- Sugar: 16g
- Sodium: 35mg
- Fat: 9g
- Saturated Fat: 4g
- Carbohydrates: 18g
- Protein: 2g
This recipe always takes me right back to my Grandma Eleanor’s warm, always-bustling kitchen. Every December, her counter would transform into a full-blown confectionery workshop, lined with trays of toffee, tins of shortbread, and her famous, meticulously decorated gingerbread house. But for me, the crown jewel was always her maple fudge. She’d make a huge batch, and my special job was to be the “official nut toaster and taster.” I can still feel the warmth of the oven door as I’d peek in at the walnuts, their earthy scent deepening into something truly magical.
She’d always let me sneak the first piece from the pan while it was still slightly warm and soft, a secret little treat just for us. That first bite was pure joy—creamy, sweet, and with a toasty crunch that felt like the very essence of the holidays. This recipe is my heartfelt homage to her. I’ve streamlined her original method (she was a candy thermometer purist!) to fit our modern, busy lives, but I’ve guarded the soul of it fiercely: that perfect, cozy harmony of pure maple and buttery nuts. It’s more than a treat; it’s a delicious piece of my story, and I’m so thrilled to now share it with you.
Gathering Your Magical Ingredients
Part of the beauty of this recipe is its beautiful simplicity. You only need a handful of key players to create pure magic. Here’s what you’ll need:
- 3 cups white chocolate chips: This is the base of our fudge, providing that classic, creamy texture and sweet flavor. Chef’s Insight: I highly recommend using a high-quality brand like Ghirardelli or Guittard for the smoothest melt and richest taste. Cheap chips can sometimes contain stabilizers that make them seize up or melt unevenly.
- 1 can (14 oz) sweetened condensed milk: This is our secret weapon! It creates the perfectly soft, luscious texture without any need for a sugar syrup or thermometer. Substitution Tip: Unfortunately, there’s no great substitute here—it’s essential for the right consistency. For a dairy-free version, they do make coconut-based sweetened condensed “milk,” though it will impart a slight coconut flavor.
- 1½ teaspoons maple extract: This is where that powerful, cozy maple flavor comes from. Chef’s Insight: While I love real maple syrup, extract gives a more potent, classic “fudge” maple flavor without adding extra liquid. If you must use syrup, replace the extract with 3 tablespoons of dark maple syrup, but know the fudge might be a tad softer.
- 1 cup chopped walnuts or pecans, toasted: The essential crunch! Toasting is NON-NEGOTIABLE—it deepens their flavor from “nice” to “absolutely incredible.” Substitution Tip: Use whichever you love! Walnuts have a slightly bitter edge that cuts the sweetness, while pecans are more buttery. Allergic? Try toasted pumpkin seeds (pepitas) for a great crunch.
- Pinch of salt: Don’t you dare skip this! Salt is the flavor enhancer that makes the sweet maple and rich chocolate pop. It balances everything perfectly.
Let’s Make Some Magic: Step-by-Step Instructions
Ready to see how easy this is? Let’s do it! Clear off your counter, grab your favorite saucepan, and let’s get cooking.
Step 1: Prep Your Pan. First things first, let’s set ourselves up for success. Line an 8×8-inch baking pan with parchment paper, leaving a little overhang on two opposite sides. This creates “handles” that will let you lift the entire slab of fudge out later for super clean, easy cutting. Give the parchment a very light spritz with cooking spray or a rub with butter—this just guarantees nothing will stick. Set your beautifully prepped pan aside.
Step 2: The Low & Slow Melt. In a medium-sized, heavy-bottomed saucepan, combine the white chocolate chips and the entire can of sweetened condensed milk. Now, here’s my biggest chef hack for you: LOW HEAT IS YOUR BEST FRIEND. Place the saucepan over the lowest heat setting on your stove. White chocolate is delicate and can scorch or seize (turn into a grainy mess) if you rush it. Stir constantly and patiently with a silicone spatula or wooden spoon. You’re not looking for a boil, just a gentle, smooth melt. This should take about 5-7 minutes. Once it’s completely smooth and silky, immediately remove it from the heat.
Step 3: The Flavor Party. Off the heat, it’s time to add the magic! Pour in the maple extract and that all-important pinch of salt. Stir vigorously to combine. Now, fold in your glorious, freshly toasted nuts. Make sure they’re evenly distributed throughout the luxurious, creamy mixture.
Step 4: The Big Pour. Immediately scrape every last bit of that delicious fudge mixture into your waiting prepared pan. Use your spatula to smooth the top into a beautiful, even layer. If you’re feeling fancy, you can press a few extra whole nuts onto the surface for a pretty presentation.
Step 5: The Patience Game. Now, the hardest part: waiting. You can let the fudge cool and firm up at room temperature for about 2 hours, or you can pop it into the refrigerator to speed things up to about 1 hour. I often do a combo—room temp for 30 minutes to take the initial heat off, then into the fridge. It’s ready when it’s completely firm to the touch.
Step 6: The Grand Finale—Cutting! Using your parchment paper handles, lift the entire block of fudge out of the pan and onto a cutting board. Using a large, sharp knife, cut it into 1-inch squares. For super clean cuts, you can warm the knife under hot water and wipe it dry between slices. And there you have it! A whole tray of pure, unadulterated joy.
How to Serve Your Masterpiece
This fudge is a star all on its own! For serving, I love to arrange the squares on a beautiful vintage platter or a simple wooden board. Around the holidays, I’ll sometimes add a few sprigs of fresh rosemary or a dusting of edible gold glitter for a little extra festive sparkle. It’s the perfect finale to a big holiday meal alongside coffee or a glass of cold milk, but honestly, it’s just as wonderful as a sweet afternoon pick-me-up with a cup of tea. Package a few pieces in a cute cellophane bag tied with ribbon, and you’ve got an instantly beloved homemade gift.
Get Creative: Recipe Variations
Once you’ve mastered the base, the flavor world is your oyster! Here are a few of my favorite ways to mix it up:
- Maple Bacon Bliss: For a sweet-salty knockout, fold in ½ cup of finely chopped, crispy cooked bacon along with the nuts.
- Double Chocolate Maple: Replace ½ cup of the white chocolate chips with semi-sweet chocolate chips for a marbled, chocolatey twist.
- Cranberry Pecan: Swap the walnuts for pecans and add ½ cup of dried cranberries for a tart, chewy contrast.
- Sea Salt Sprinkle: Right after pouring the fudge into the pan, flake a bit of fancy sea salt over the top for a gorgeous, gourmet touch.
- Boozy Maple: Add a tablespoon of bourbon or rum along with the maple extract for a grown-up kick.
Anna’s Chef Notes & Kitchen Stories
This recipe has been my trusty sidekick for years, and it’s evolved in the most fun ways. The first time I made it, I was so nervous about the chocolate seizing that I stood there stirring for a solid 15 minutes on the world’s lowest heat setting—my arm was sore, but the fudge was perfect! I’ve learned that the brand of white chocolate truly makes a difference. One time, in a pinch, I used a generic store brand, and the fudge was a bit grainy. Lesson learned! Now I always splurge on the good stuff for special occasions.
The biggest laugh came when my nephew, who was about five at the time, “helped” me by adding the nuts. Let’s just say he interpreted “one cup” as “one entire bag,” and we ended up with what we now fondly call “Nut Clusters with a Fudge Binding.” They were still delicious, of course! So don’t be afraid to make this recipe your own. Cooking is about joy, not perfection.
Your Questions, Answered!
Q: My fudge turned out grainy. What happened?
A: This is almost always caused by the heat being too high, which causes the sugar in the white chocolate to seize. Remember, low and slow is the mantra! Also, ensure you’re stirring constantly to encourage even melting and prevent any hot spots from scorching.
Q: Can I use real maple syrup instead of extract?
A: You can, but it will change the texture. Replace the 1½ teaspoons of extract with 3 tablespoons of dark maple syrup. The added liquid might make the fudge a bit softer, so I’d recommend a longer chilling time, maybe an extra 30 minutes in the fridge. The maple flavor will also be a little more subtle and less “classic fudge-like.”
Q: How long does this fudge keep, and how should I store it?
A: Stored in an airtight container at room temperature, it will stay deliciously fresh for about 1 week. In the fridge, it can last up to 2 weeks. You can also freeze it for up to 3 months! Just thaw it overnight in the fridge. I always separate layers with parchment paper to prevent sticking.
Q: Why are my nuts soggy?
A: Ah, you must have forgotten the crucial toasting step! Toasting isn’t just for flavor; it also removes moisture from the nuts, making them crunchier and preventing them from getting soft inside the moist fudge. If you already mixed them in untoasted, sadly, there’s no fixing it. But remember for next time—it’s a game-changer!
Nutritional Information*
*This is an estimate provided for informational purposes only. I am not a certified nutritionist.
Per piece (based on 36 squares): Calories: ~130 | Fat: 8g | Saturated Fat: 3.5g | Carbohydrates: 14g | Sugar: 13g | Protein: 2g
Prep Time: 10 minutes | Chill Time: 1–2 hours | Total Time: About 2 hours
And there you have it, friend—holiday magic in bite-sized squares! This Easy Maple Nut Fudge is proof that you don’t need fancy tools or candy-making wizardry to create something truly unforgettable. It’s the kind of recipe that sneaks its way into family traditions, gets requested year after year, and somehow tastes even sweeter when shared.
Whether you’re whipping up a batch for your own table, gifting it to neighbors, or sneaking a piece with your morning coffee (no judgment here!), I hope this fudge brings as much warmth and joy to your holidays as it has to mine. So go ahead—tie on that apron, toast those nuts, and let a little maple-scented magic fill your kitchen. Trust me, once you try it, you’ll wonder how the holidays ever felt complete without it.
Happy fudge-making, my friend. May every square be a sweet reminder of the season’s joy.